
Intro
Guitar Hero… What a special series of games… For a long time I wanted to buy guitars either for my PS2 Phat (SCPH-50004) with a MODBO modchip or for my newly modded XBOX 360 S Corona v4 with chipless RGH3 (see blog post here).
I was looking around for faulty guitars on Vinted (popular online marketplace in Europe) to repair them and use them that way, but haven’t found anything for sometime. Also all of the consoles require different wireless dongles specific to given console, and they usually cost more then the guitar itself. So I wasn’t on the lookout.
However!!! A couple of days ago one of my best friend bought a modded guitar and he really enjoyed it. He asked me would I be down to mod guitars if he would bought more, and of course I said yes. So he bought 2 more Guitar Hero World Tour PS2 guitars.
But what exactly will this mod achieve?
Santroller
Essentially this is a hardware mod and you have to install a microcontroller and wire the components inside the guitar to it, then flash a firmware configured in the SantrollerConfigurator (see releases) software on to the MCU with the buttons configured to the pins you wired to.
What this achieves is that you can use your guitar on any platform through an USB connection and the firmware handles it all. Also no dongle needed anymore since it will be wired.
The documentation says the preferred MCU is a Pi Pico 1 or Pi Pico 2, so we opted to use a Pi Pico 2 because thats what was available.
The documentation is kinda alright, not that straight forward in some parts, sometimes I had to open up manuals, especially when installing the capacitive touch sensor and the accelerometer, but overall, if your are somewhat tech-savvy you could manage, following the wiring descriptions.
First inspection and positive testing
This is how the guitar looks:
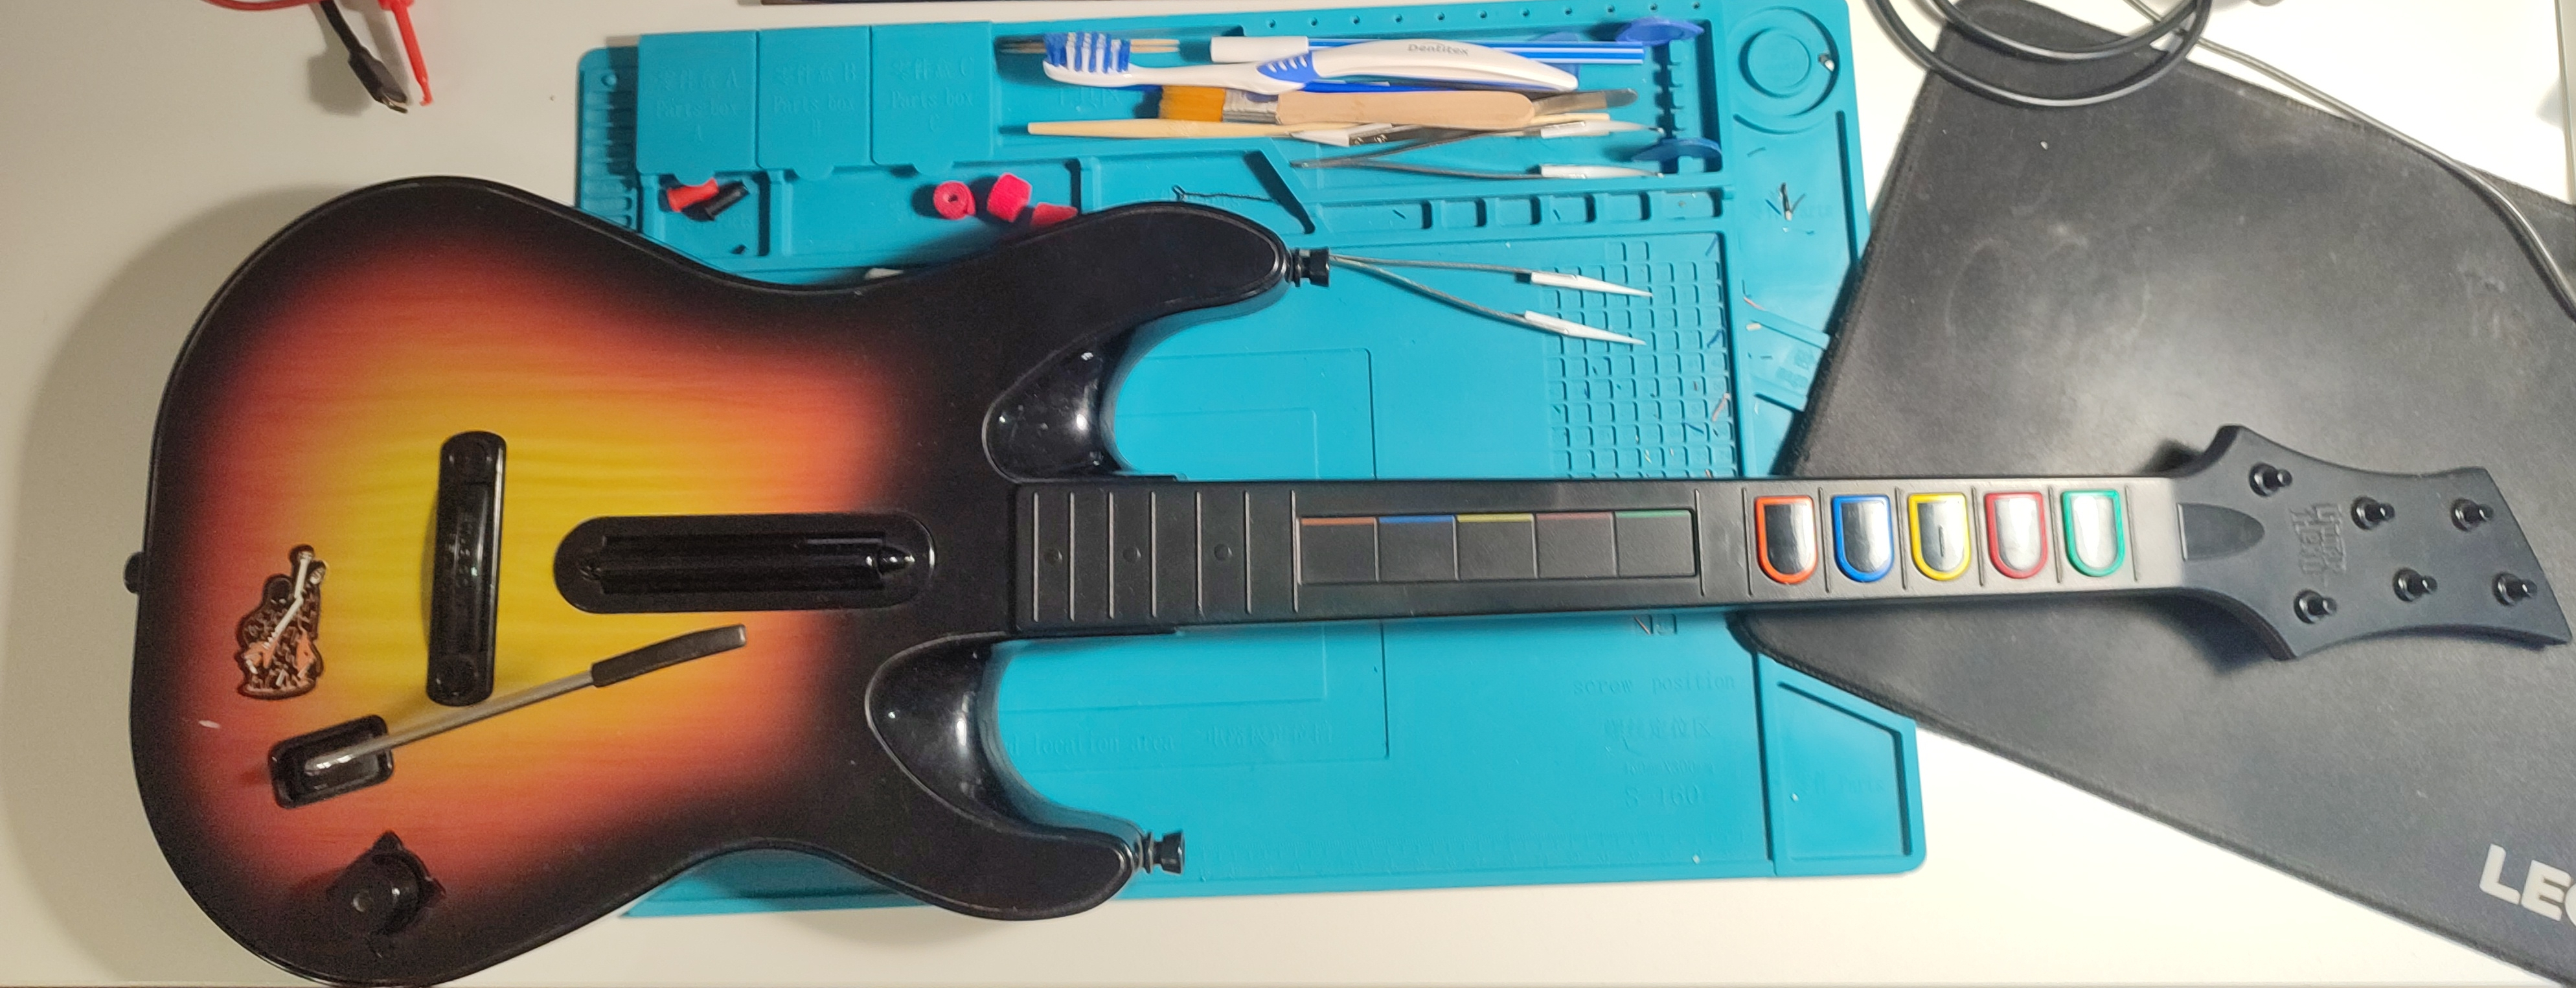
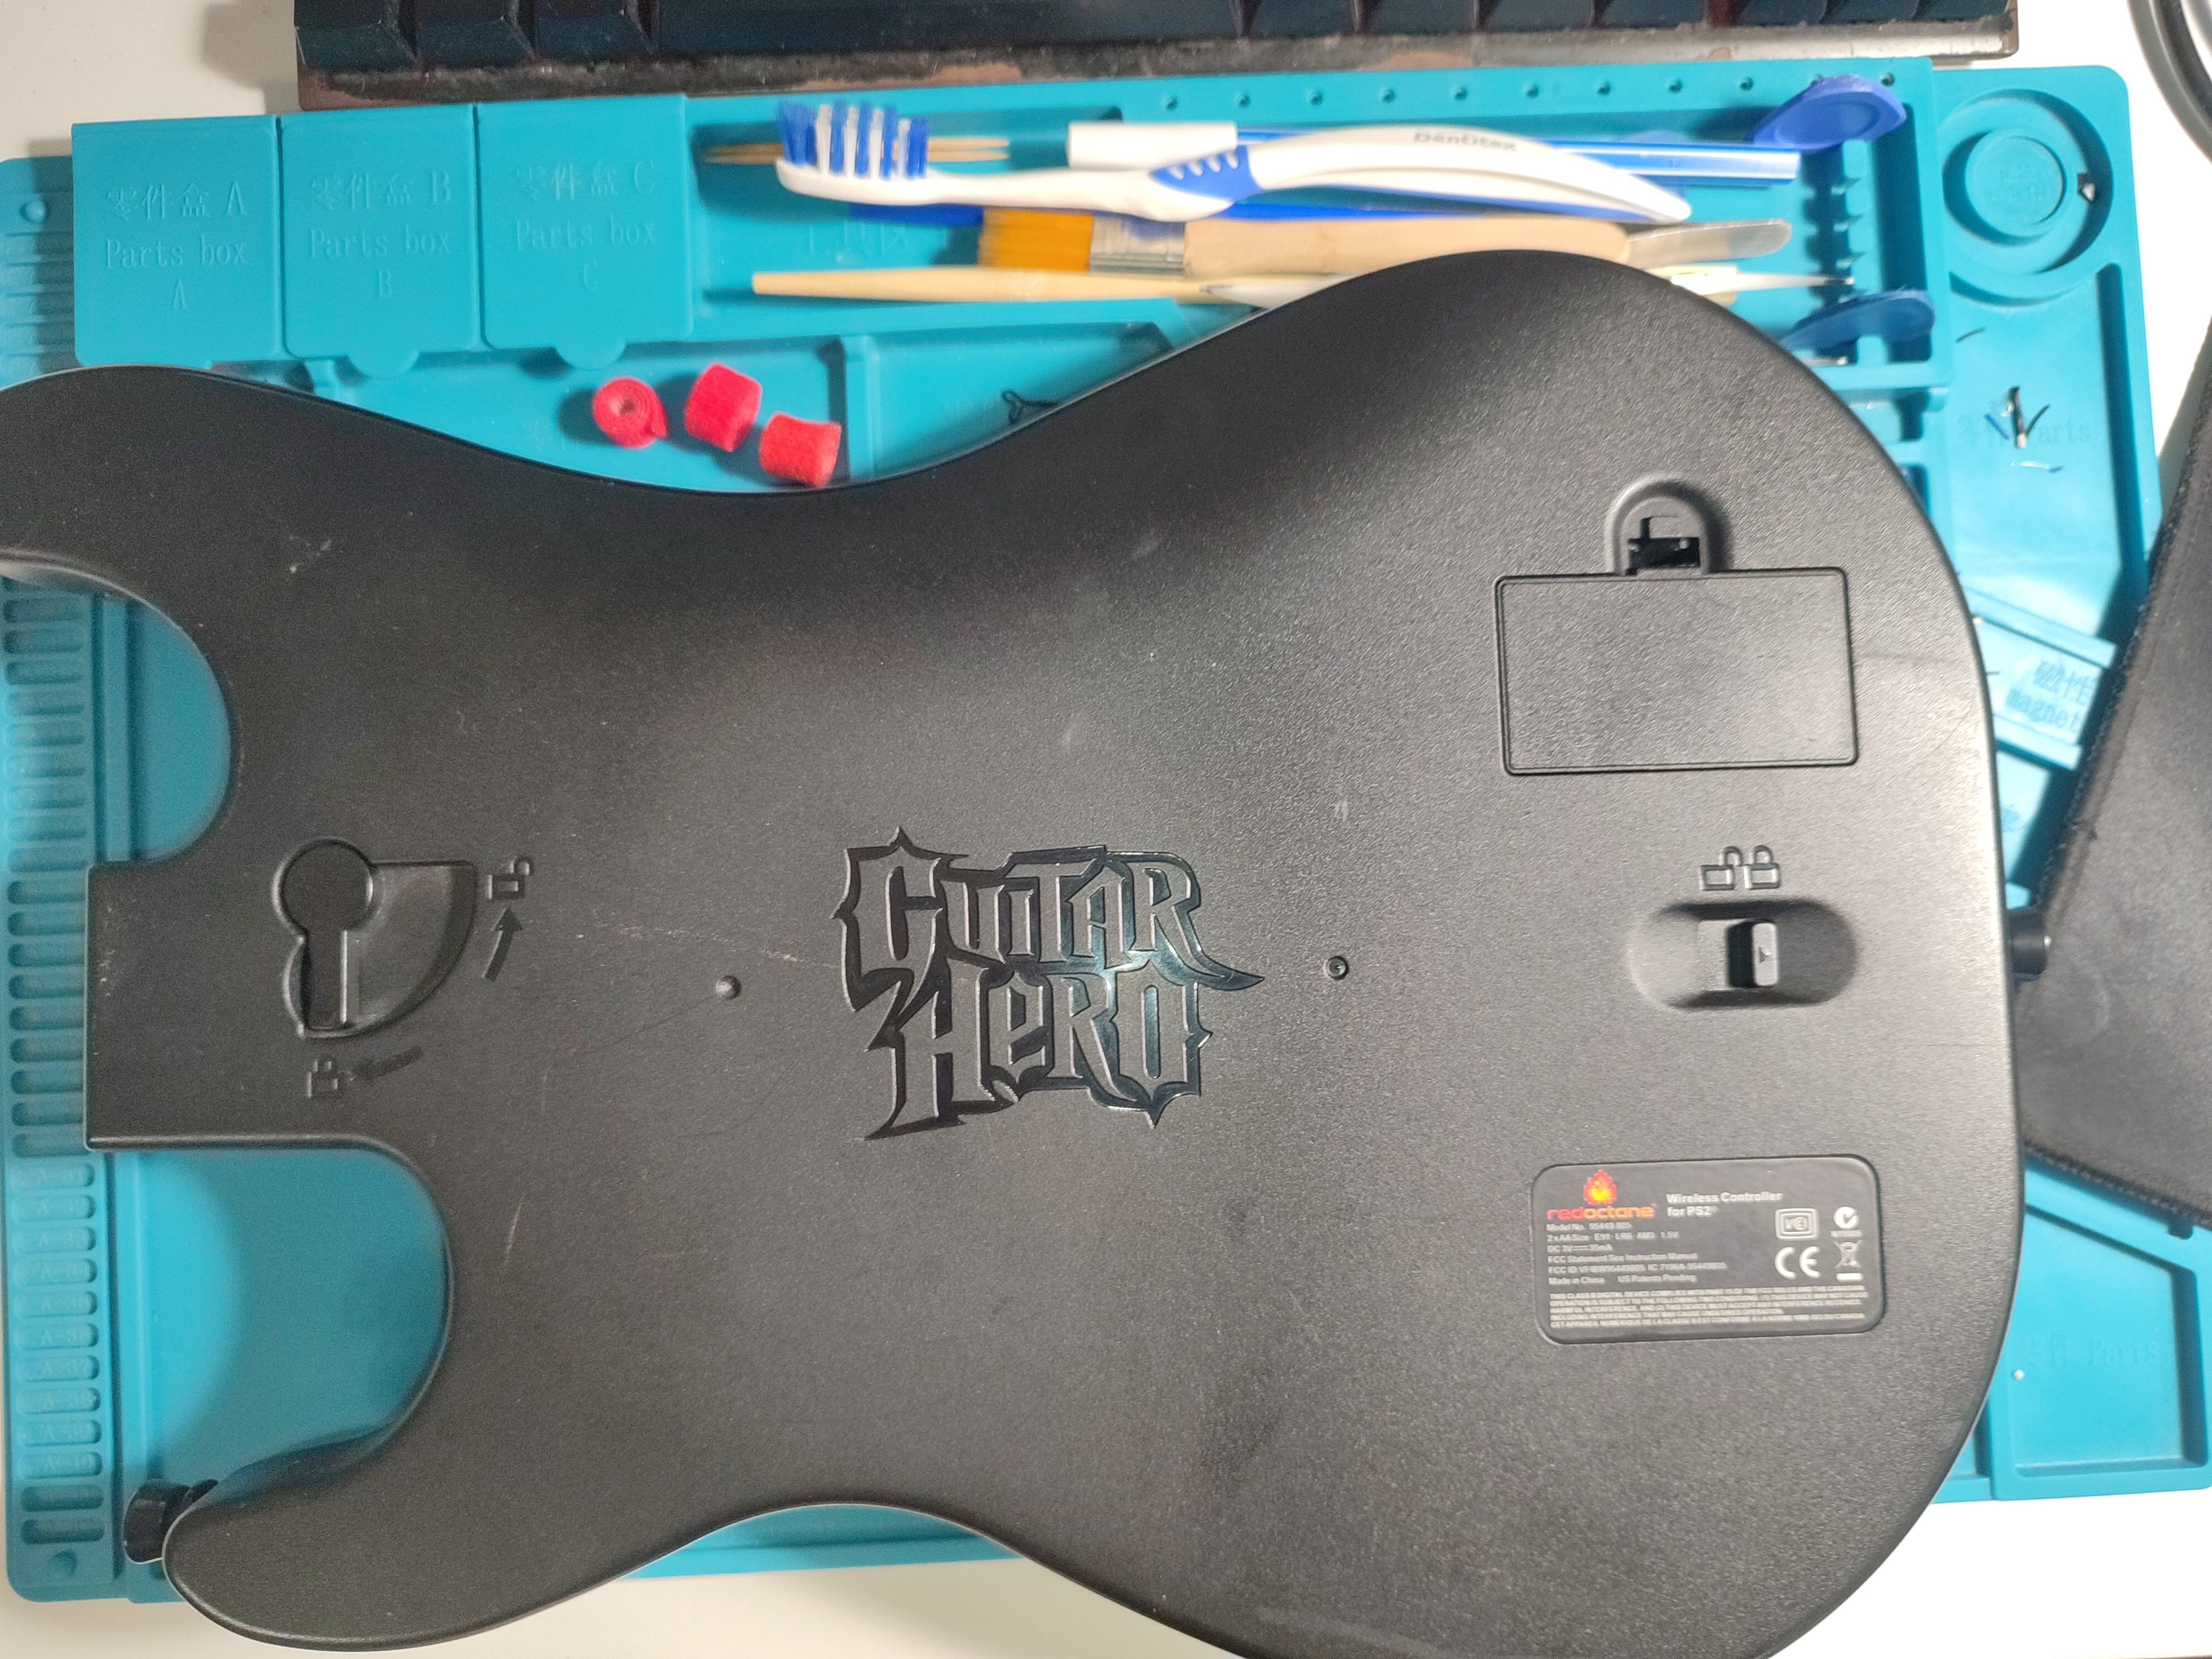
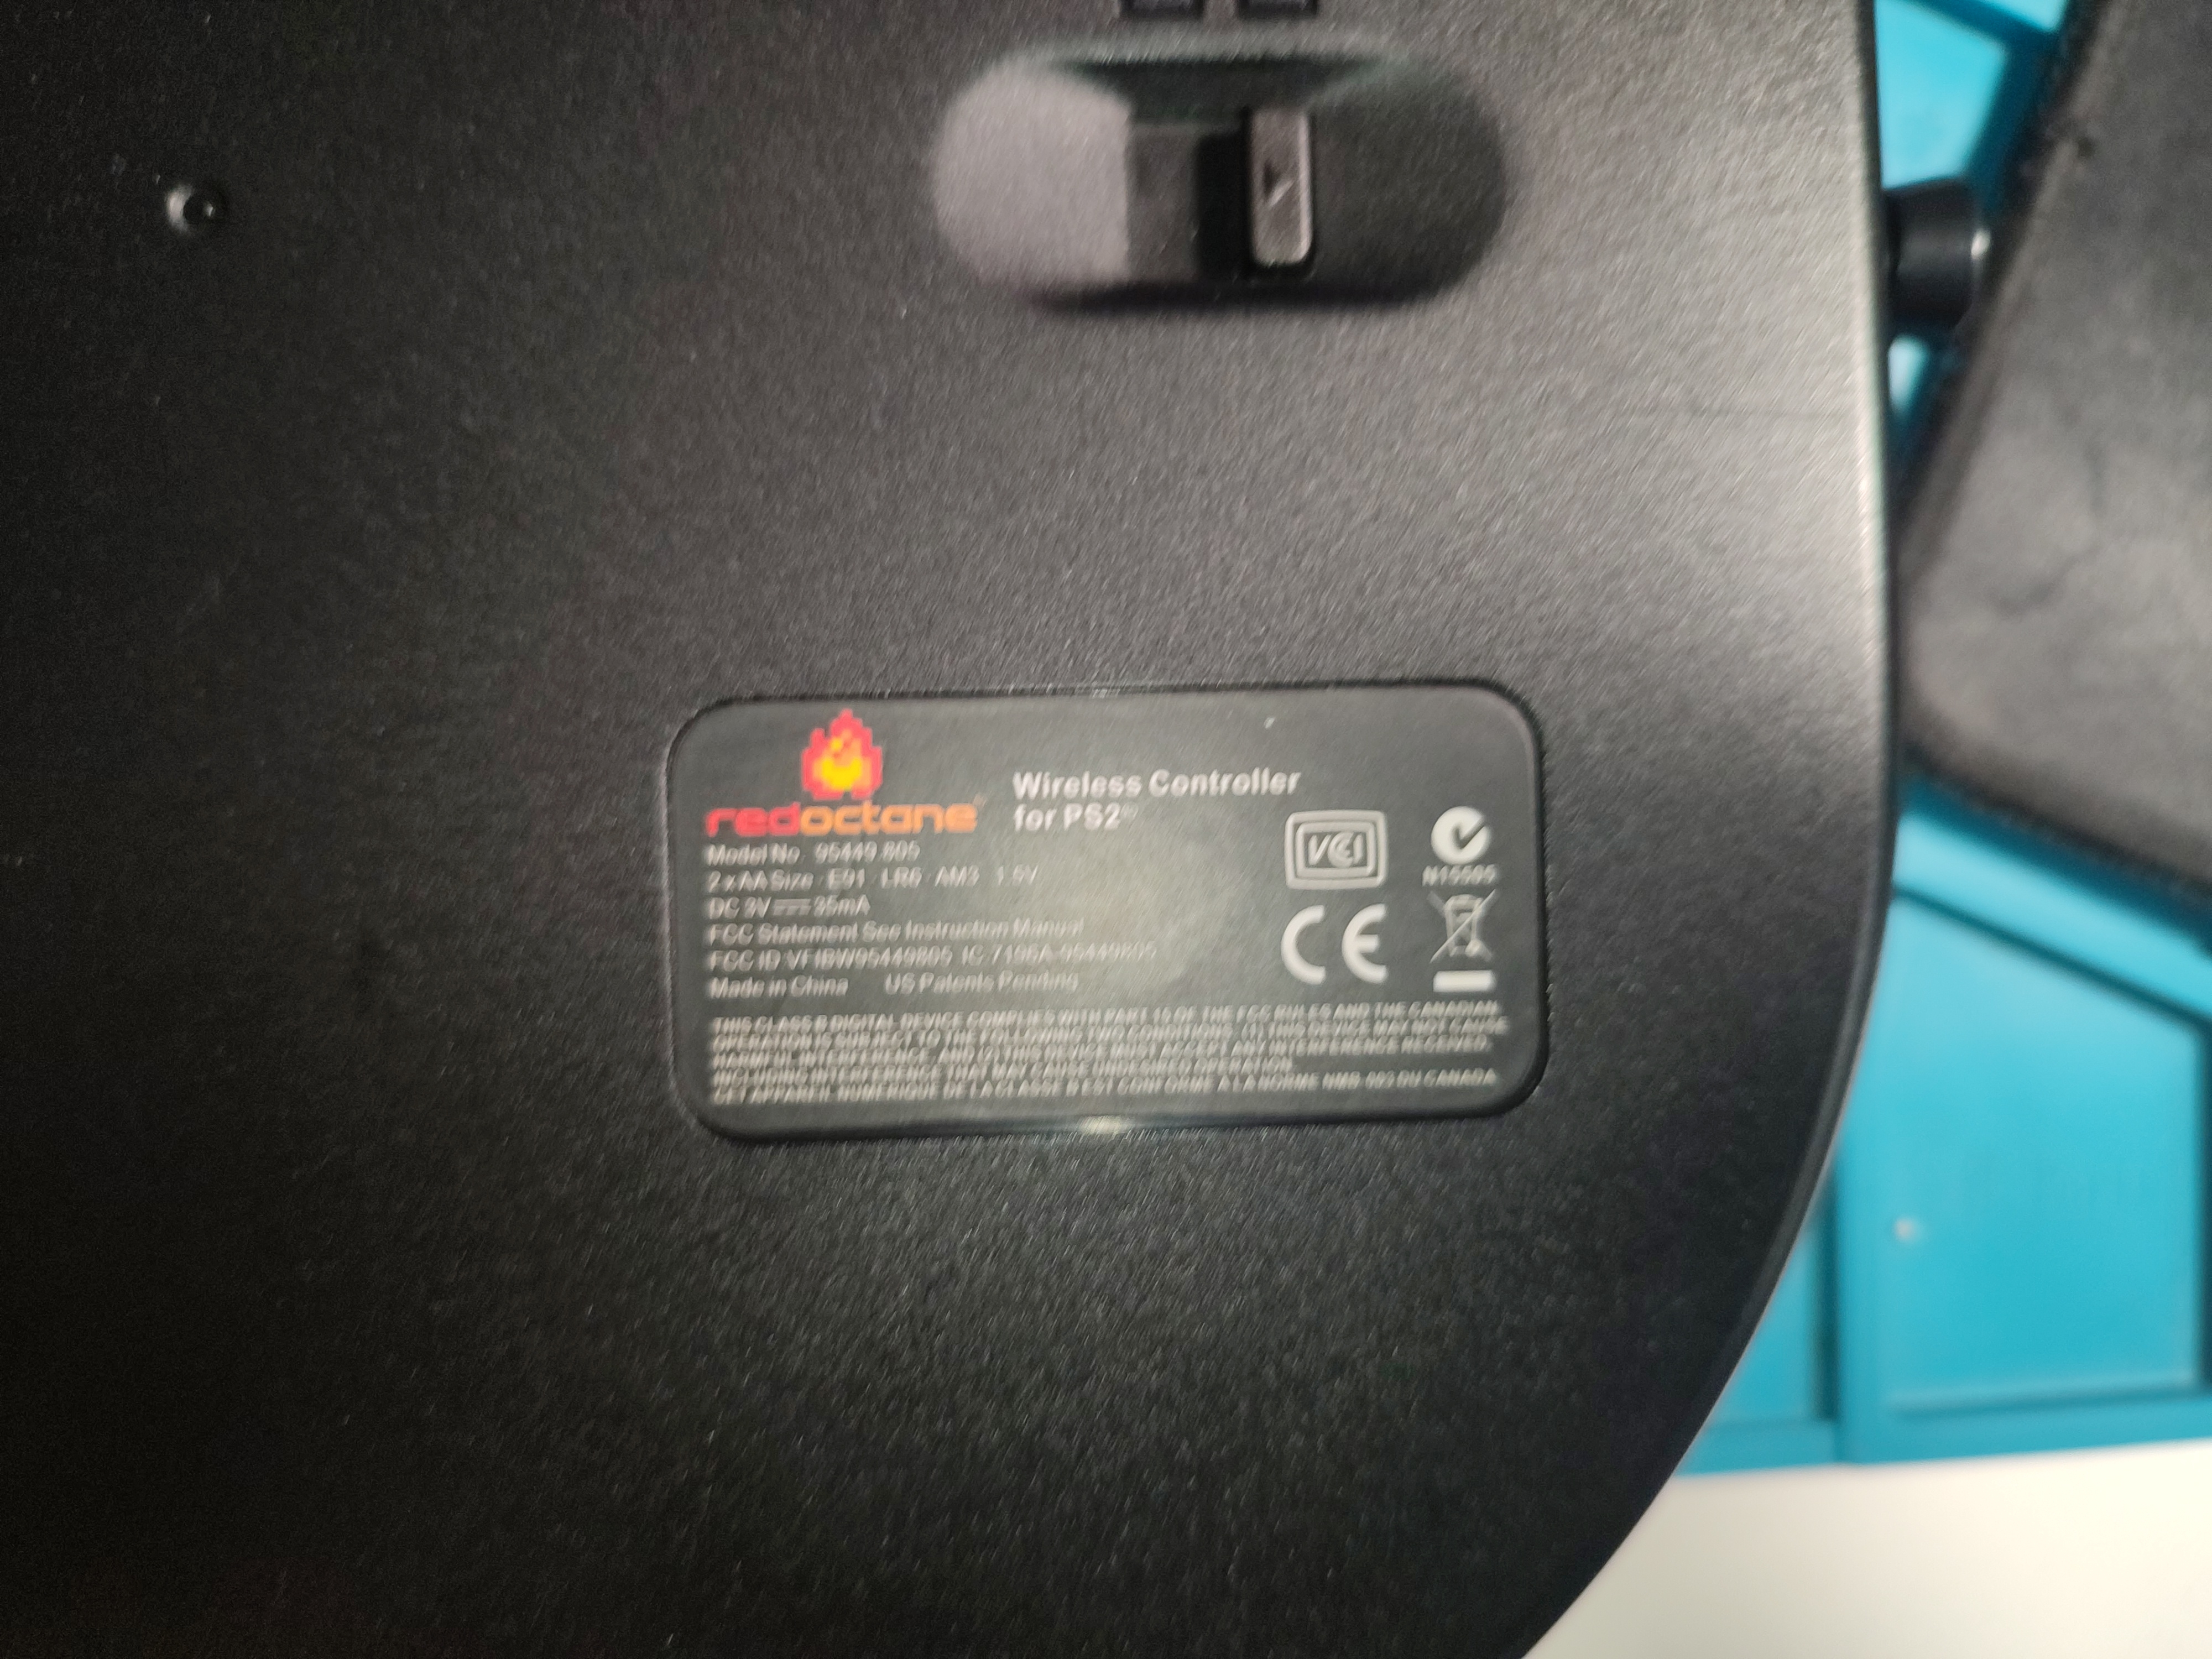
Every button clicks nicely, none of them are stuck. The led on the D-Pad lights up and blinks when the batteries are inserted. Unfortunately this is the only positive testing that can be performed on the guitar since a dongle is not available for me.
Disassembly of the guitar
On this specific model the neck is detachable and does not use pogo pins ( which are very bad for latency). The faceplate is swappable and the screws are under it.
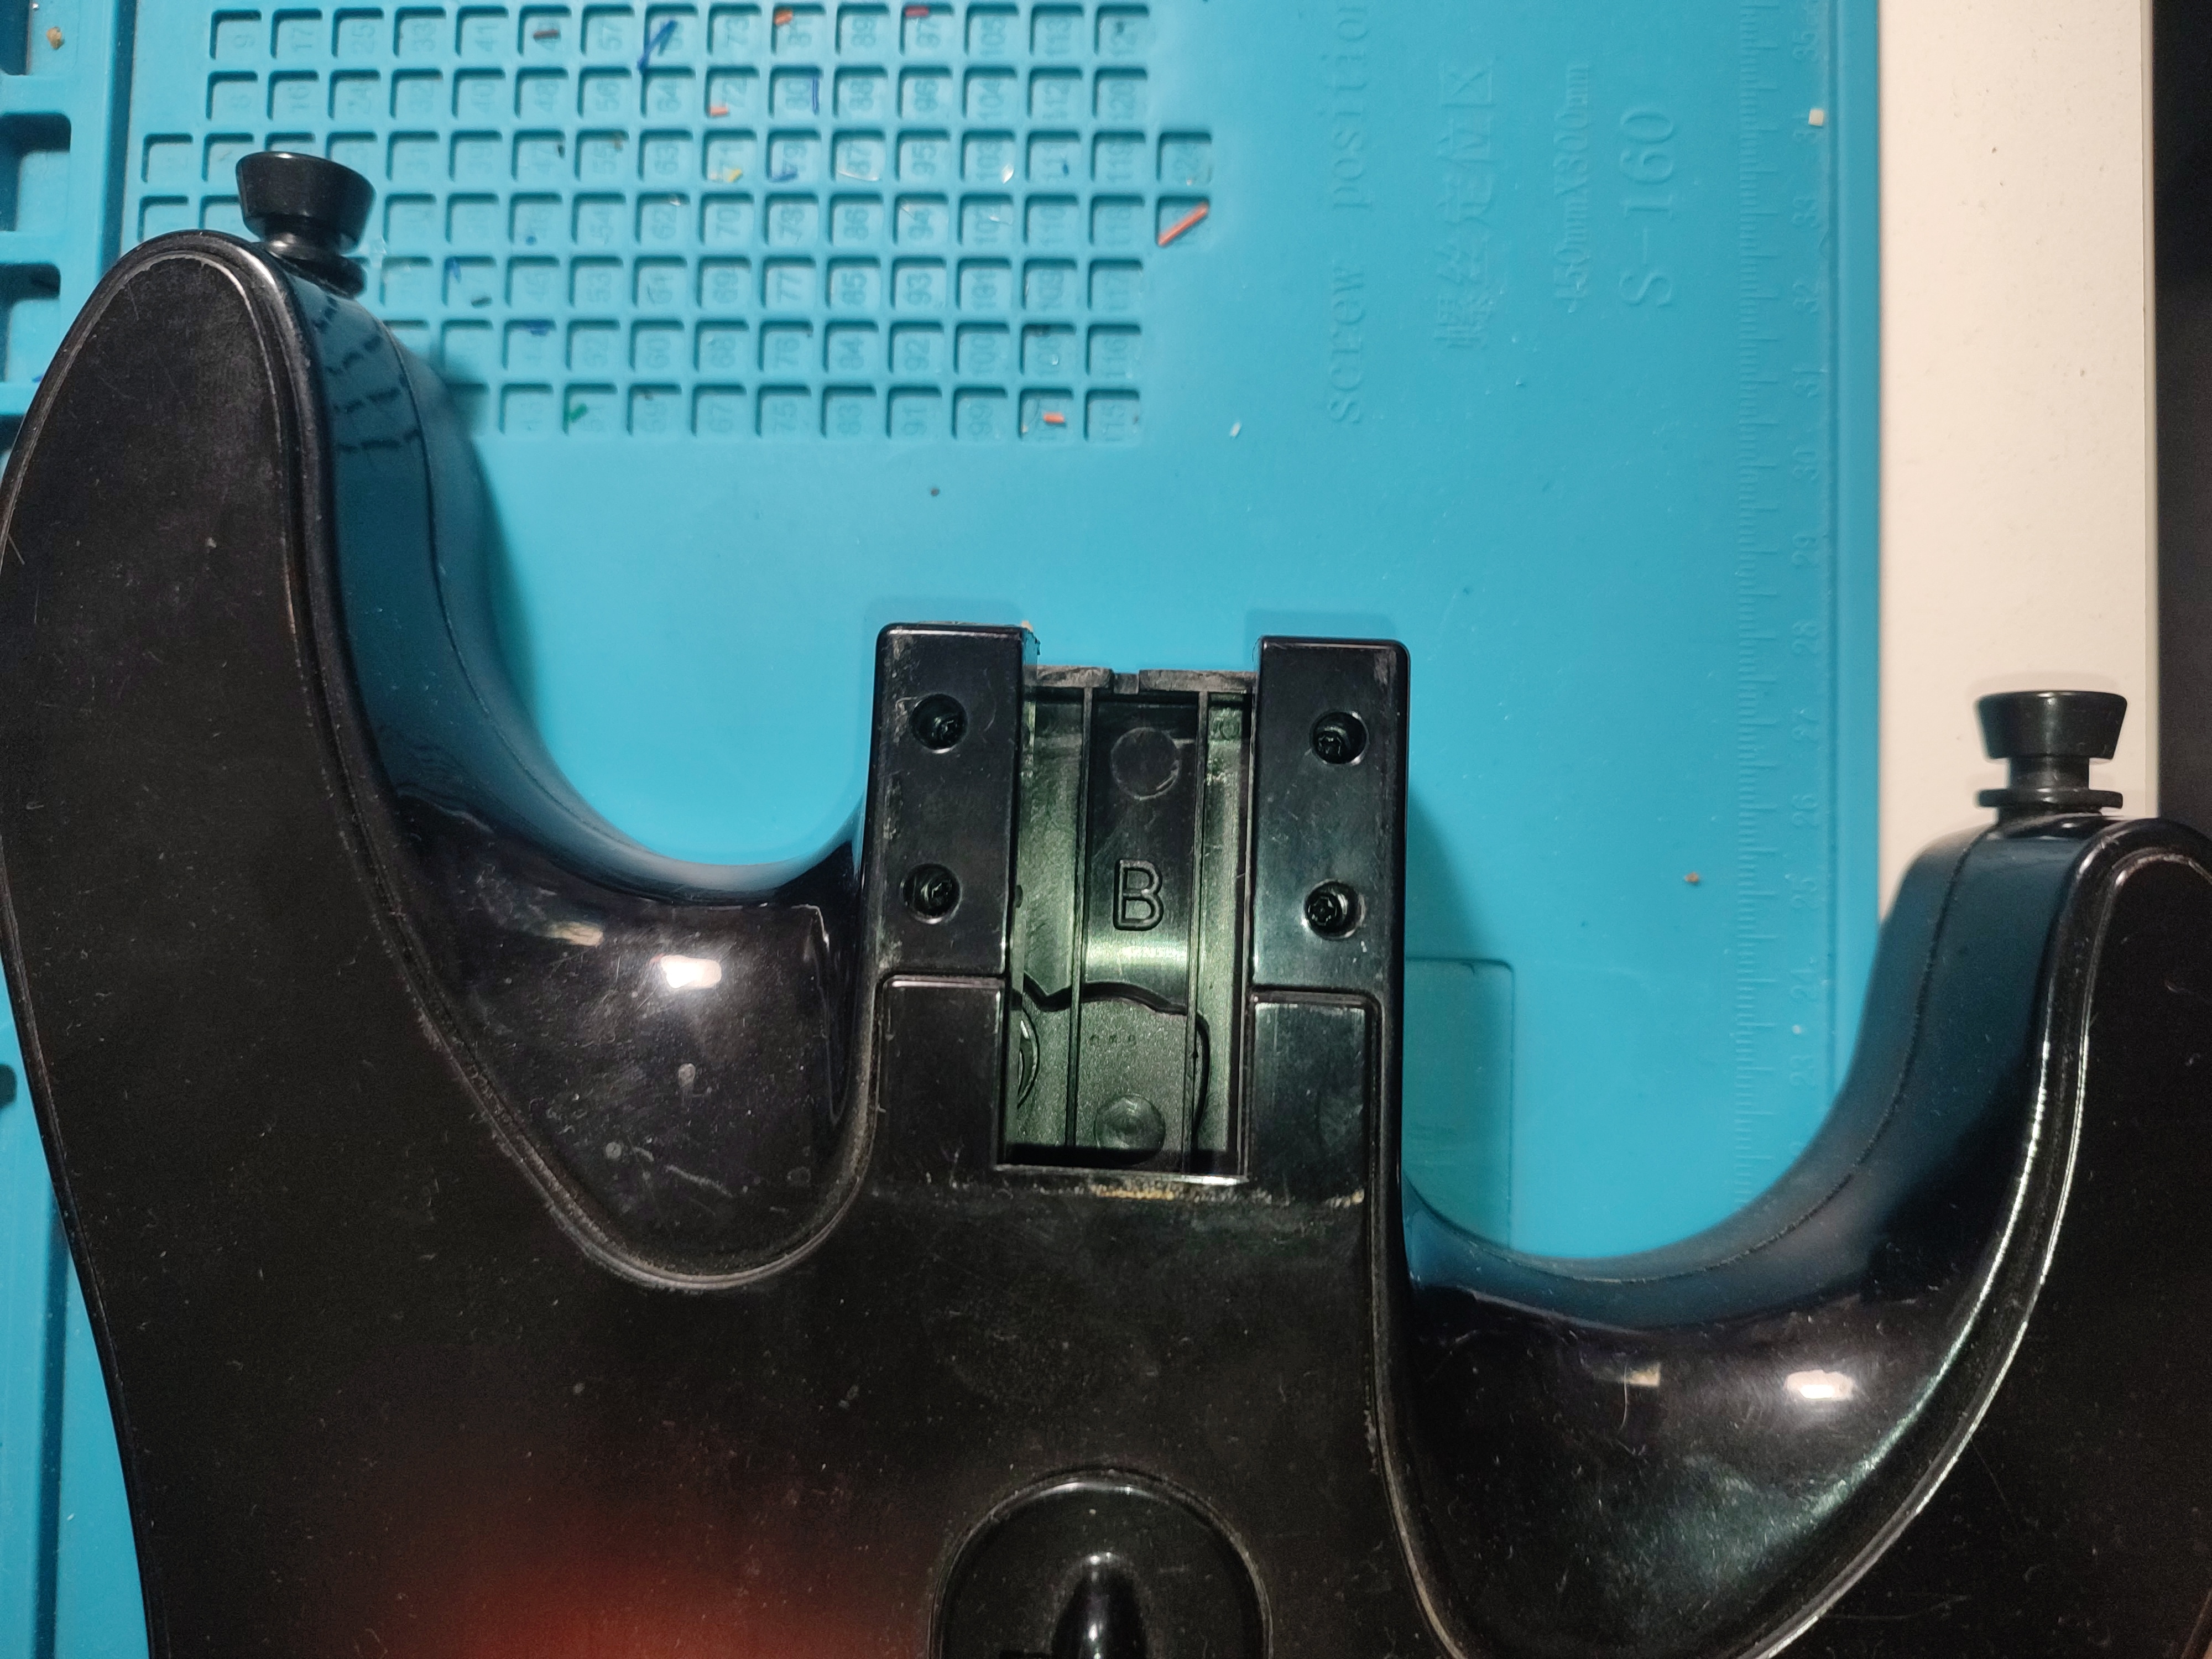
First remove the faceplate. Use plastic plyers to go under it, I found that the triangle ones work the best.
The screw holes are T10 torques:
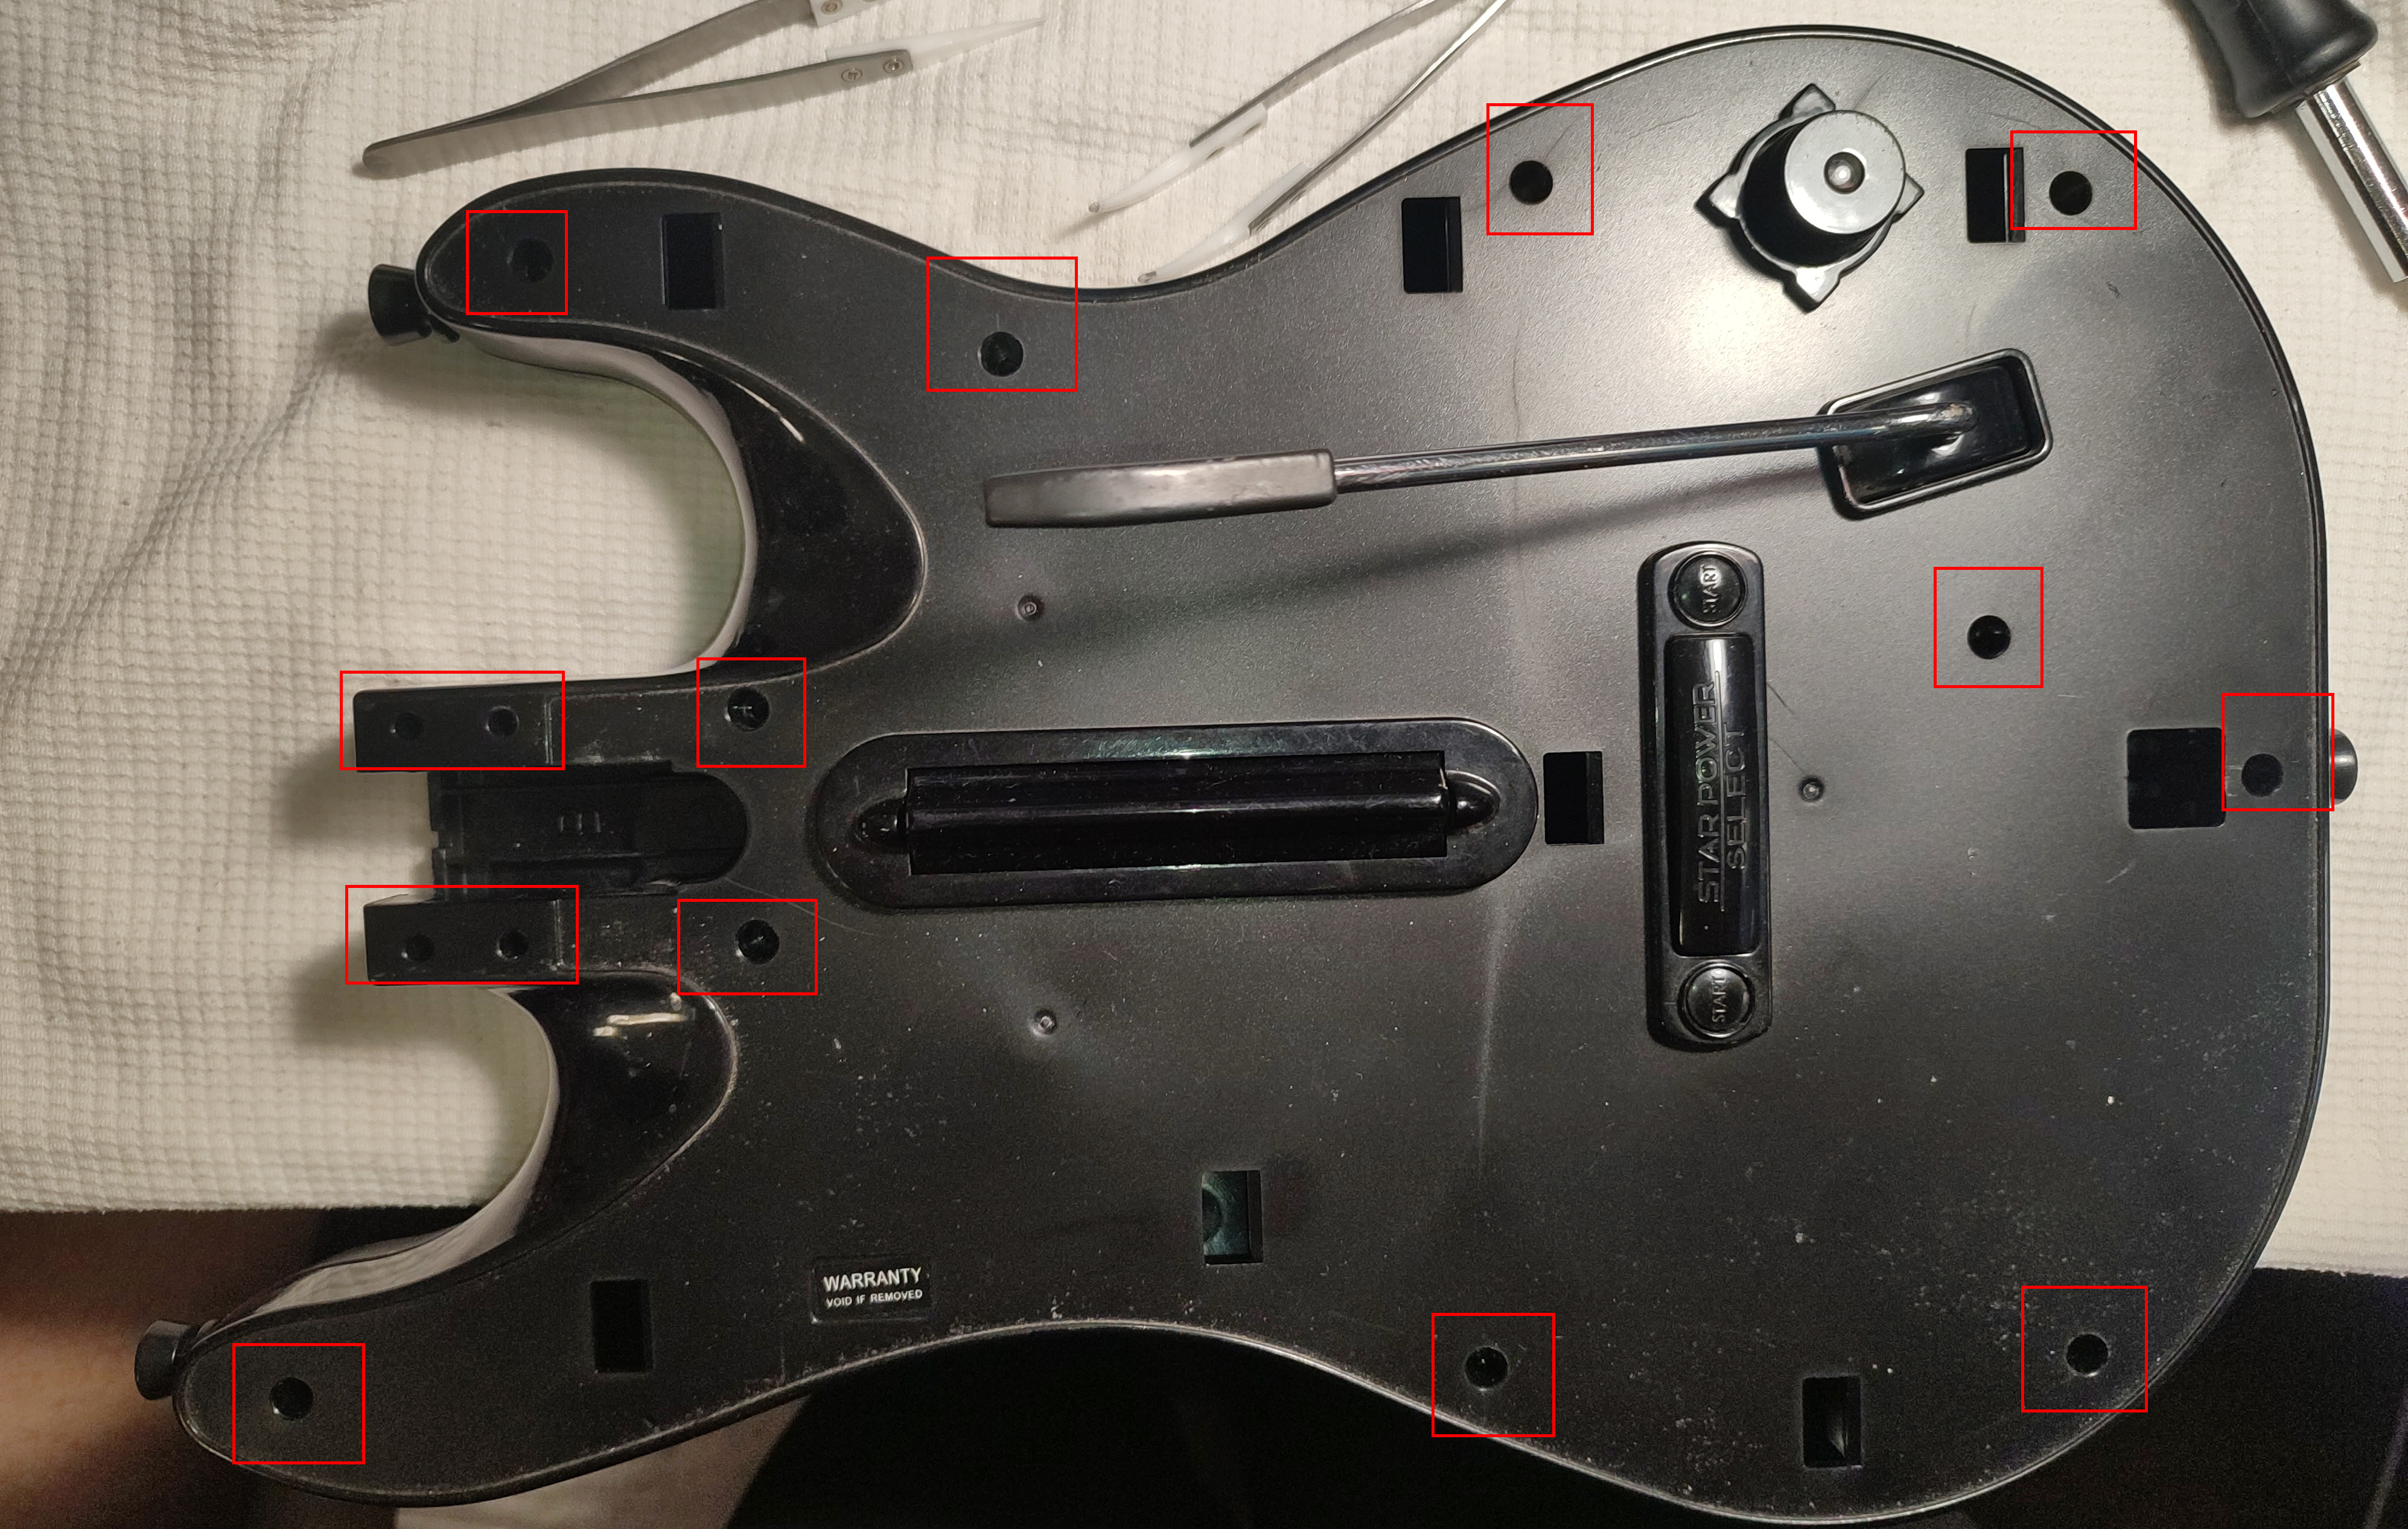
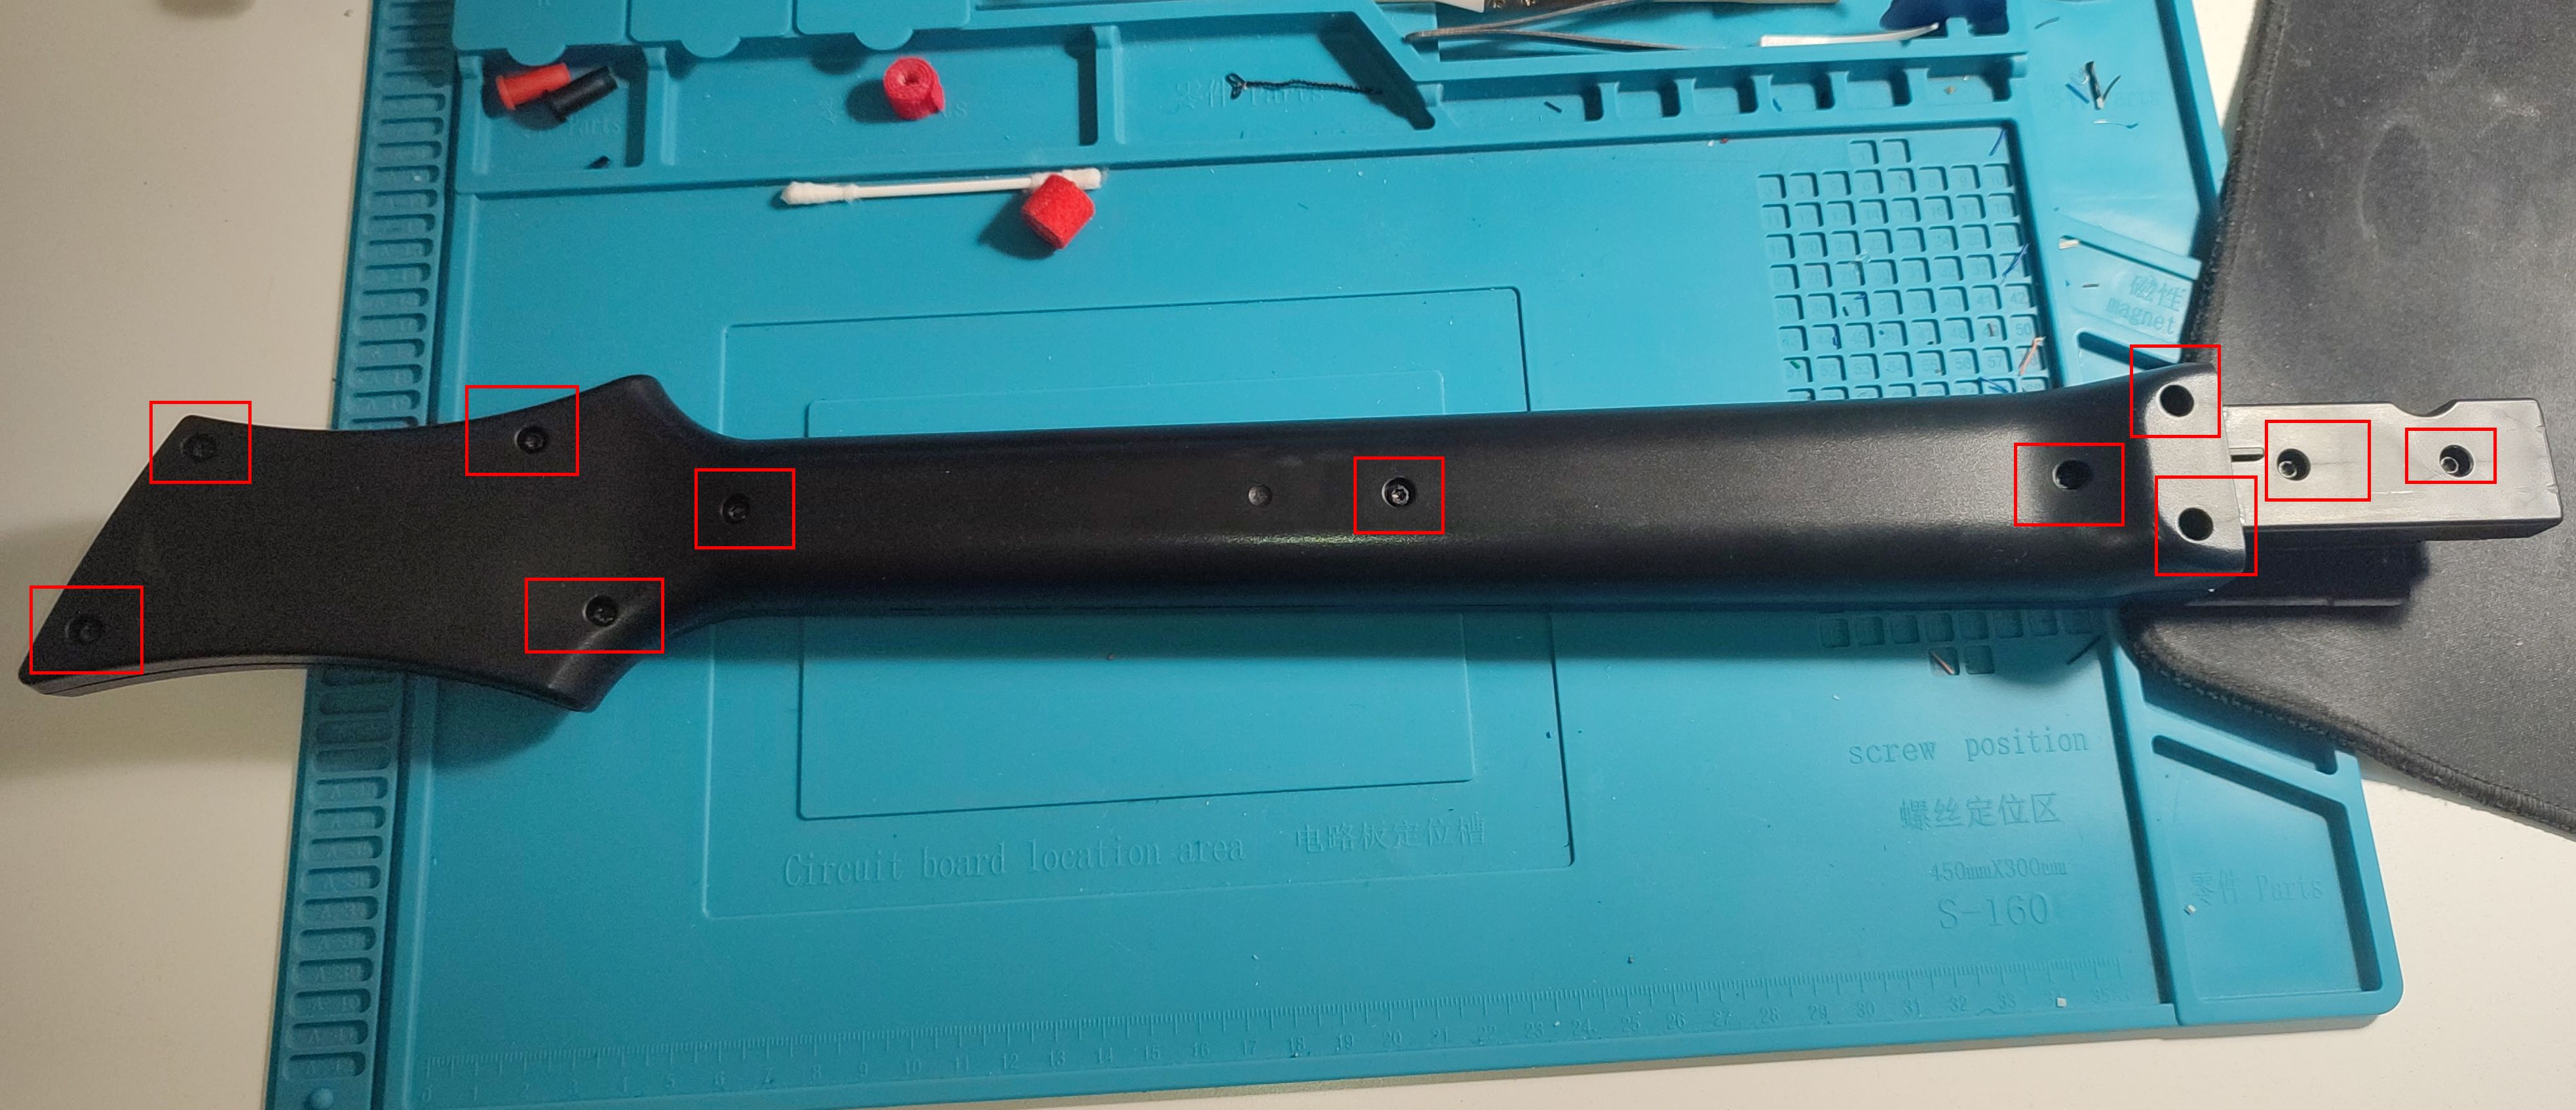
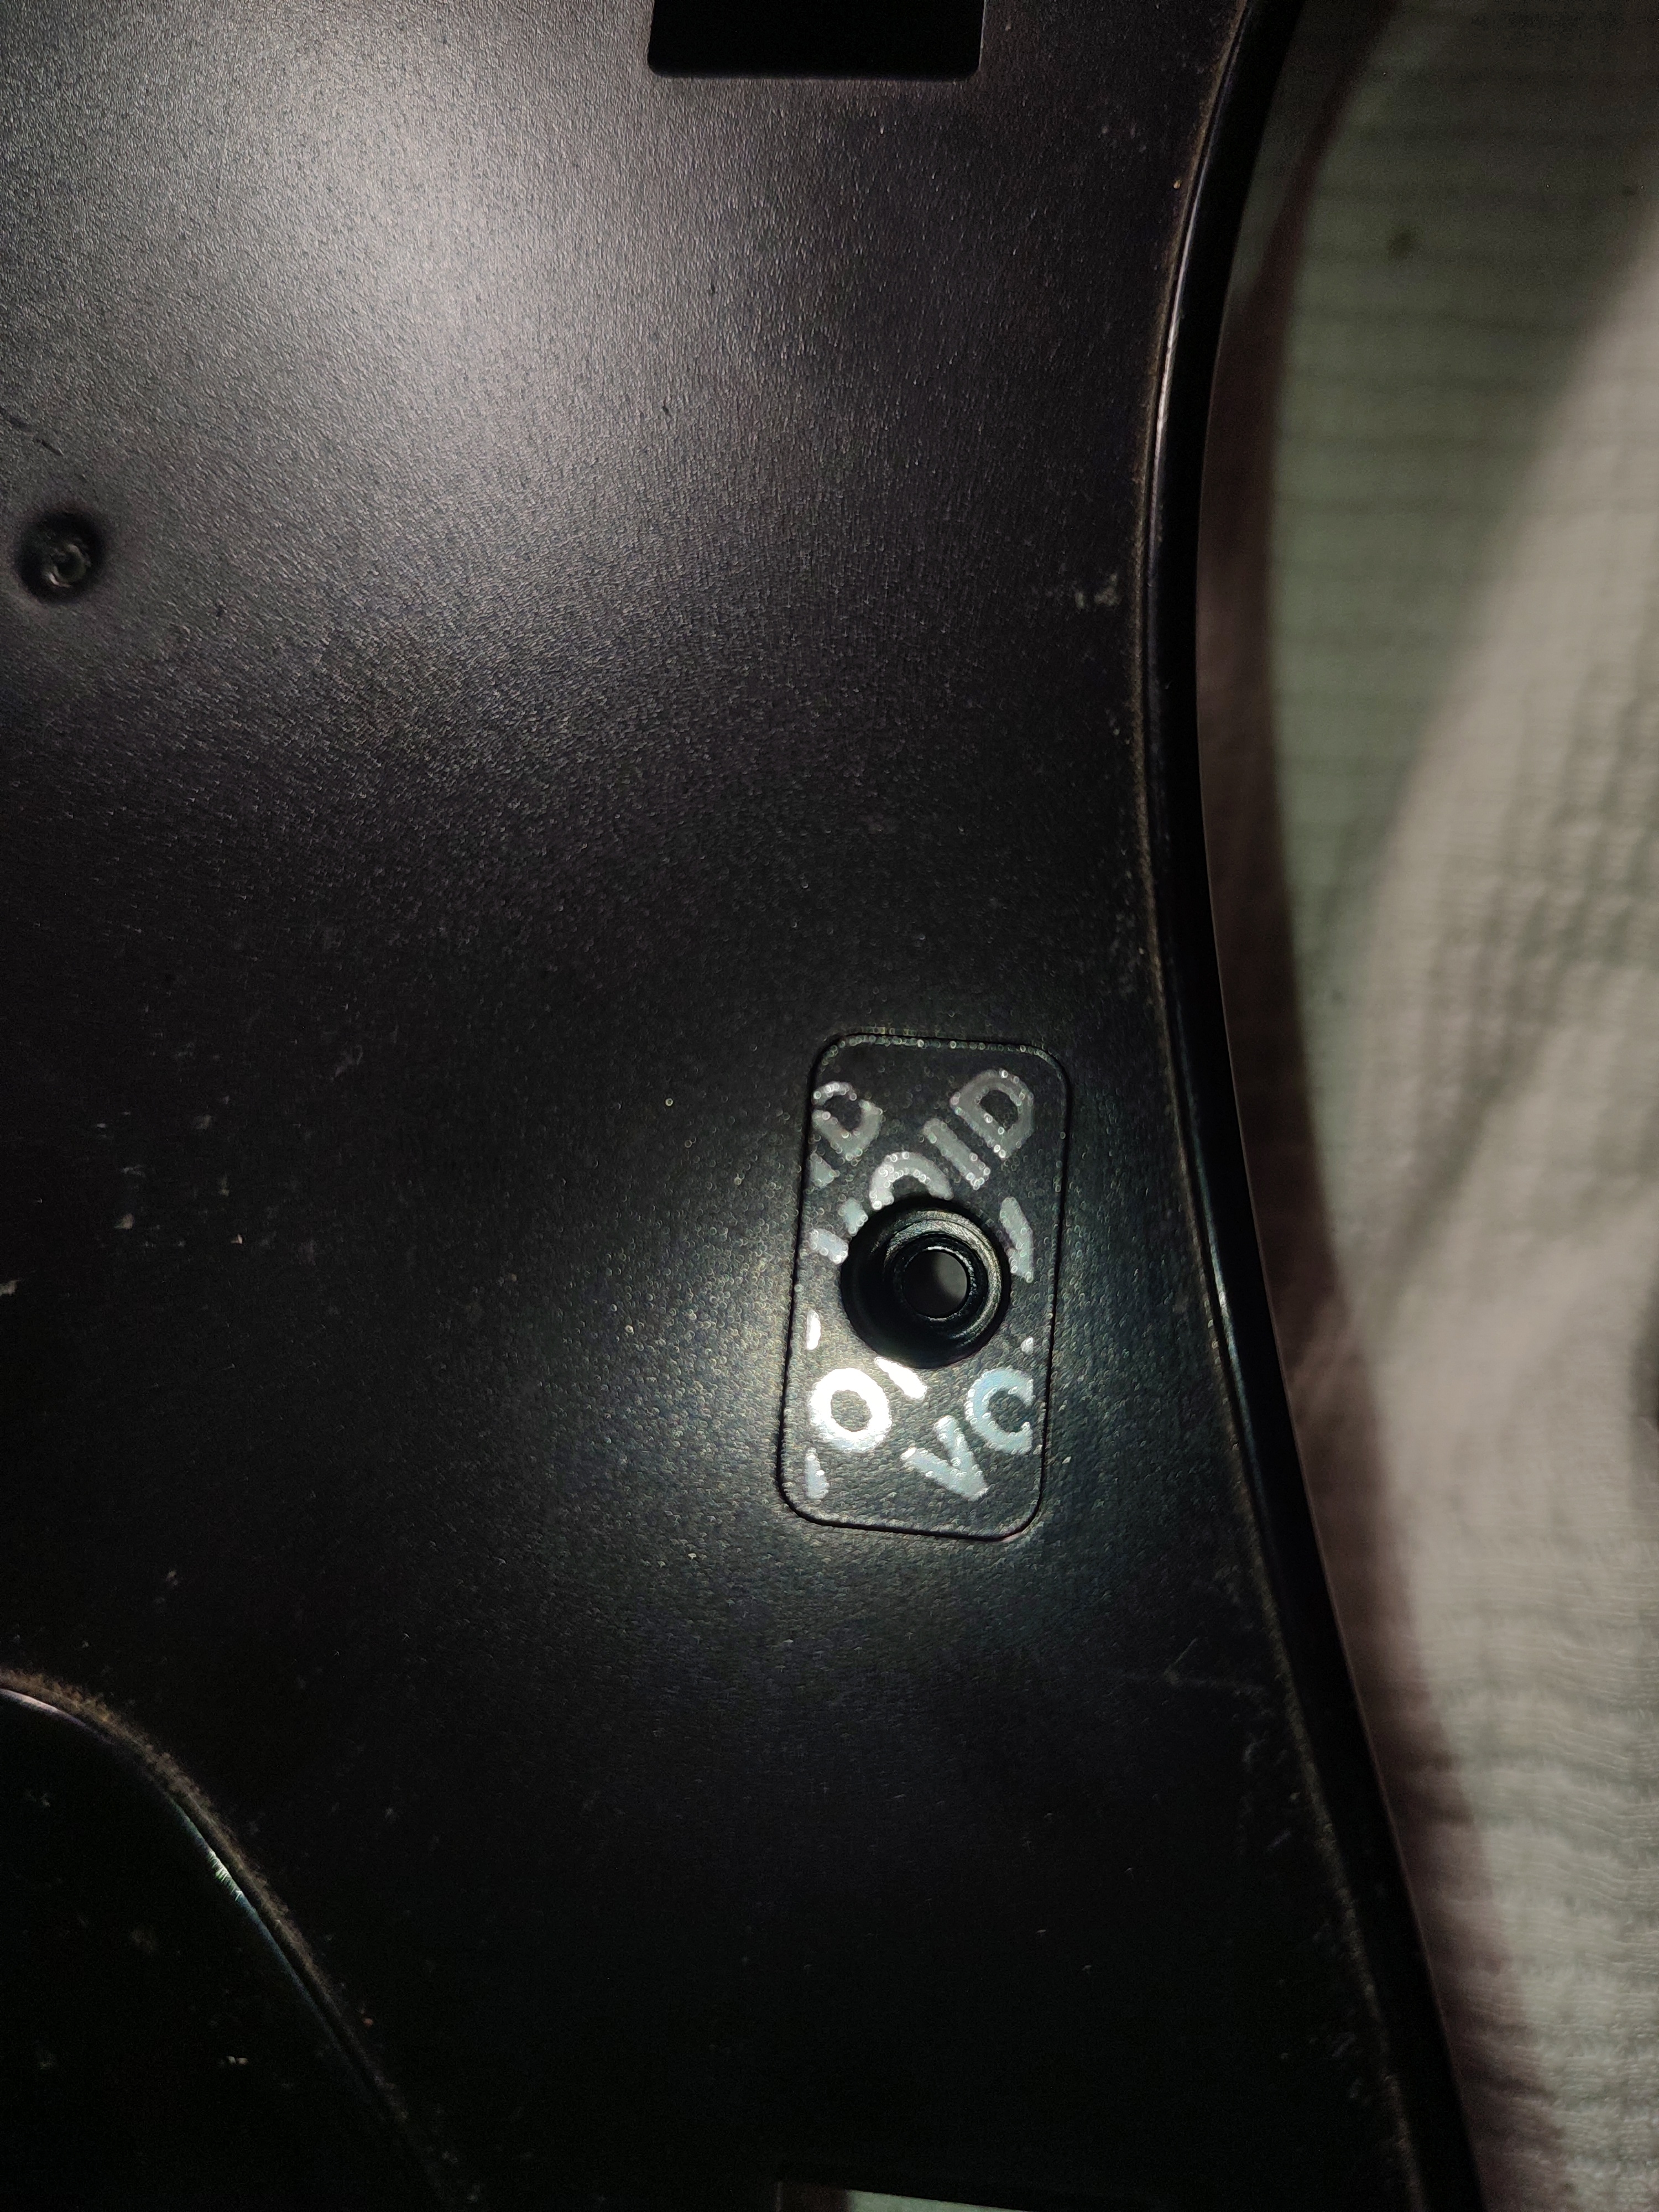
Don’t forget the warranty sticker ;)
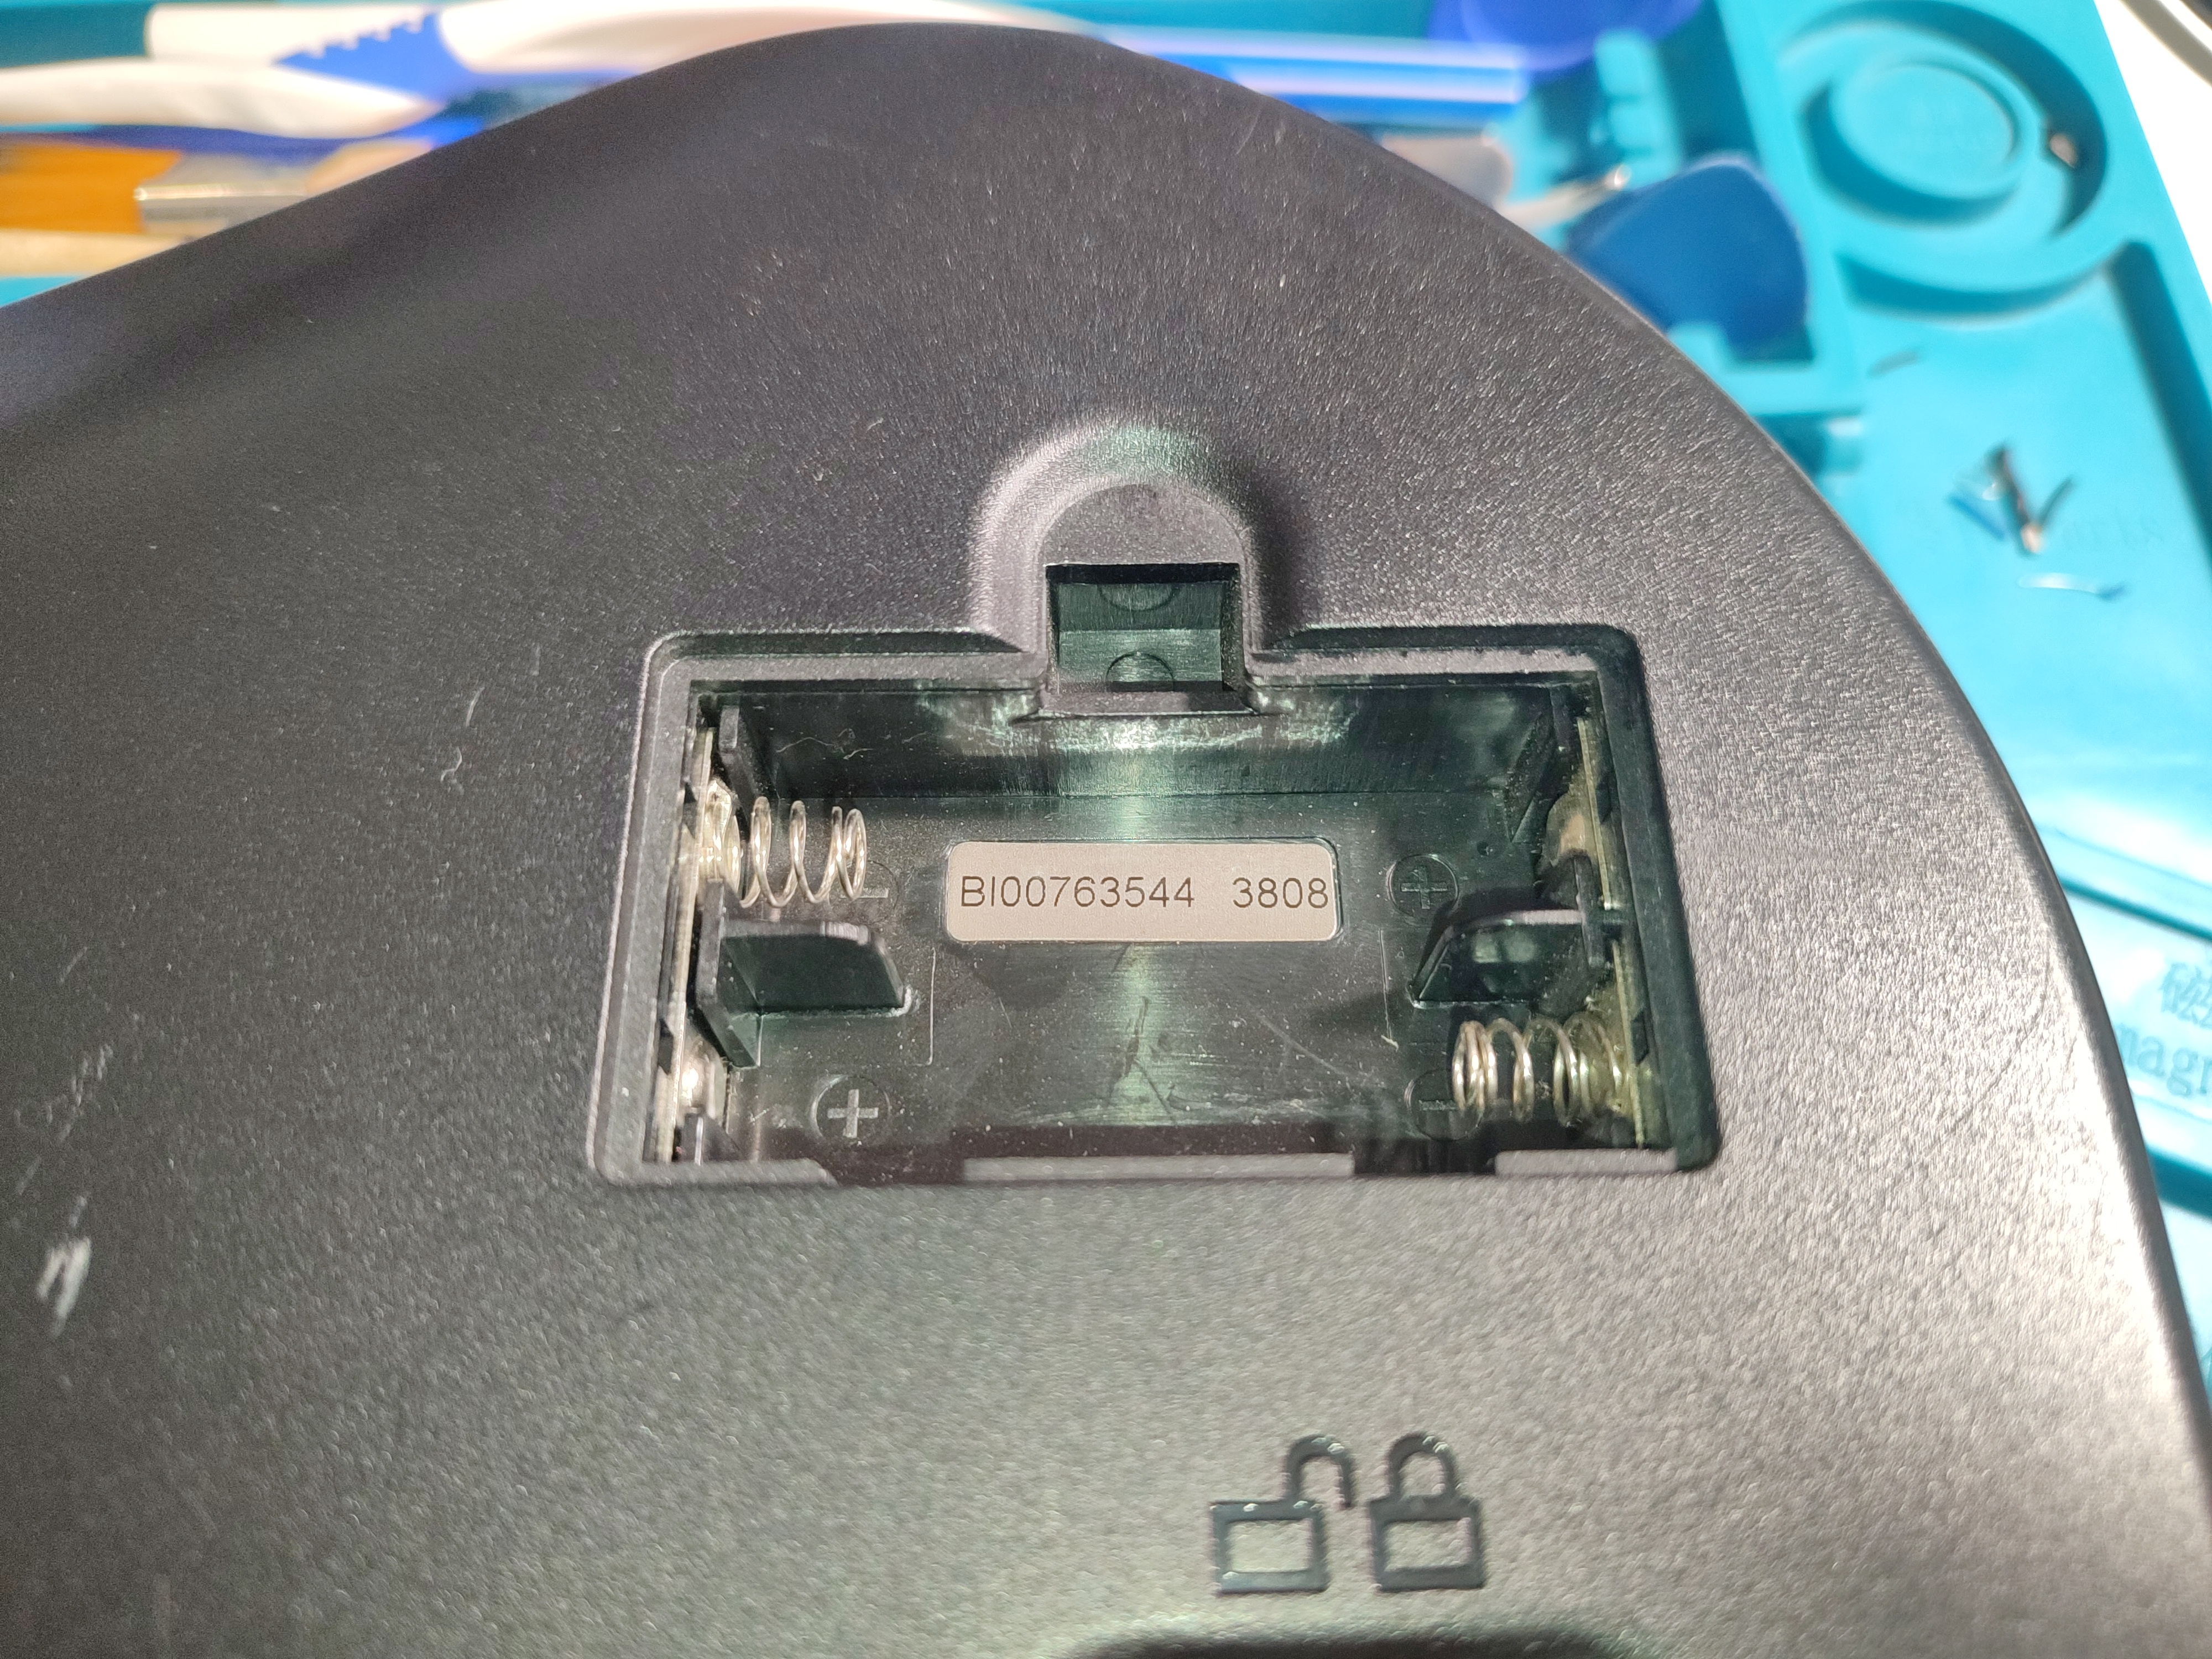
No corrosion in the battery compartment, this component will be removed later on.
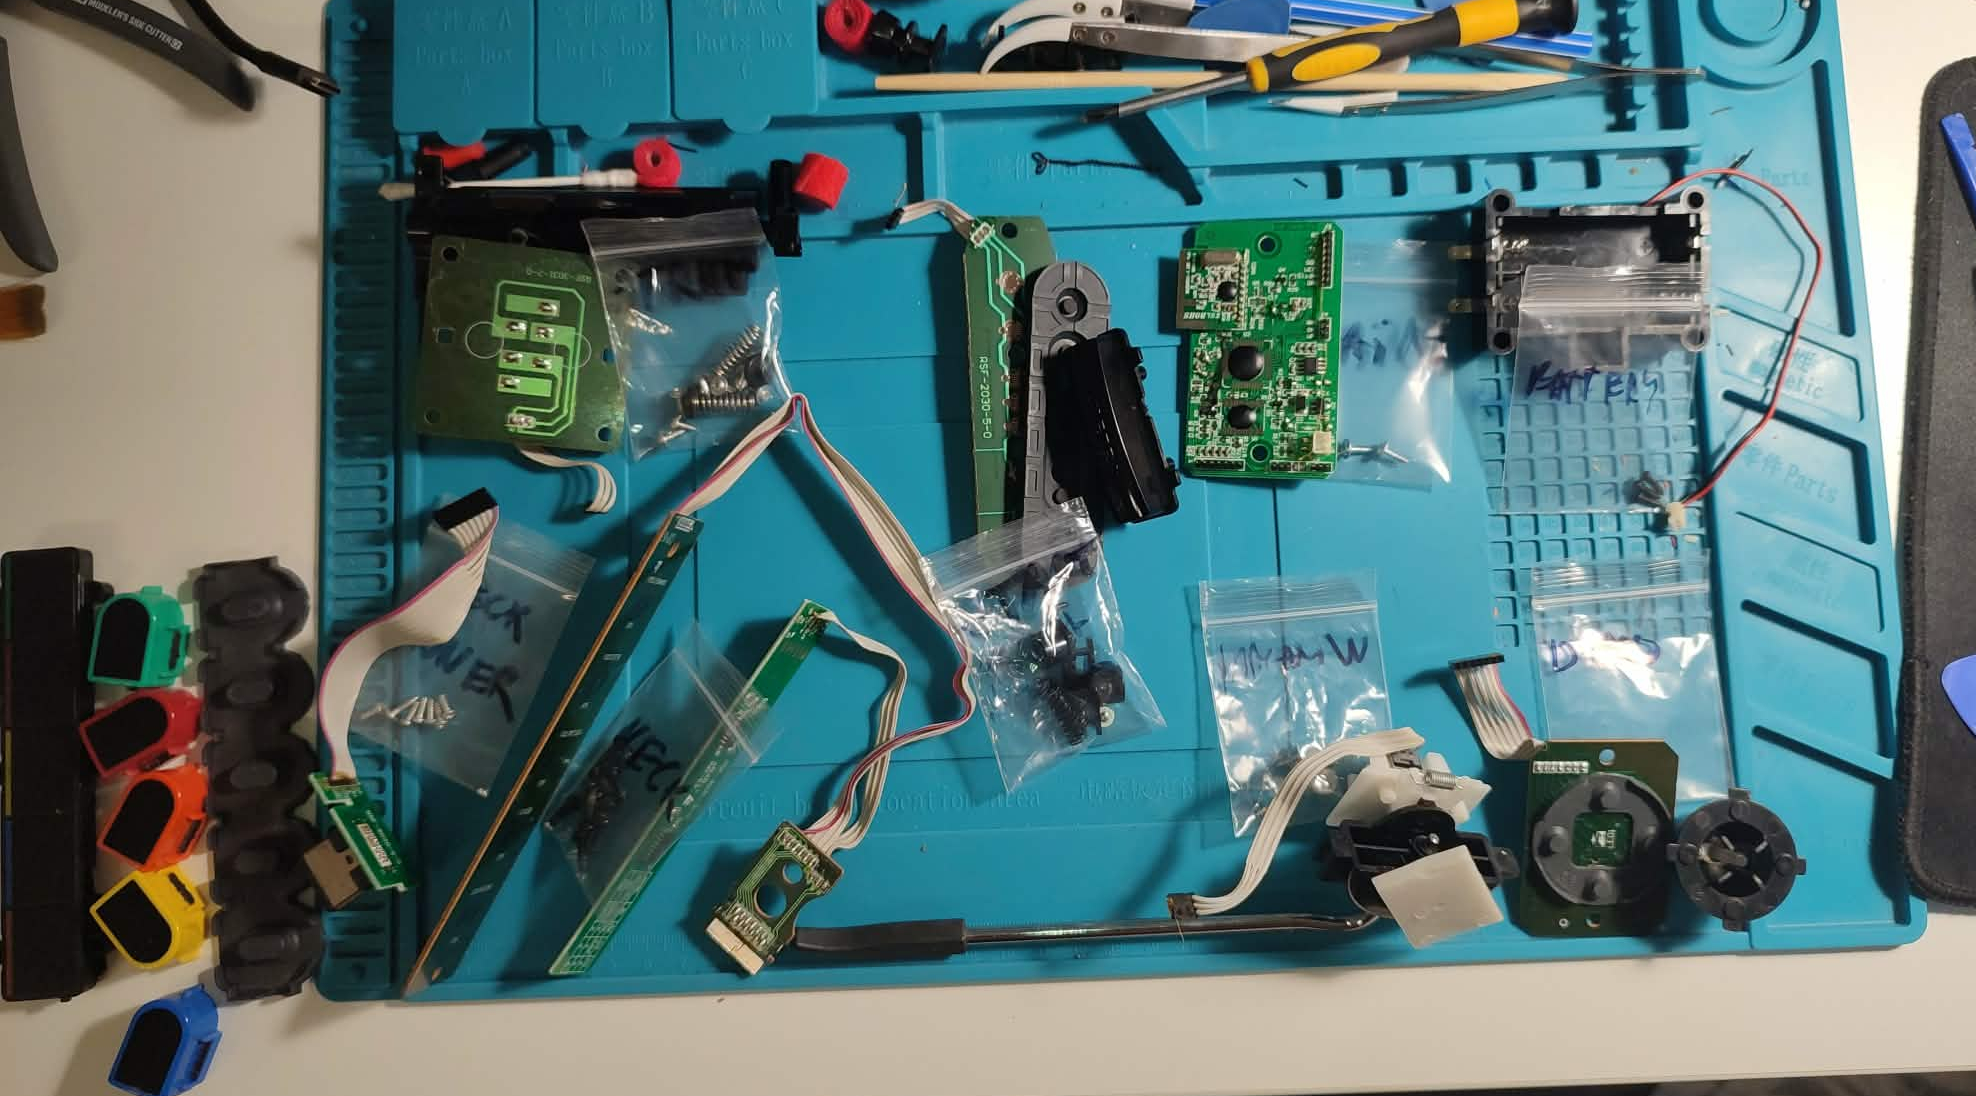
Parts of the guitar
The guitar and the parts required to solder to the pico can be divided into modules and which the Santroller documentation also follows.
On this guitar the following components were wired to the pico:
- Start and Select/Starpower
- Whammy bar
- D-pad
- Frets
- Strum
- Digital tilt (ADXL345 sensor)
- Slider bar (MPR121 sensor)
- USB host (for authentication, explained later)
Stock guitar:
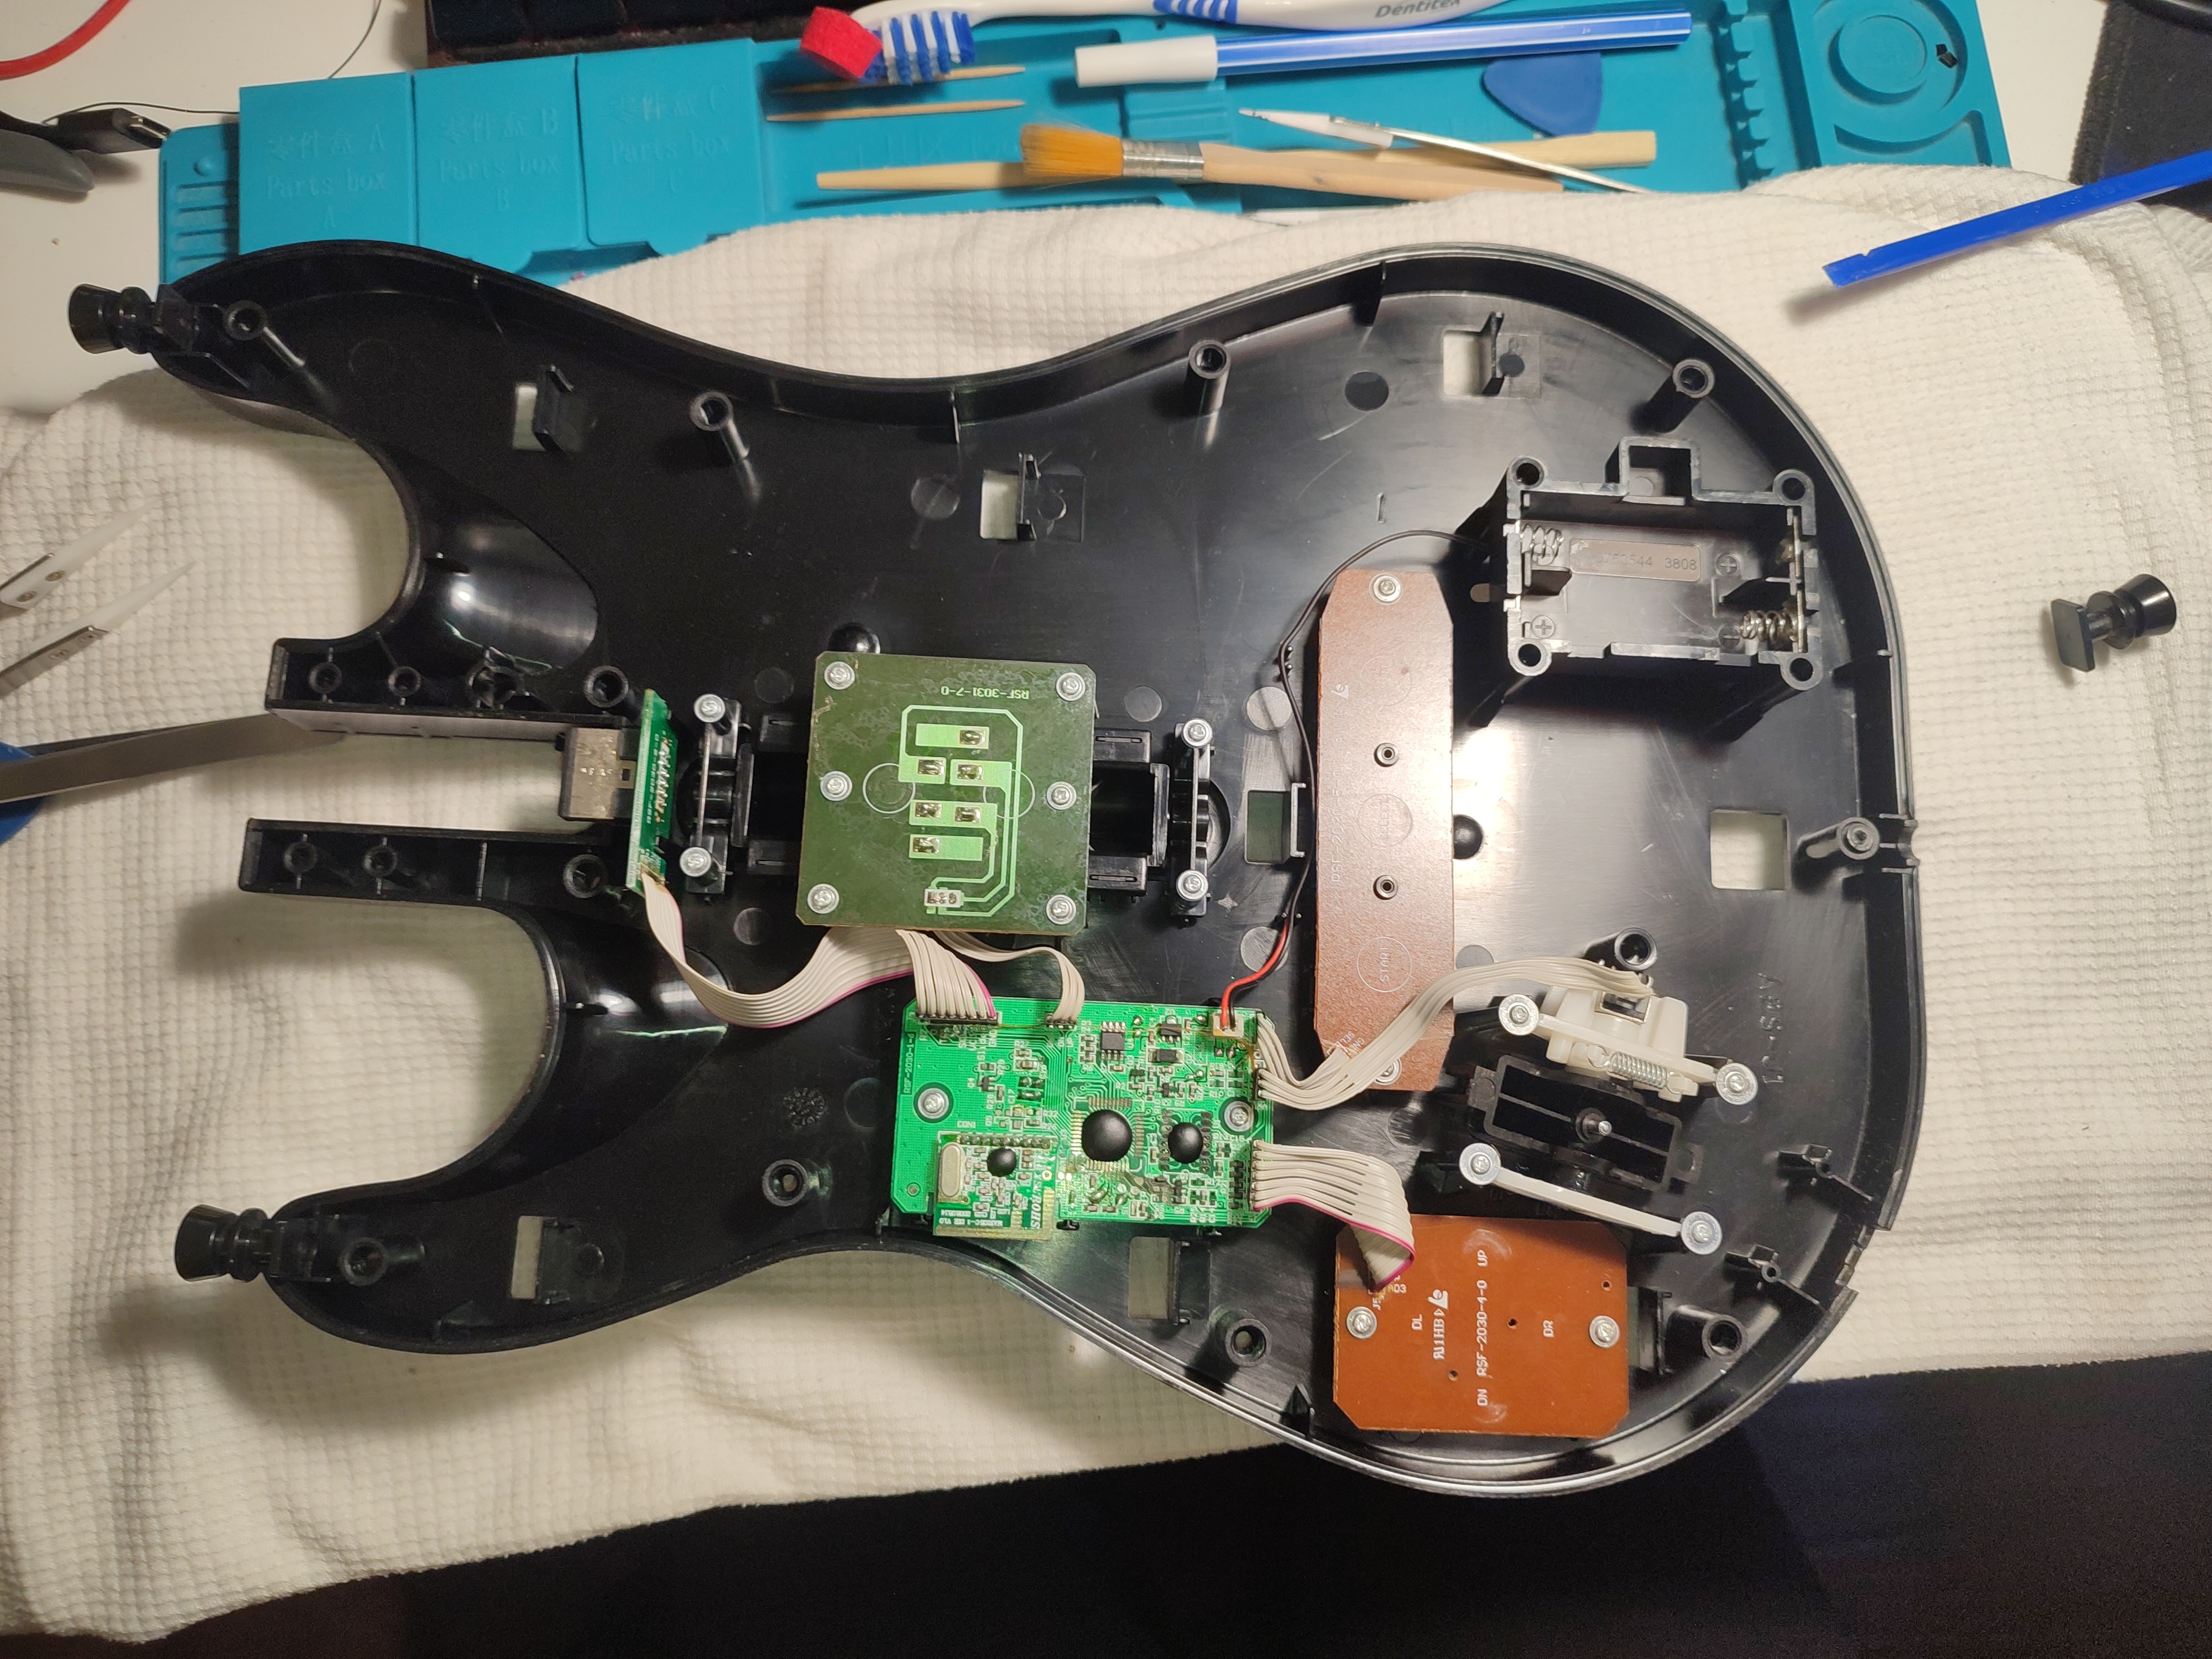
Gutted…:
The job
Before doing the job, I wanted to think about the architecture, where to put the pico, how the wires would angle from the components, etc, to have a clean wiring job. I came up with this place for the Pico:
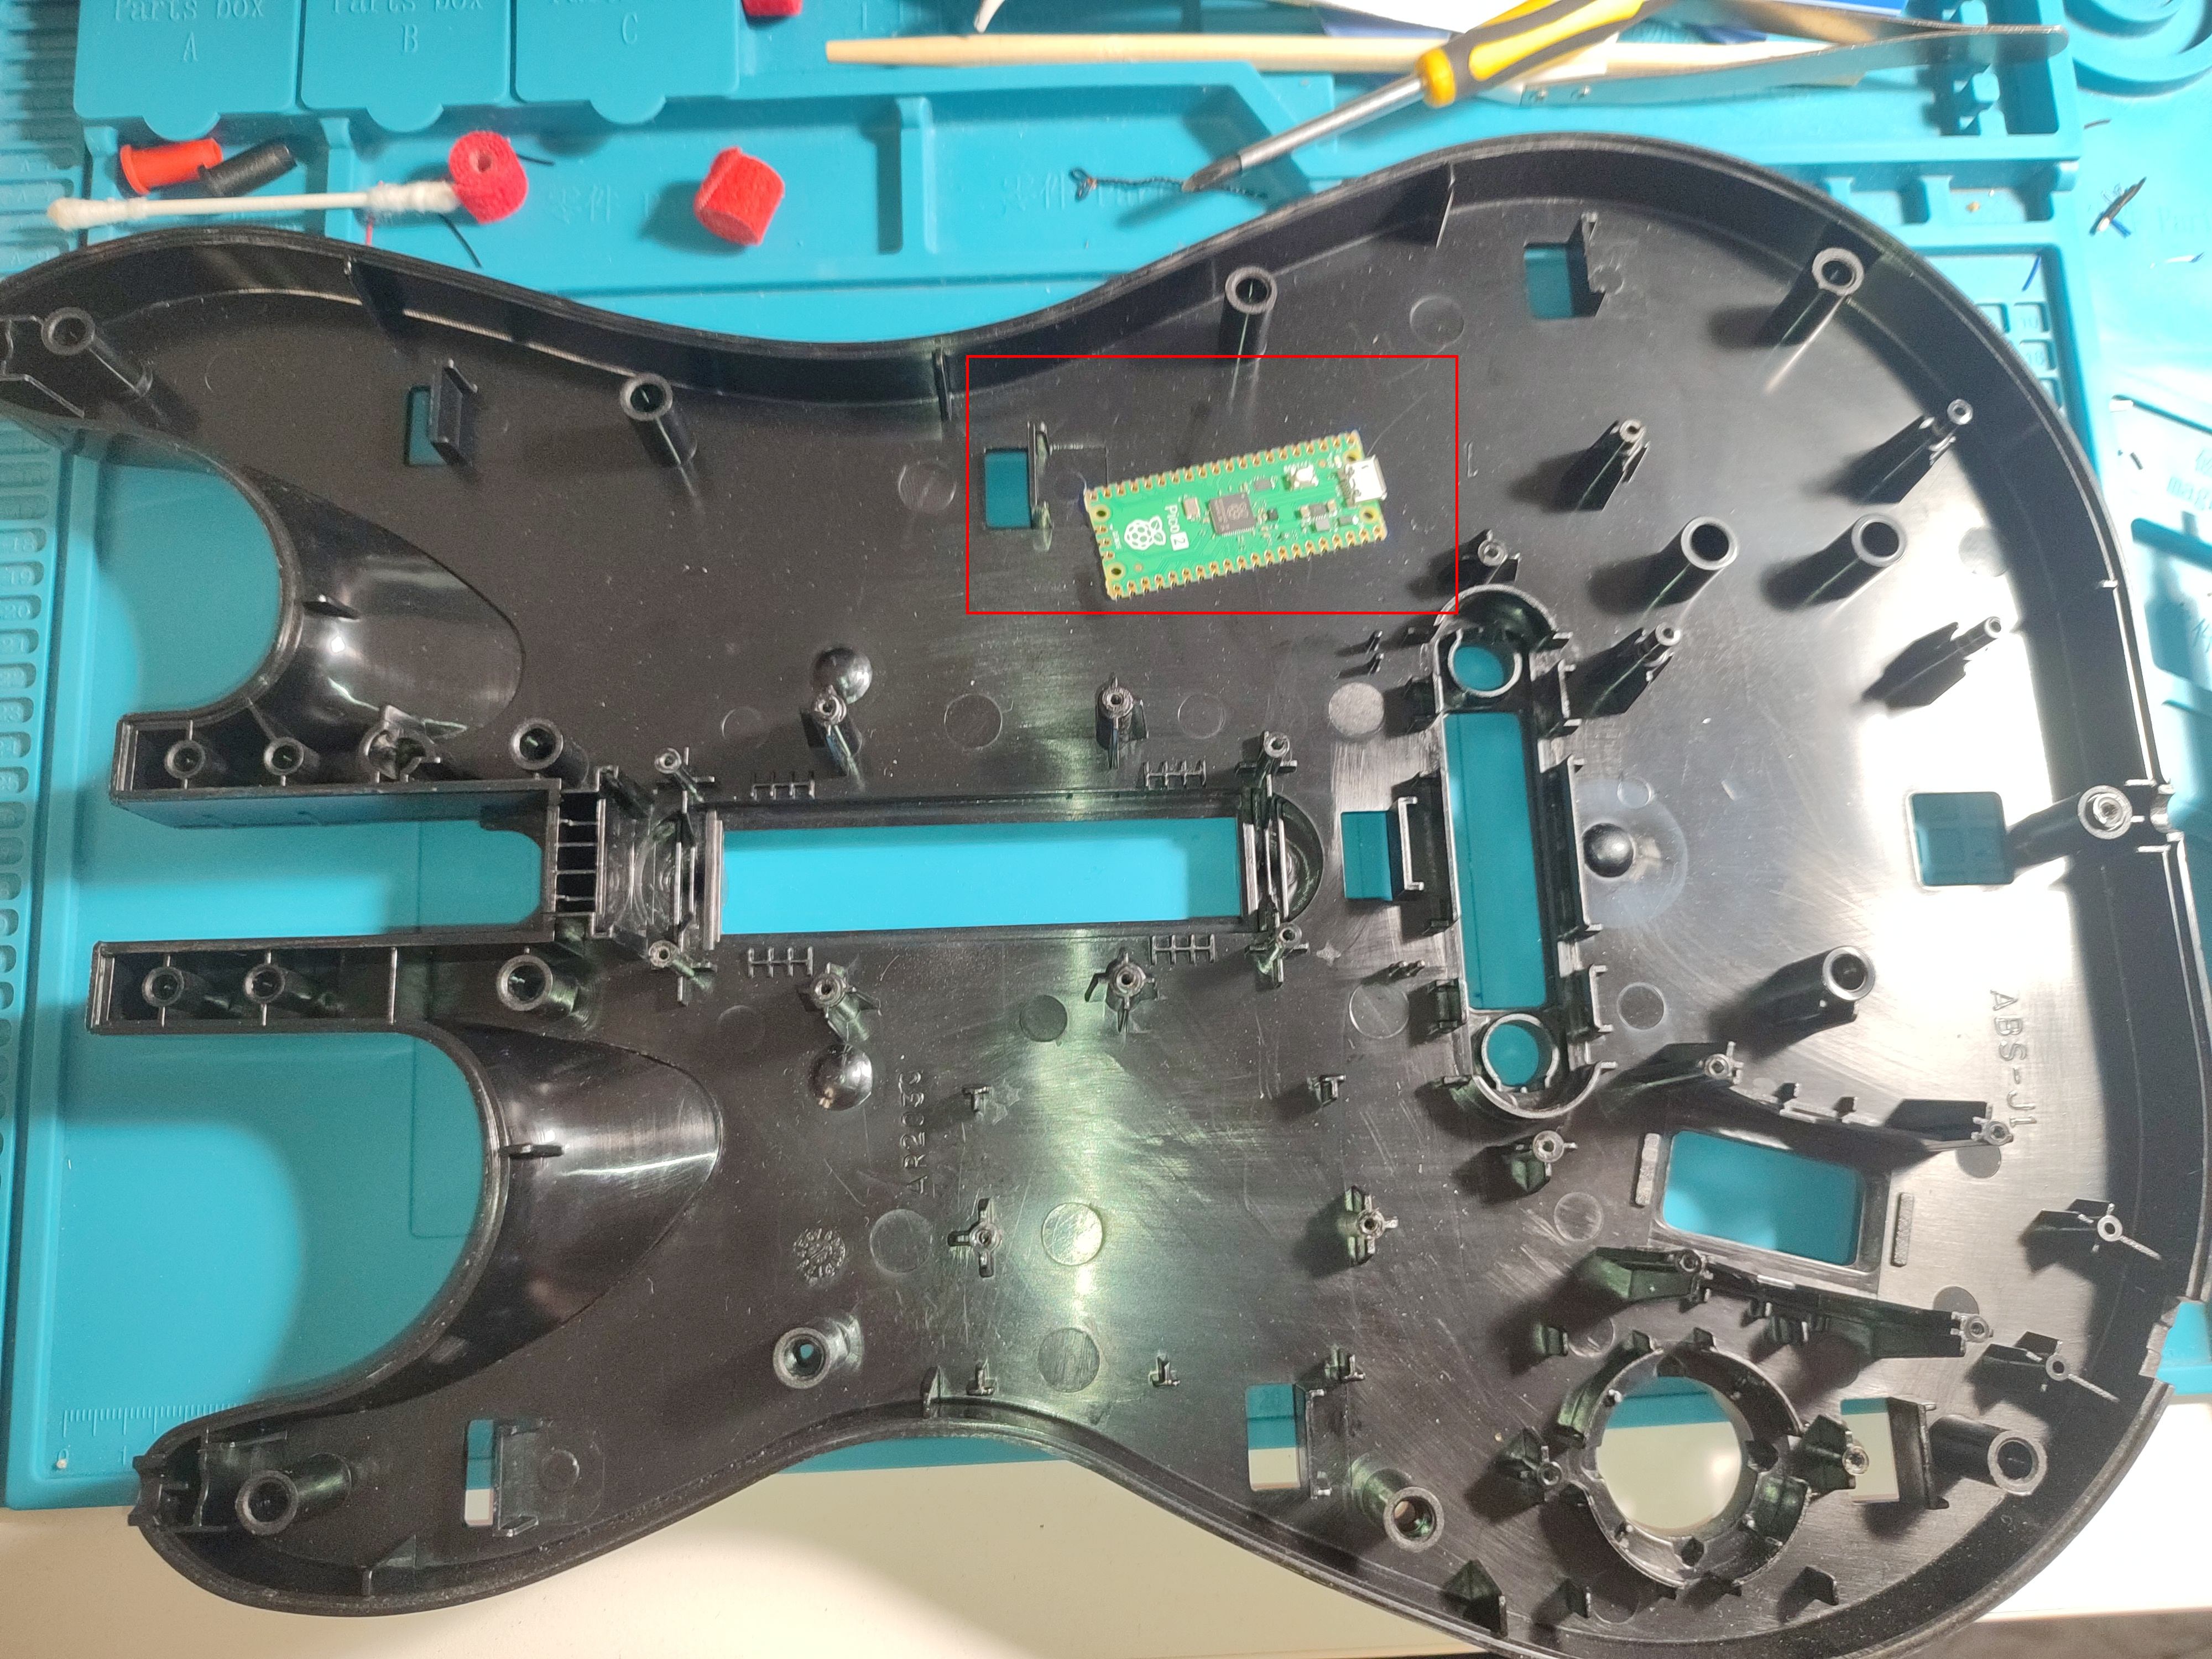
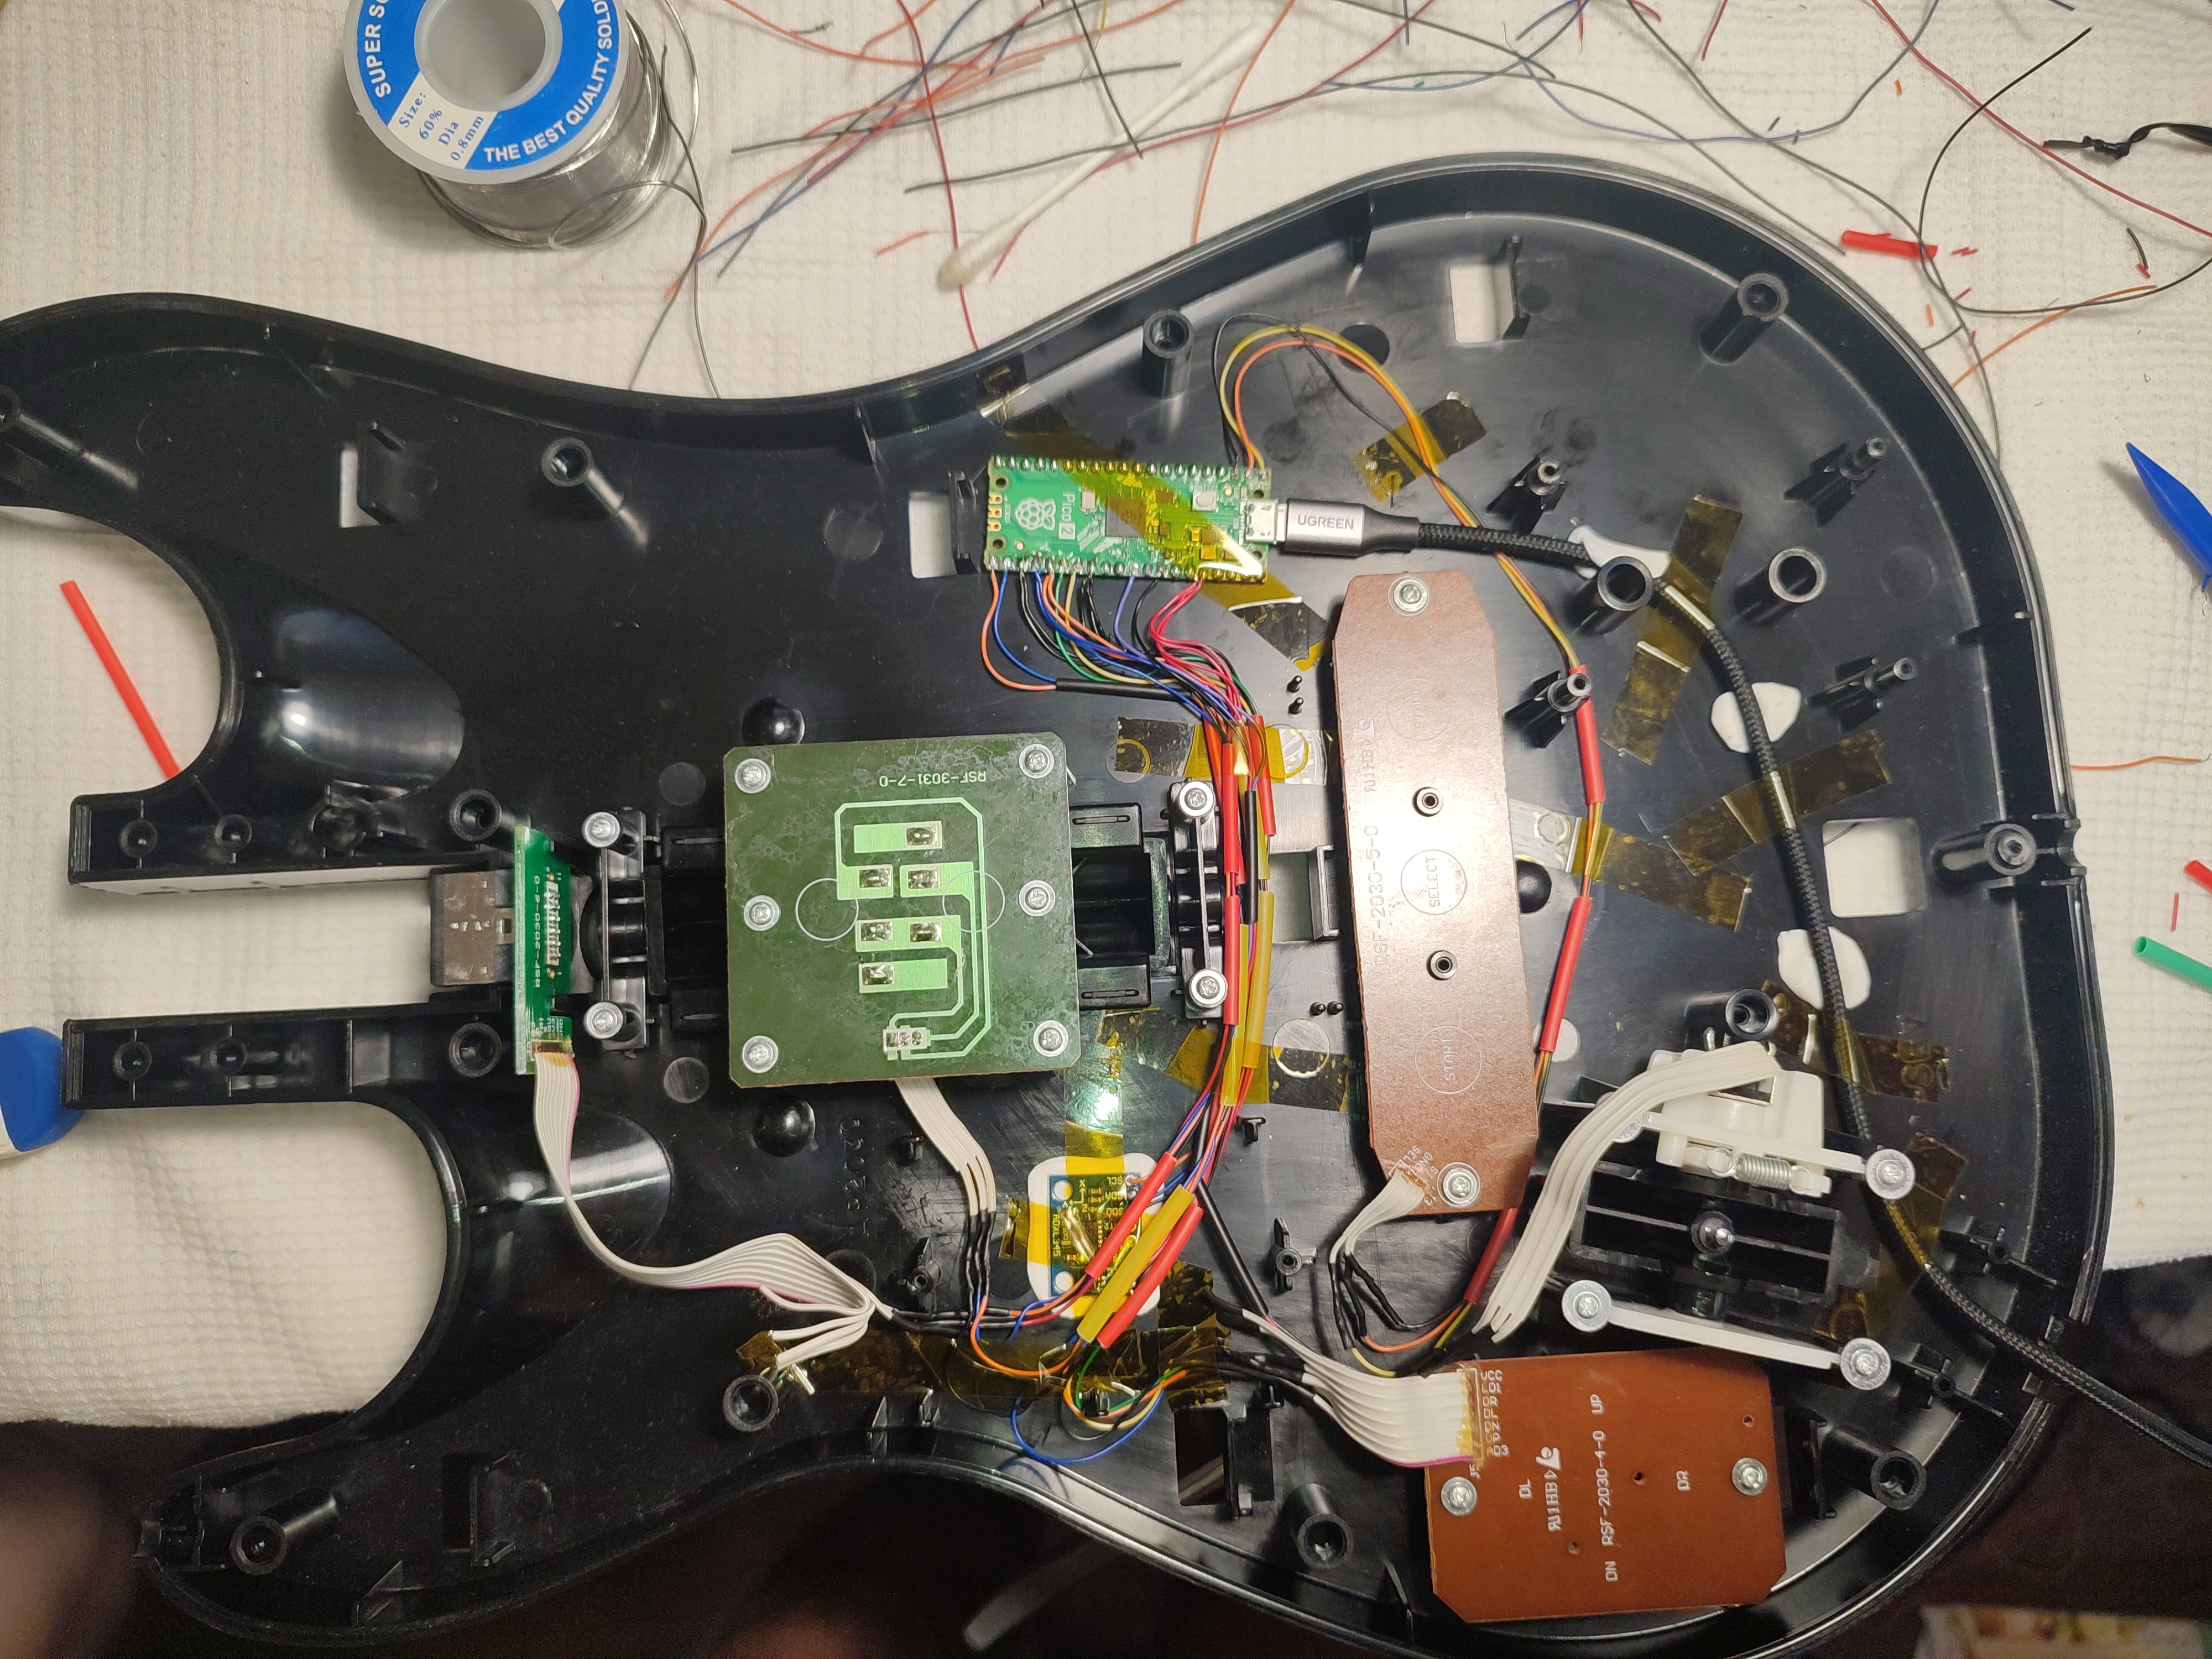
Cross-referencing the pi pico 2 datasheet, where the pins are and the Santroller recommended pin-out for the components the final job came out the following:
I was using AWG30 cable because thats what I had at home, but it worked perfectly. I’m used to this gauge, and its easy to strip with your nails.
Body
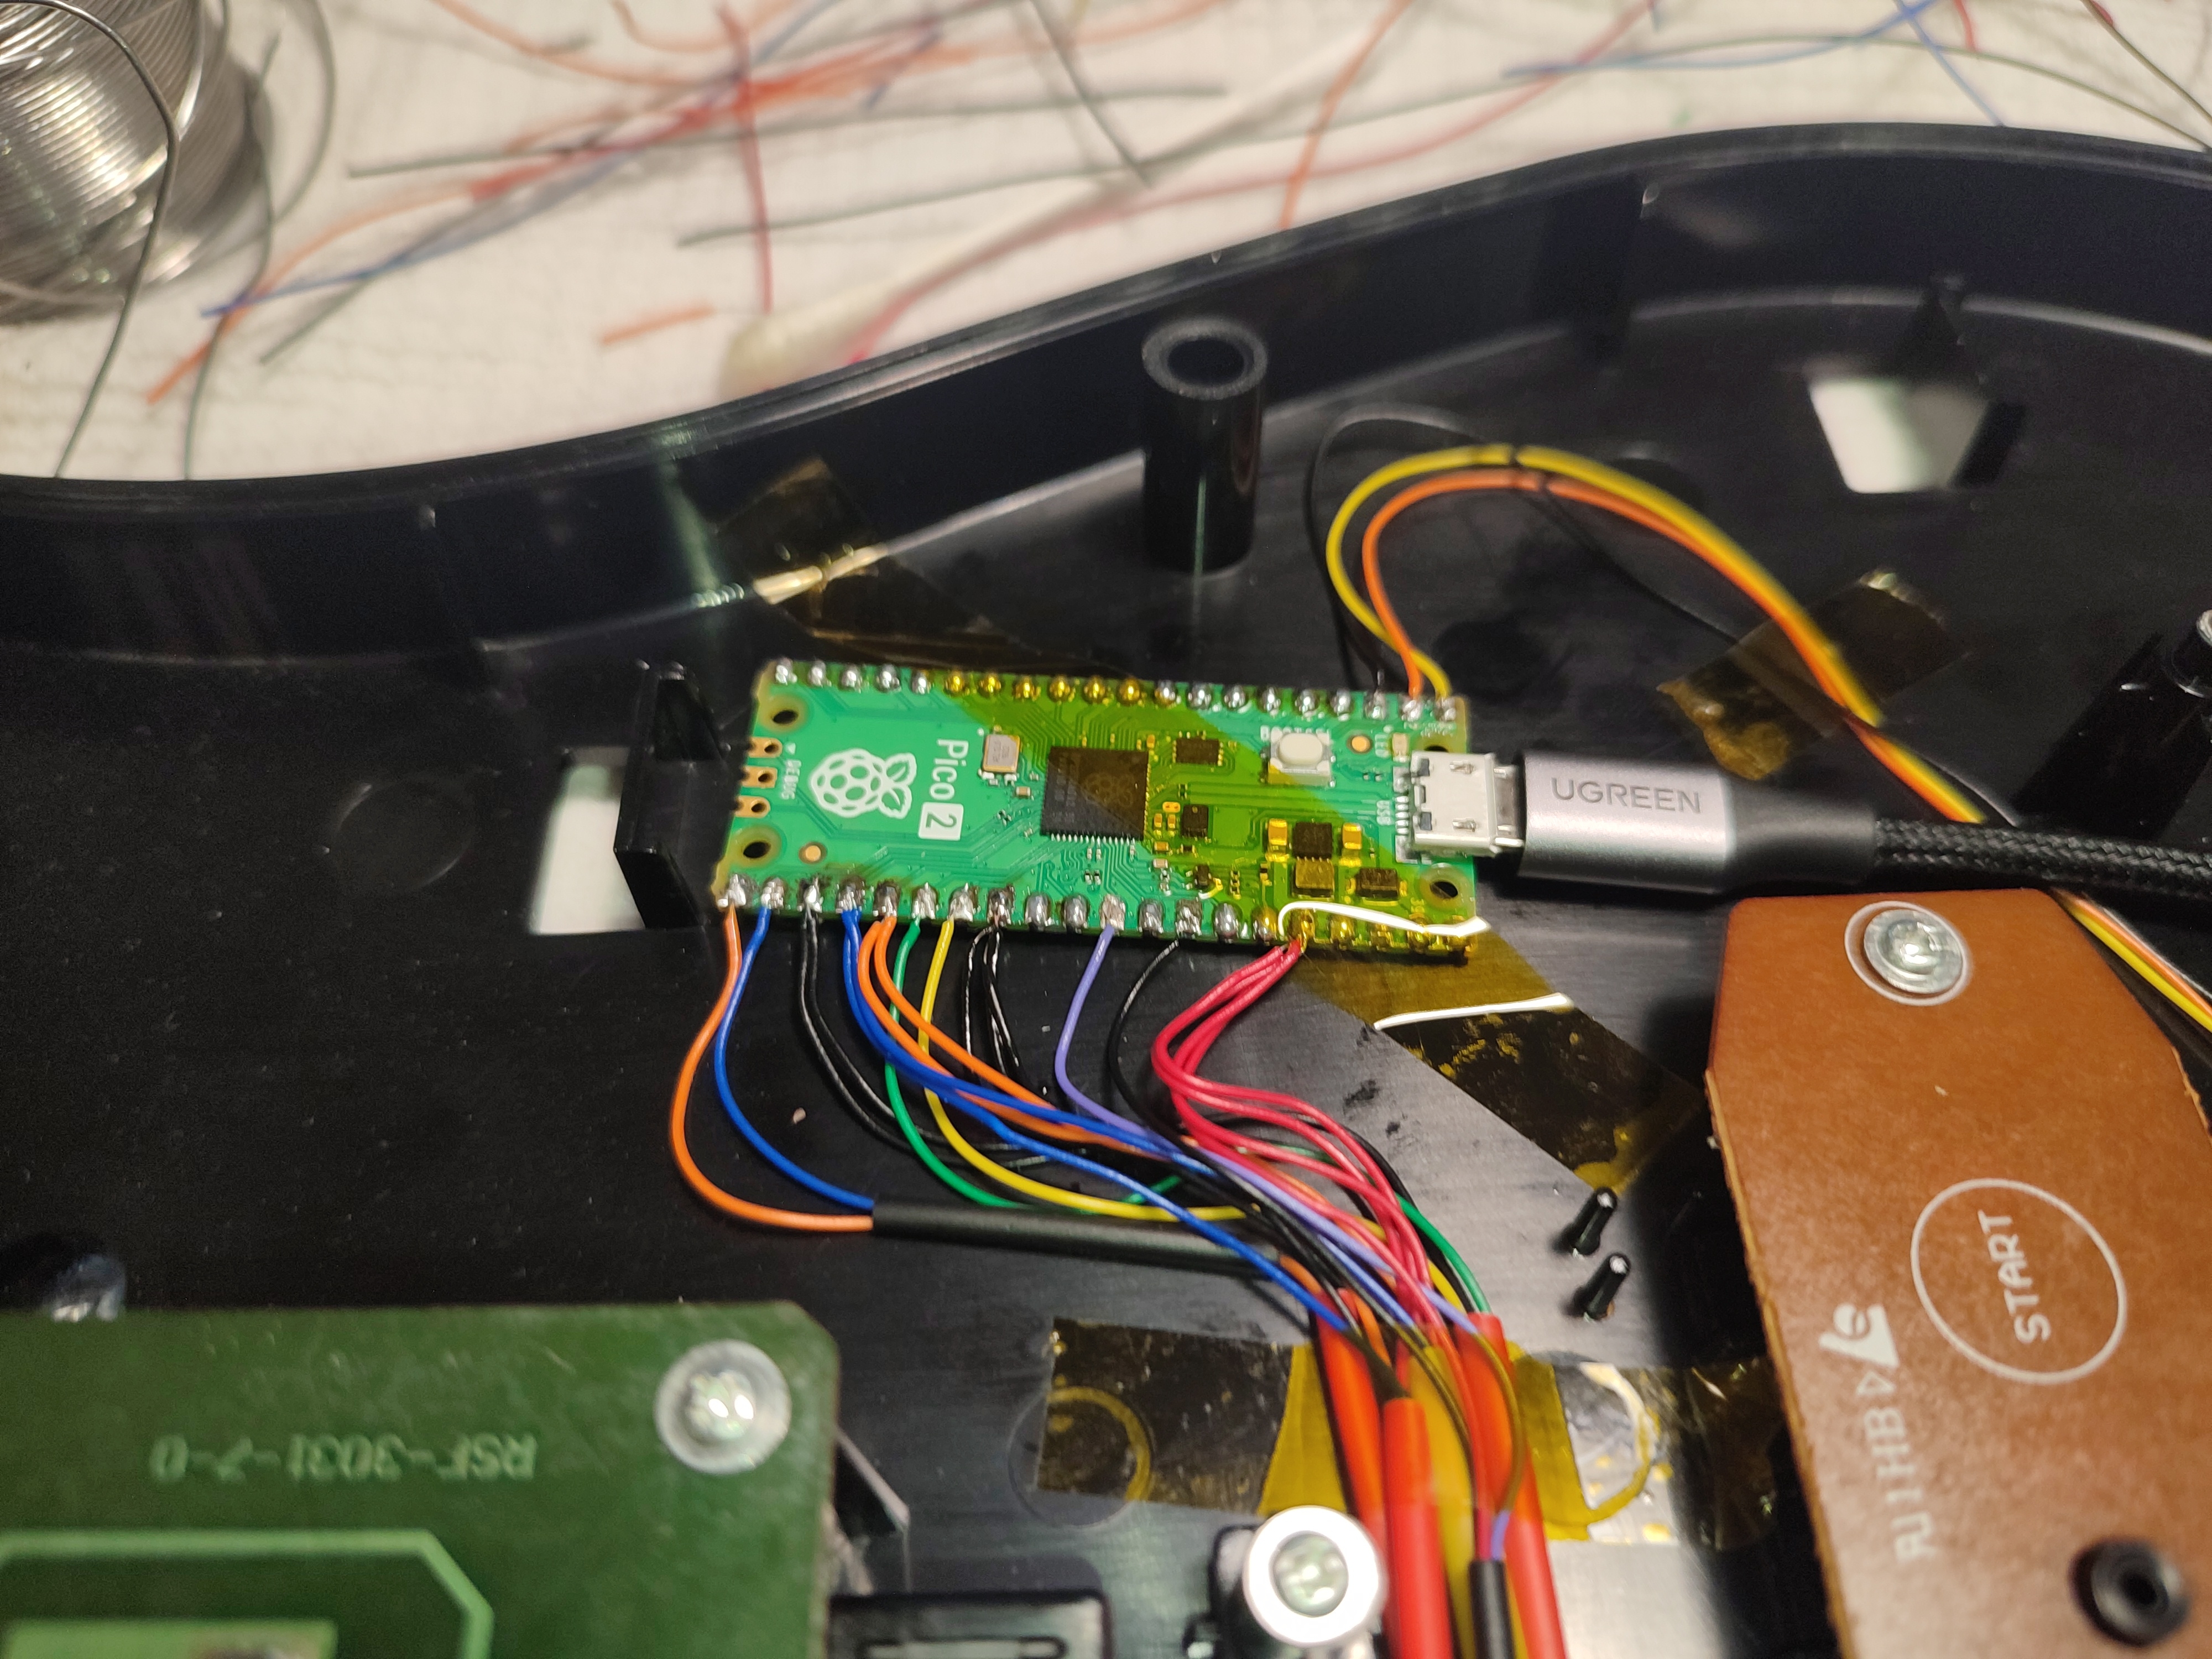
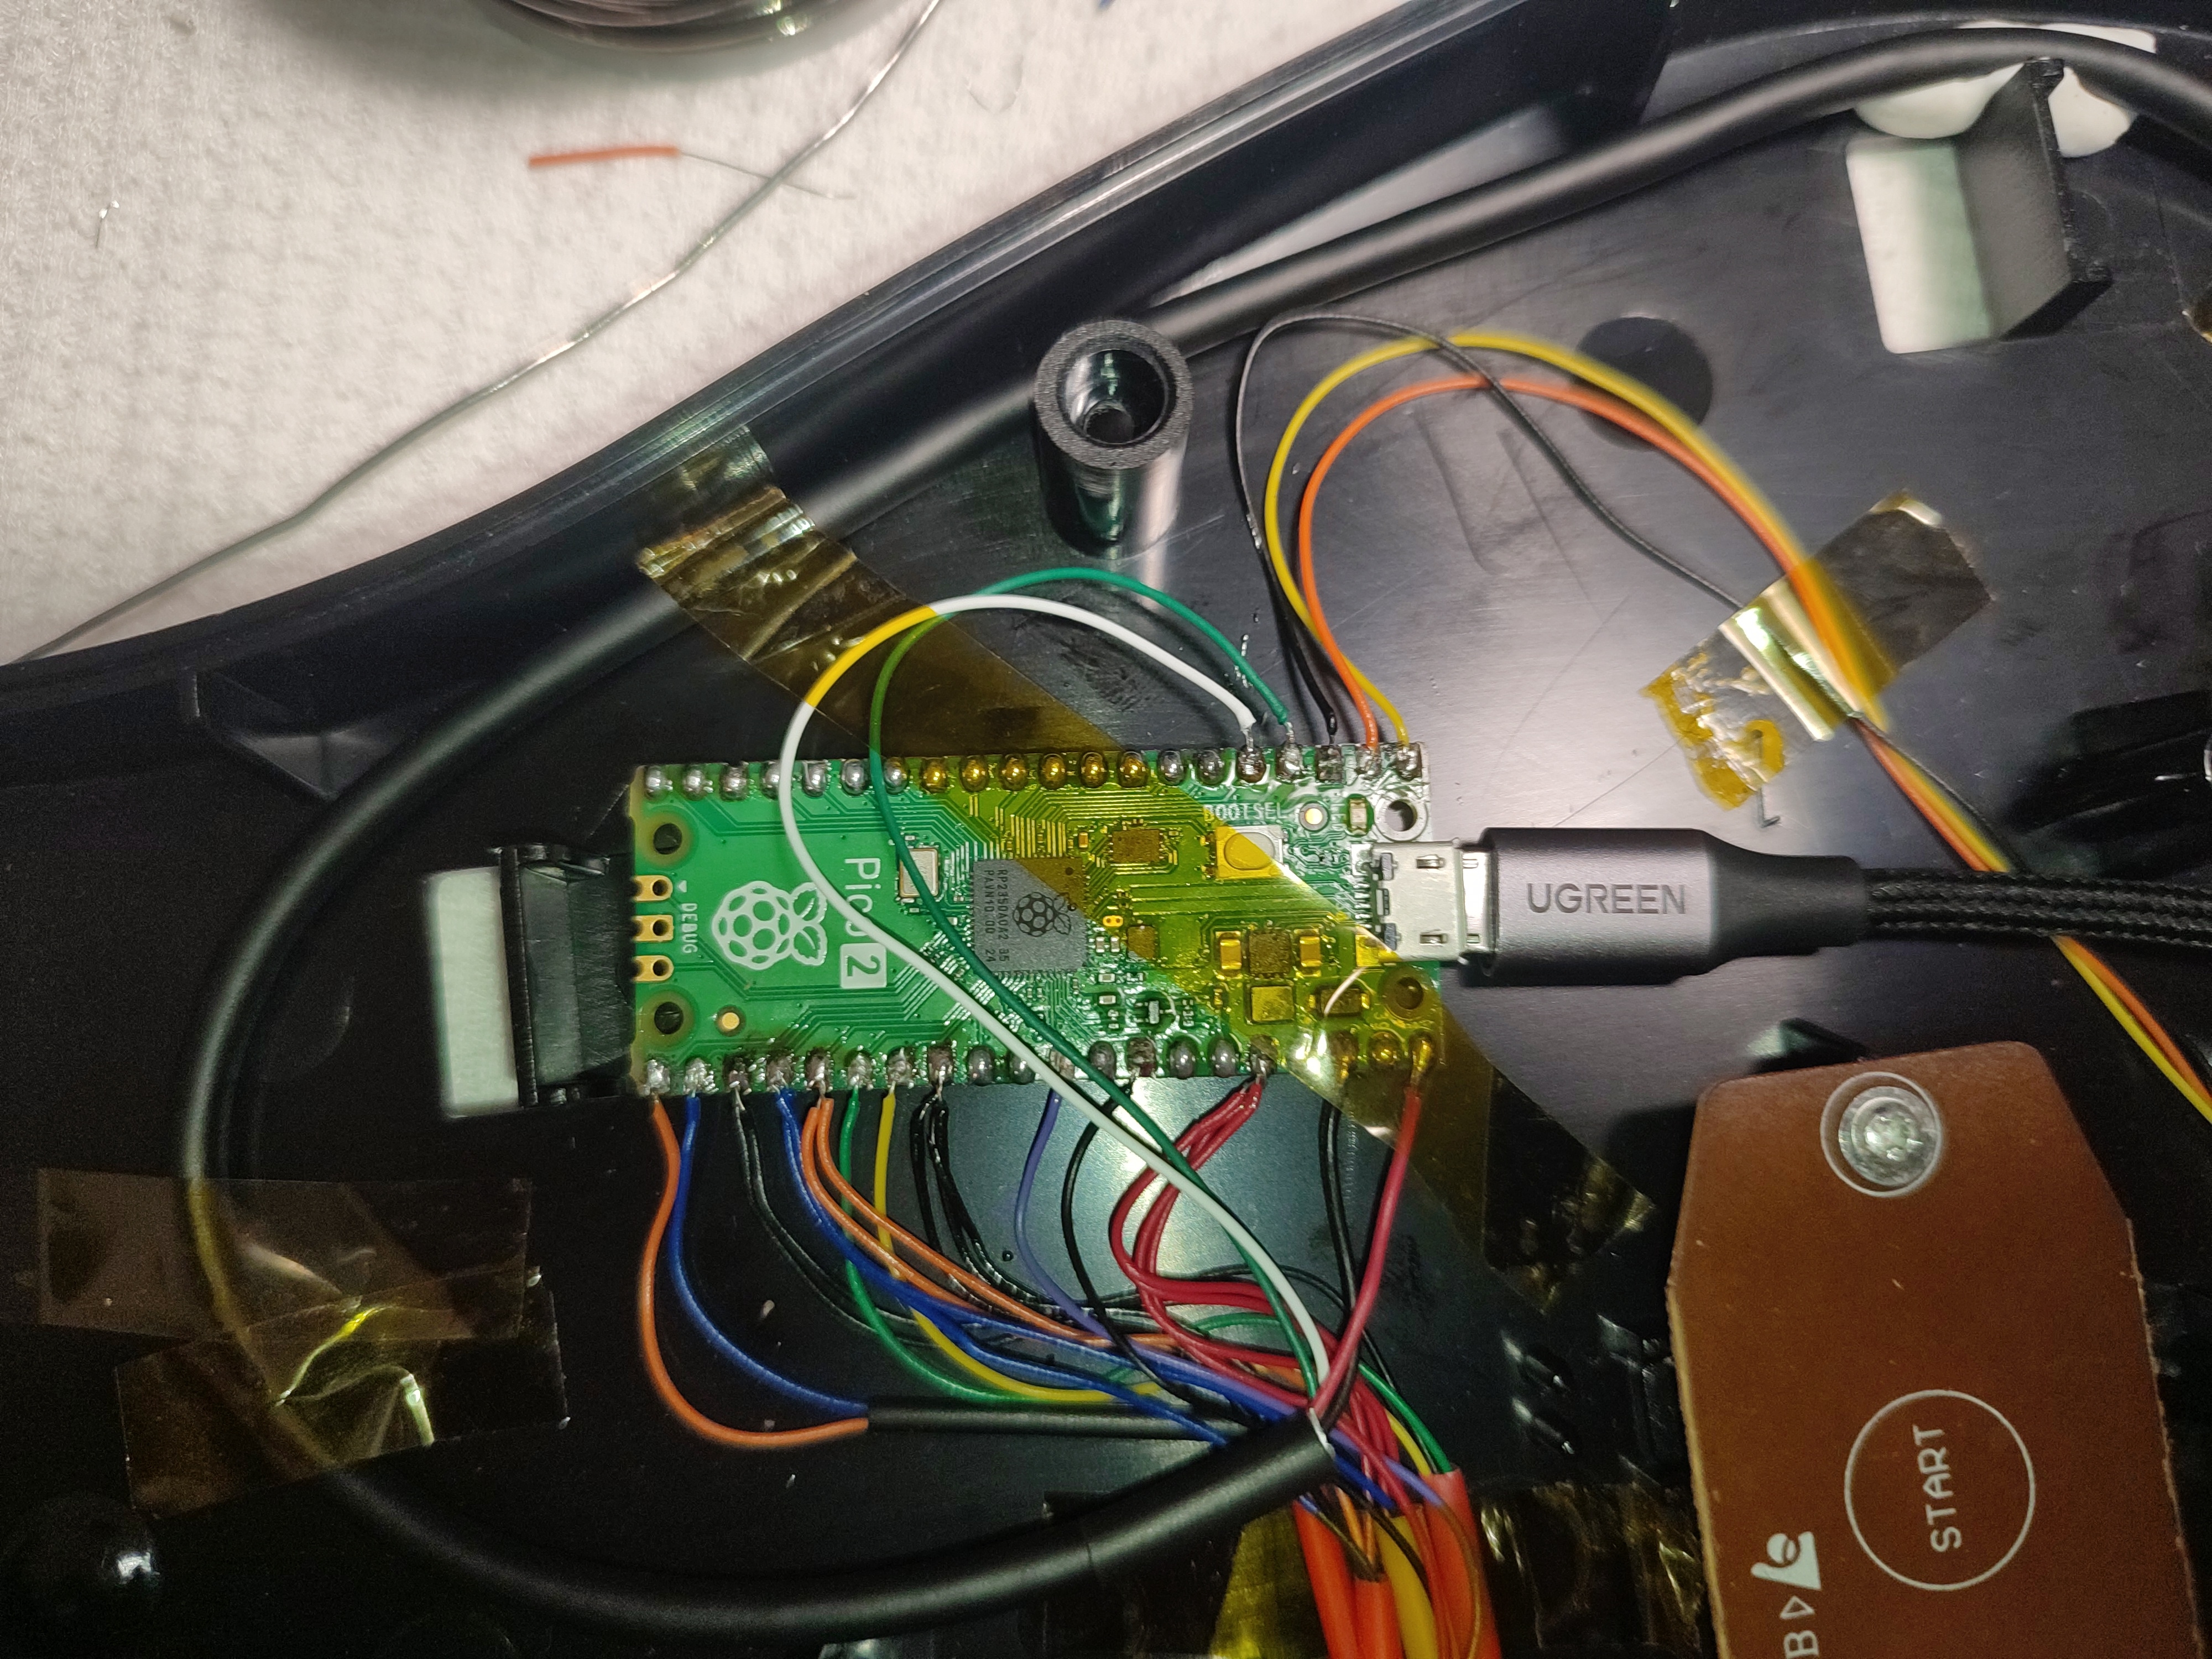
The ADXL345 accelerometer sensor:
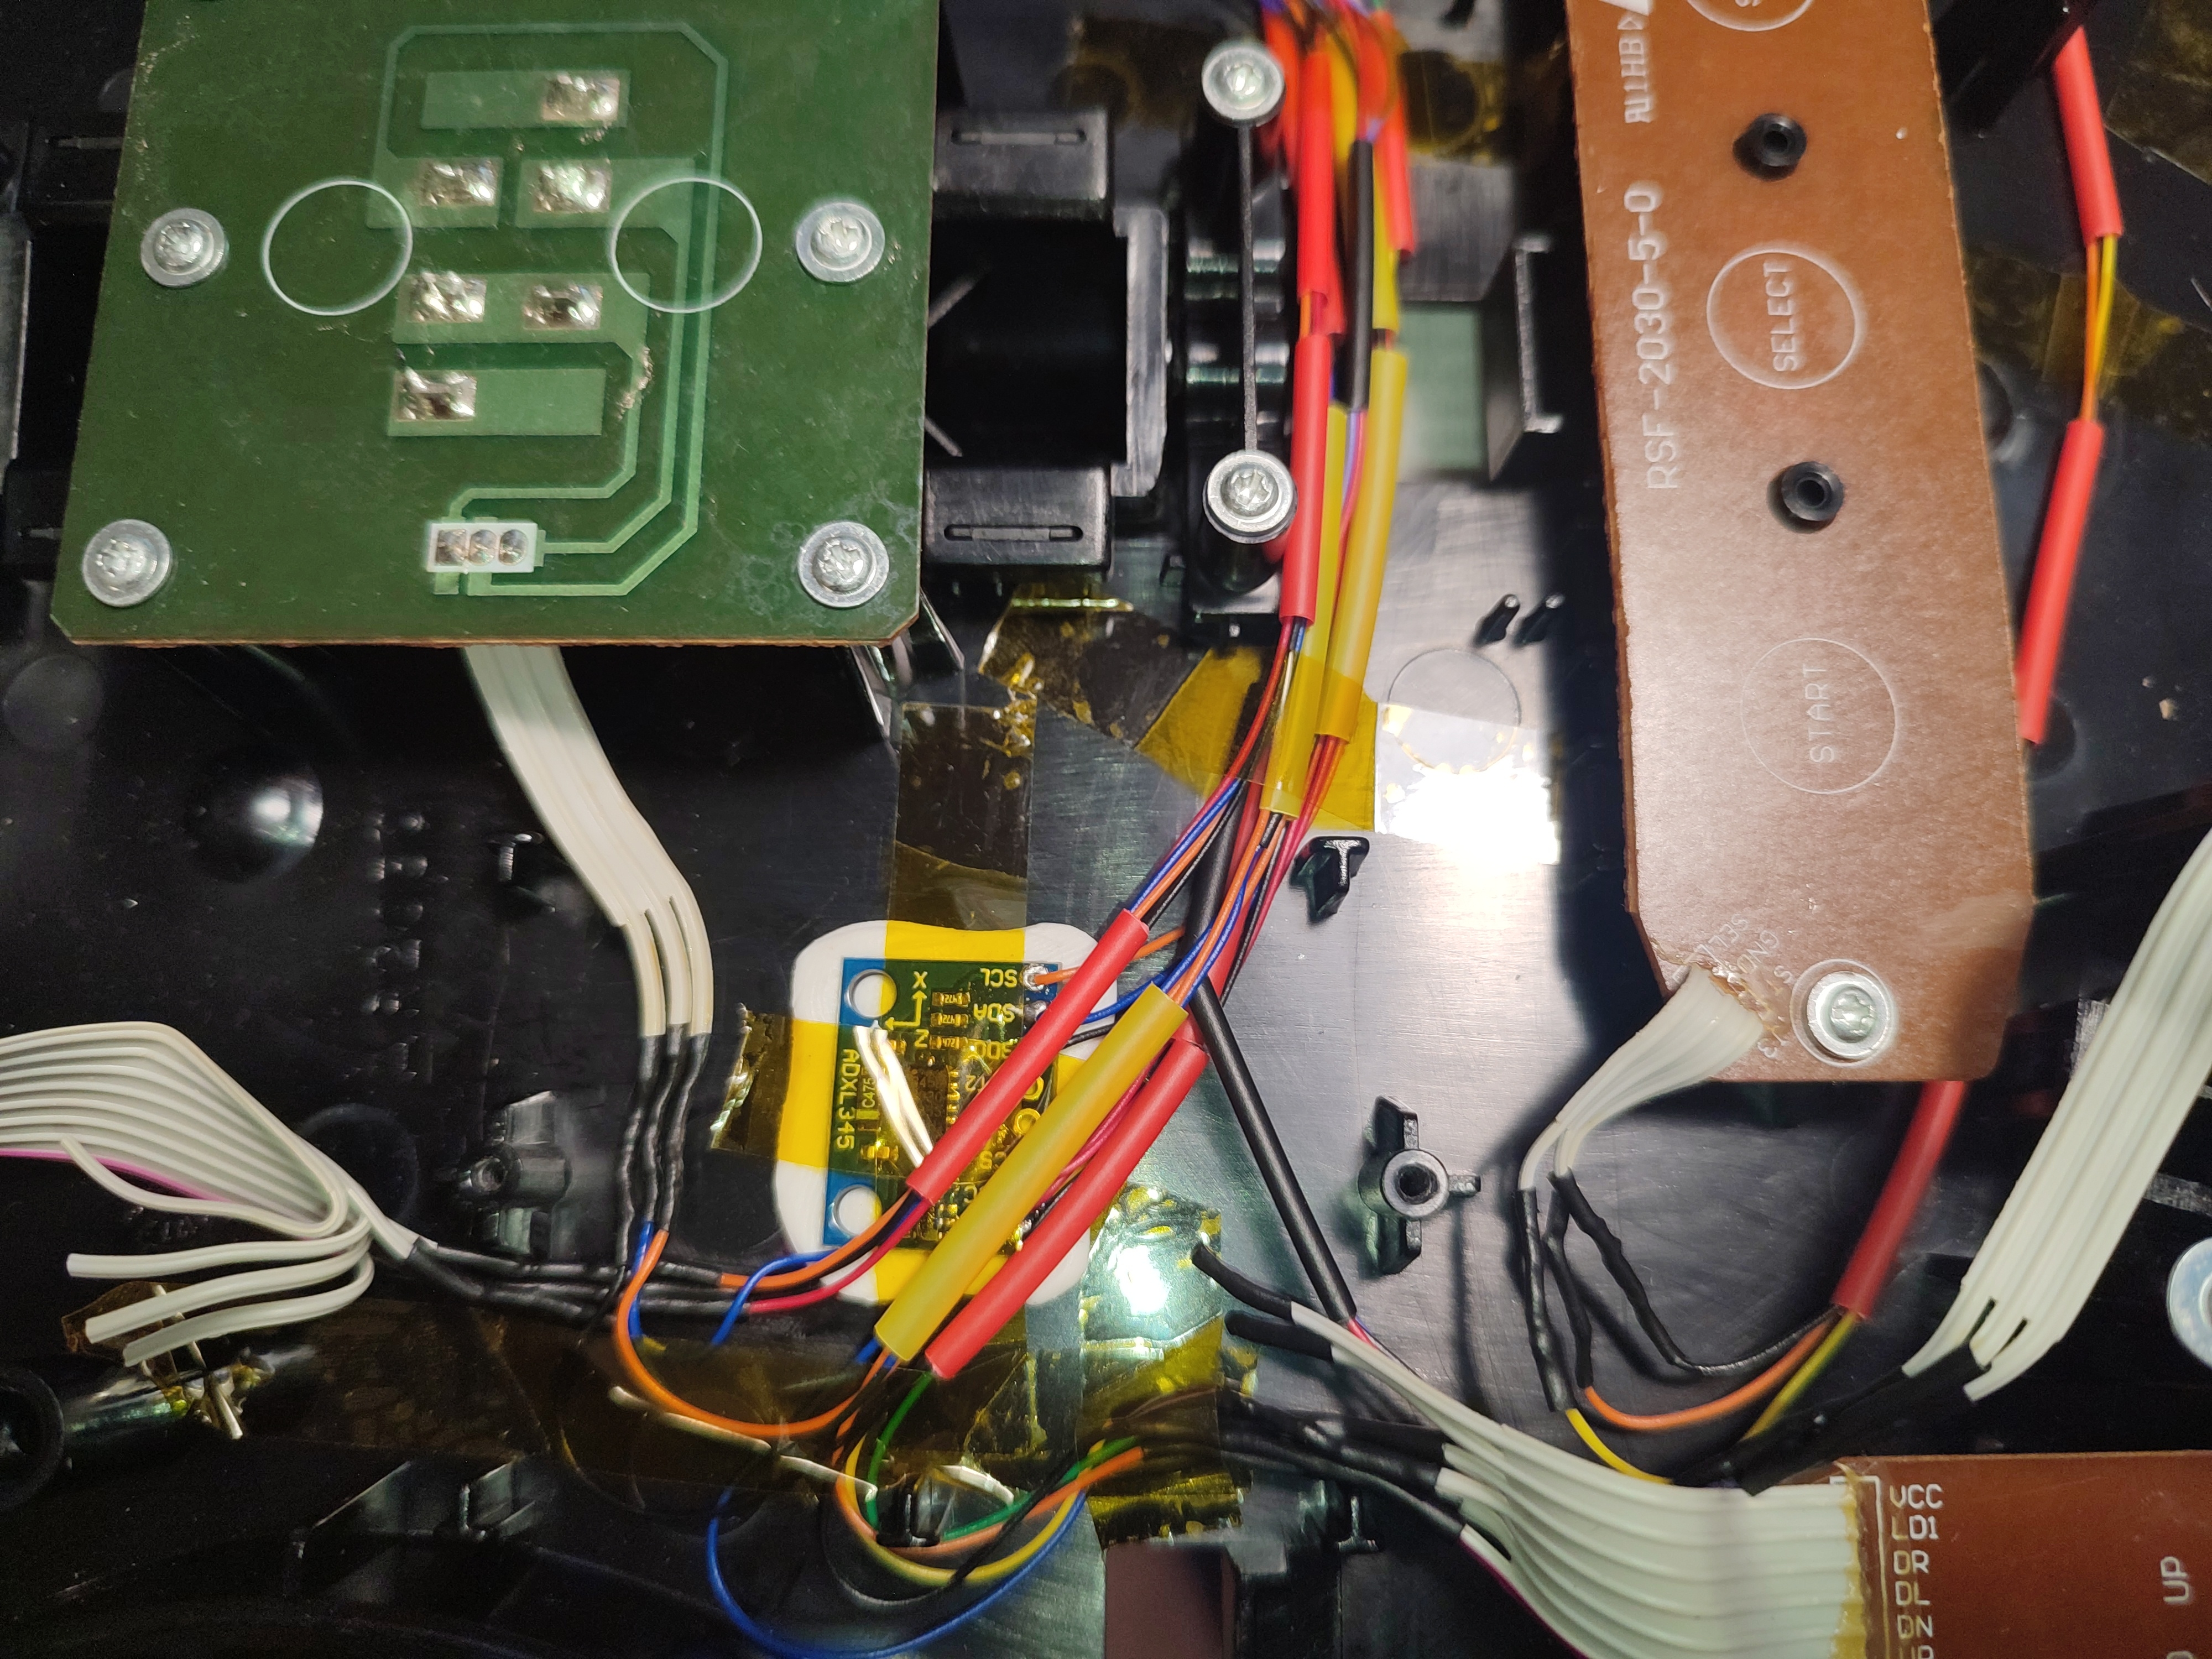
And the USB cable for the authentication. It will be accessible from the battery compartment space. It was an USB 2.0 extension cable which I cut and stripped:
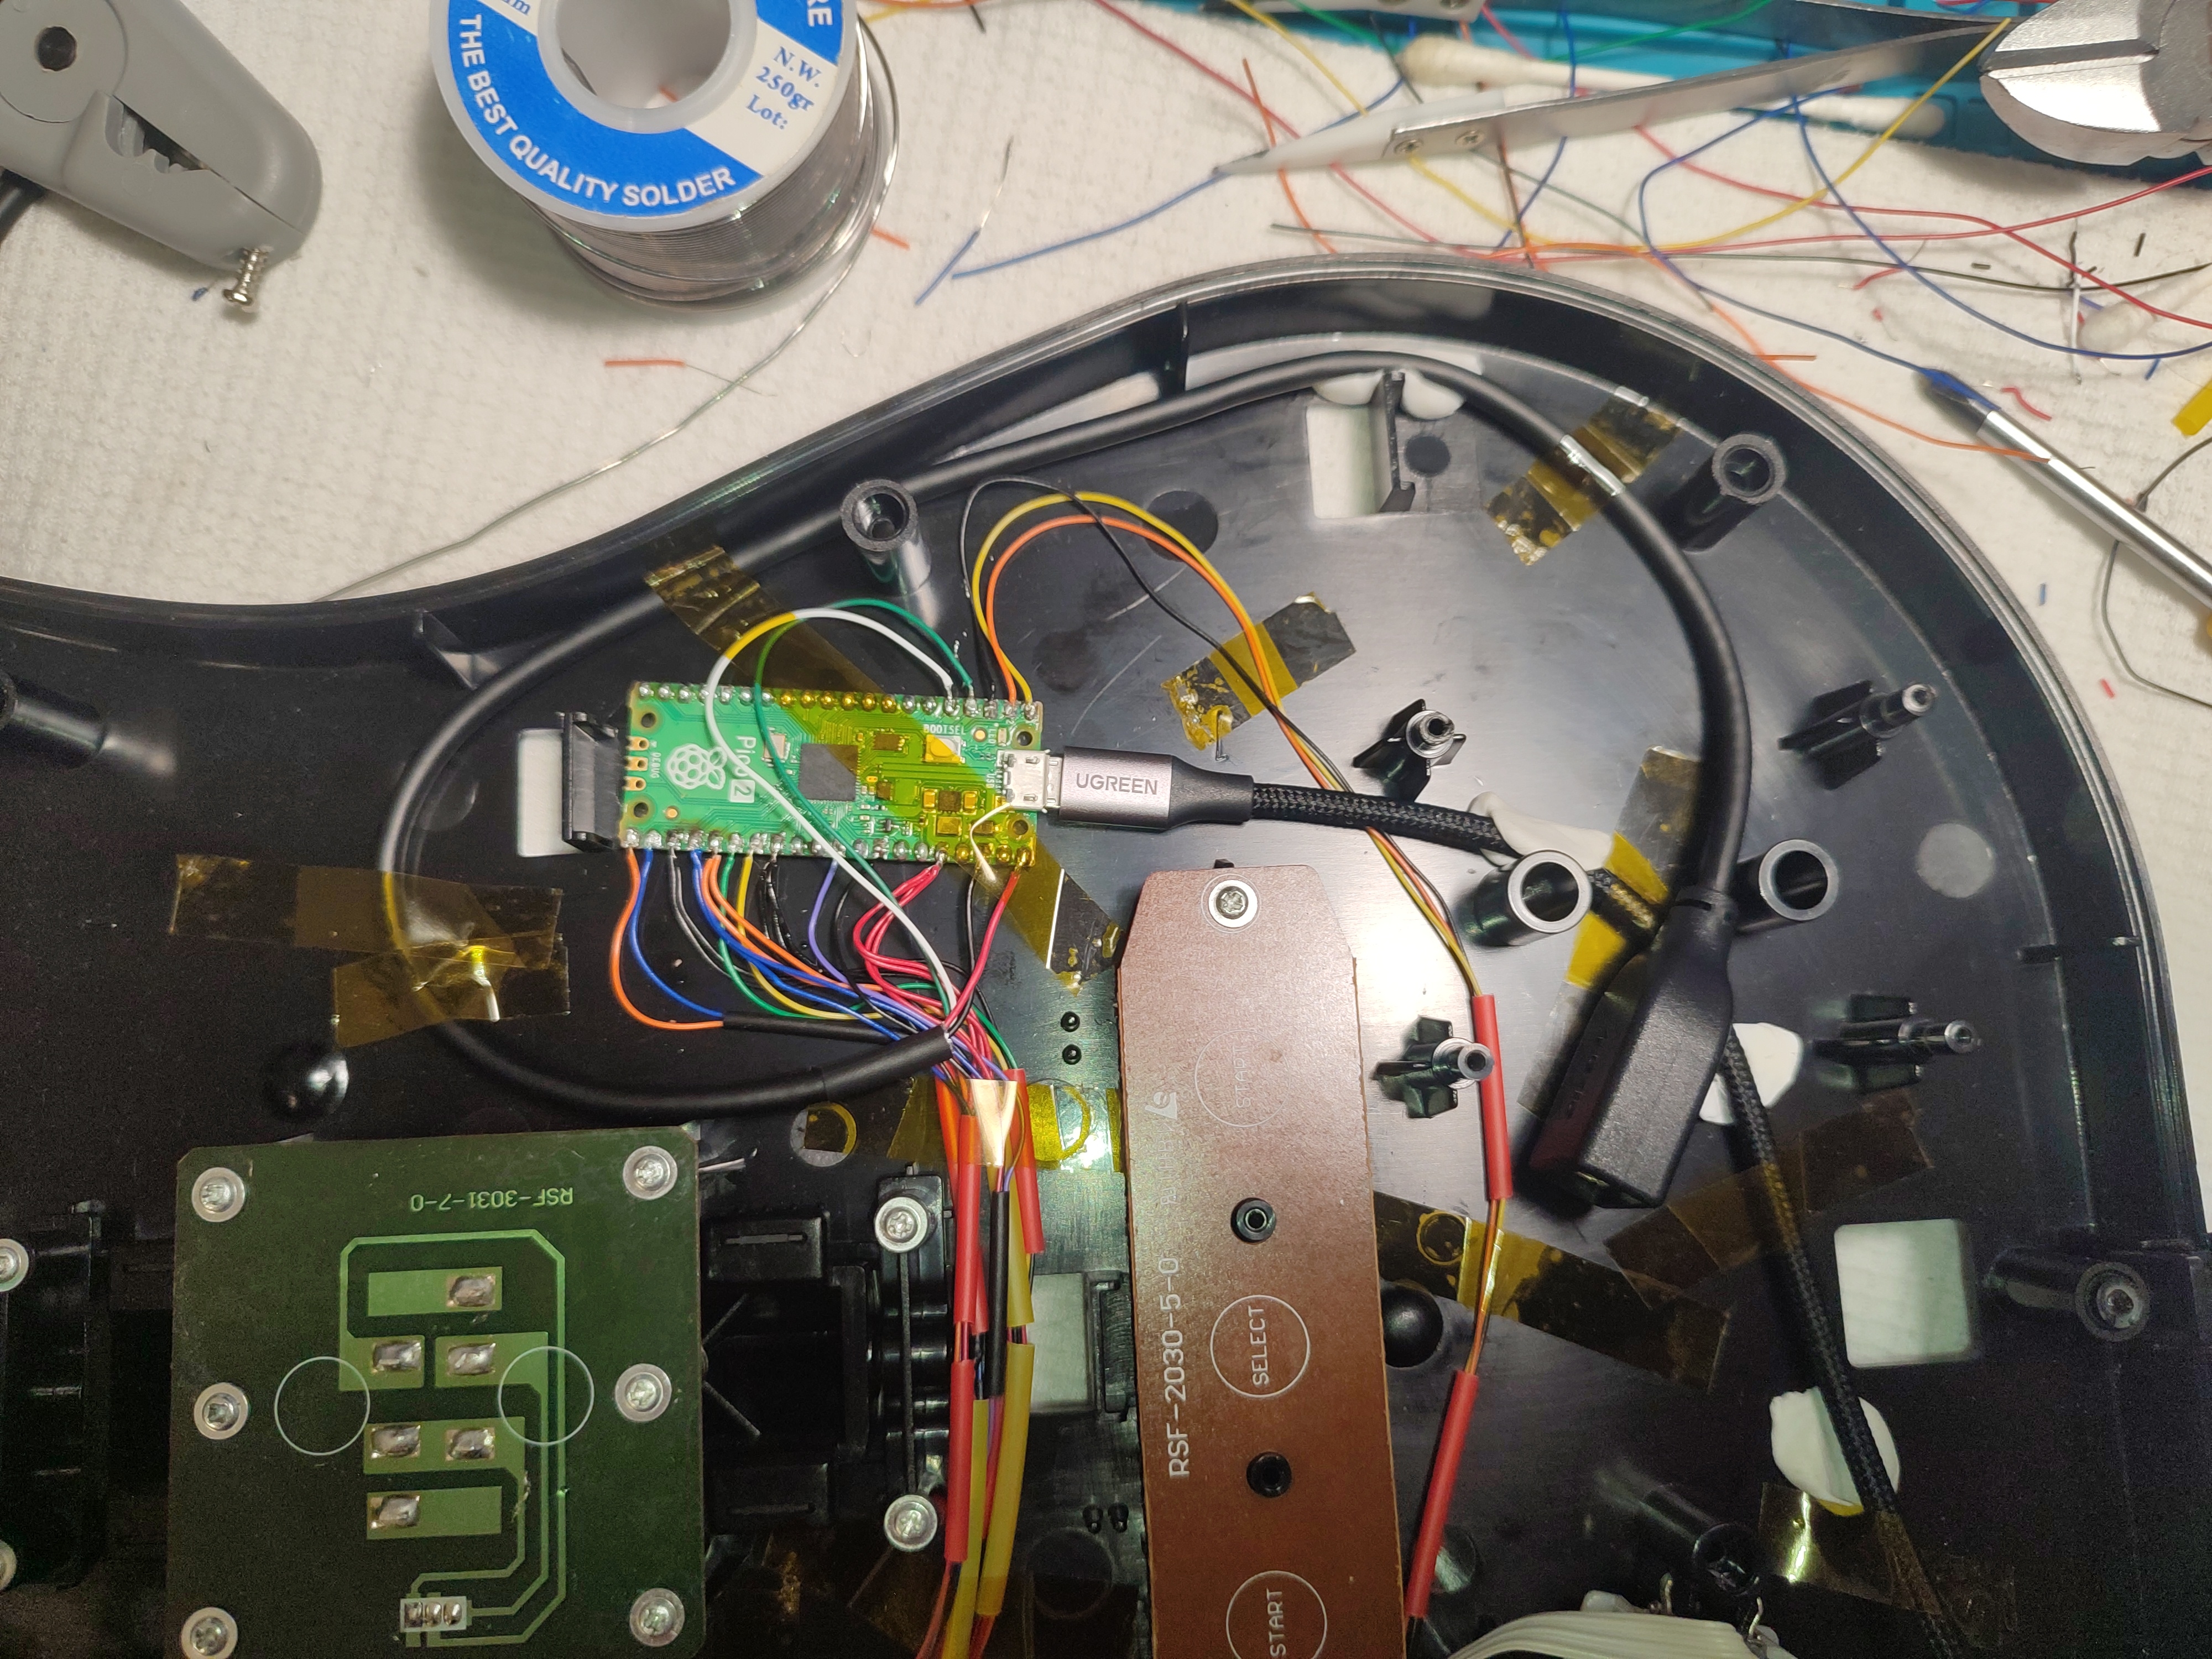
I secured everything with tesa tack, kapton tape, and heat shrinking tubes without melting them to have a nice cable management. Im not a fan of hot glue.
There were occasions were wires had to be co-joined from different components, for that I stripped both wire ends, put on a heat shrinking tube, twisted them together and soldered them, and then melted the tube on it.
For the unused wires, heat shrinking tube at the ends.
Neck
In the guitar hero community the slider neck is considered shit, and useless. However for me it was just an other challenge. In my head it was like, if I have a guitar Ill make sure all parts will work as expected. Also in one of the games you can generate a Wah-Wah sound effect sliding back and forth when going for a long note, which sounds pretty good.
Now for this, Santroller recommends two things, either cutting the traces or de-soldering an IC. Since cutting the traces are permanent I opted to de-solder the IC, however I still do not own a hot air gun (gotta research one from Ali..), therefore I looked around on the Internet how to do it, and I could not believe it when this shit worked: https://www.youtube.com/shorts/cxId0DMd2VM. This video is so funny, of course it works.
Now for the solder job on the slider pcb:
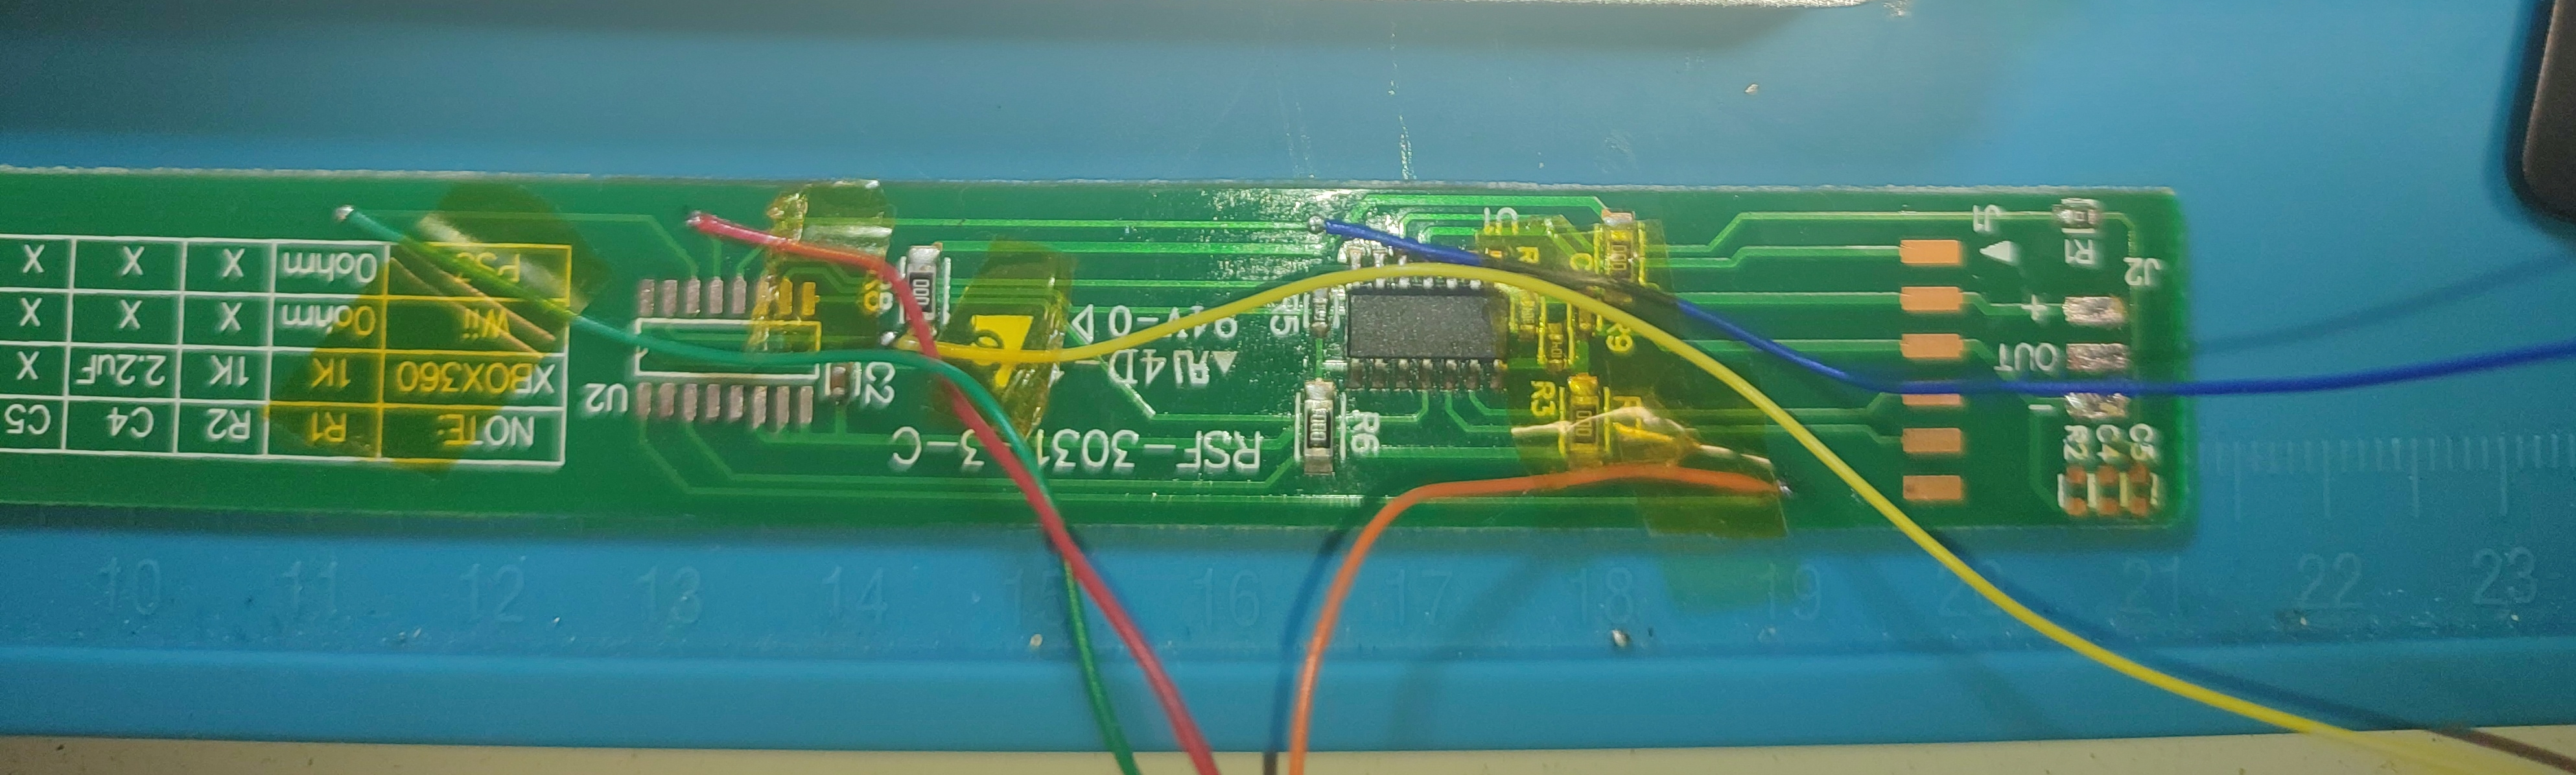
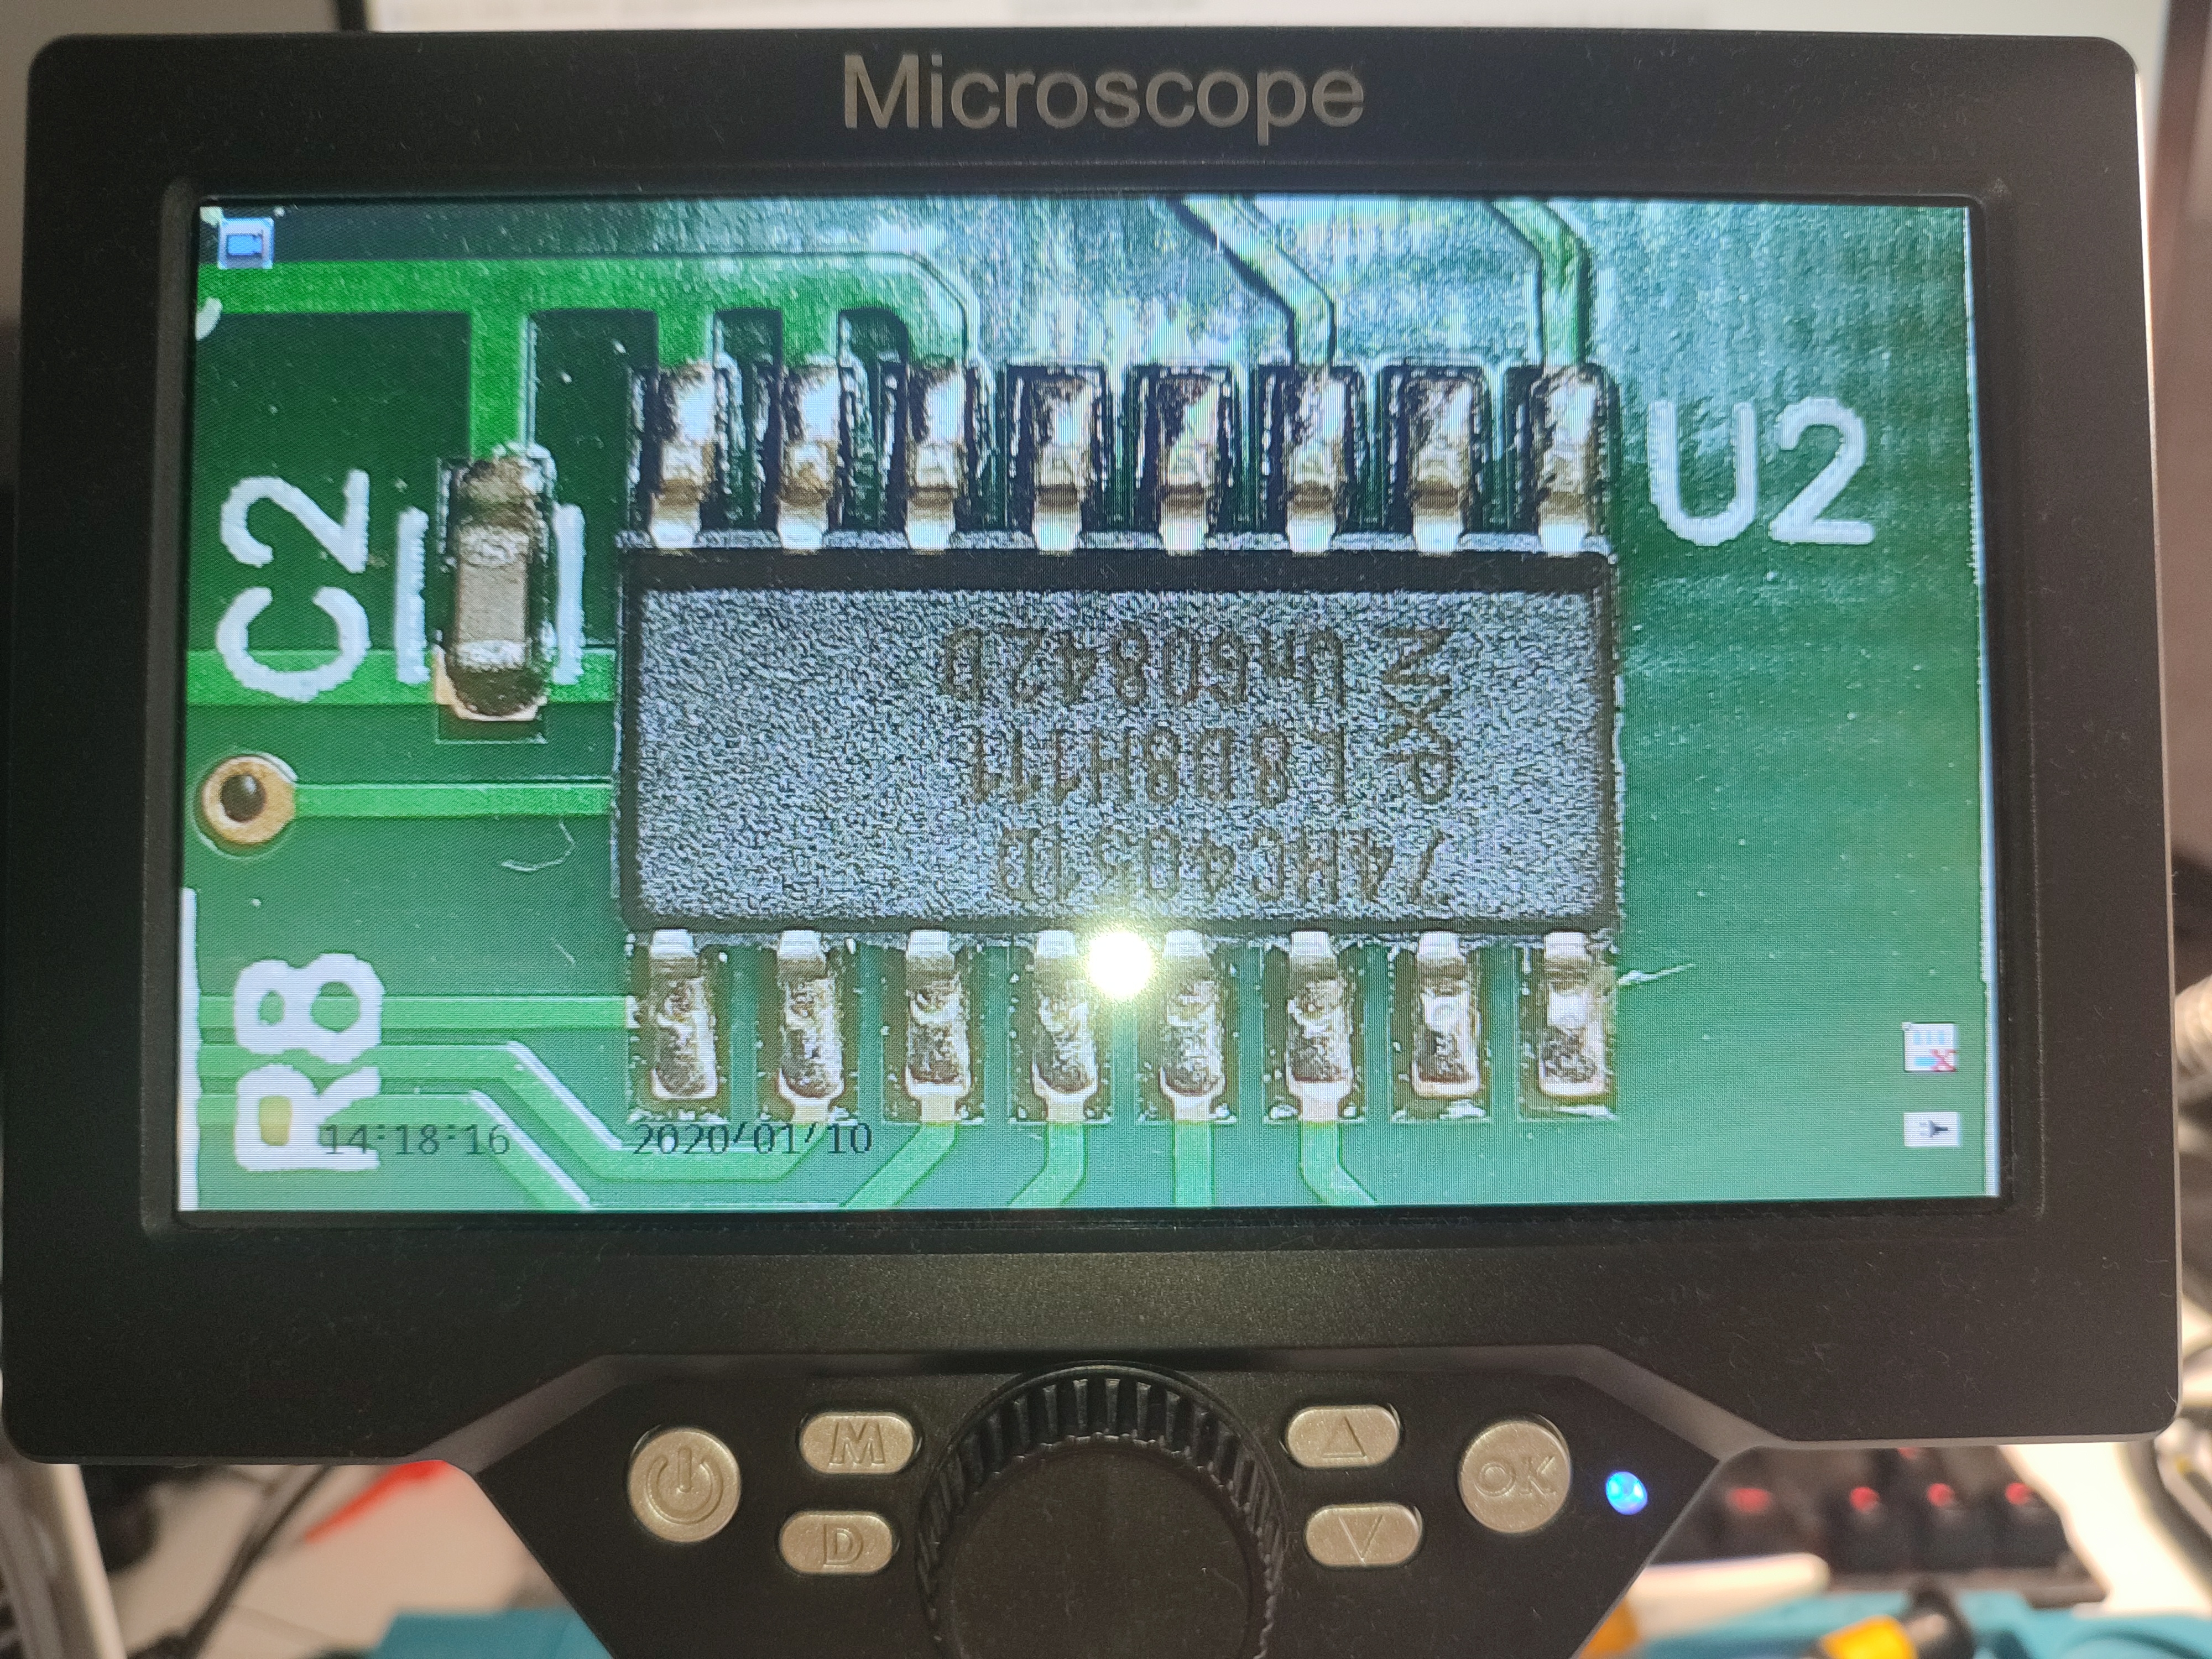
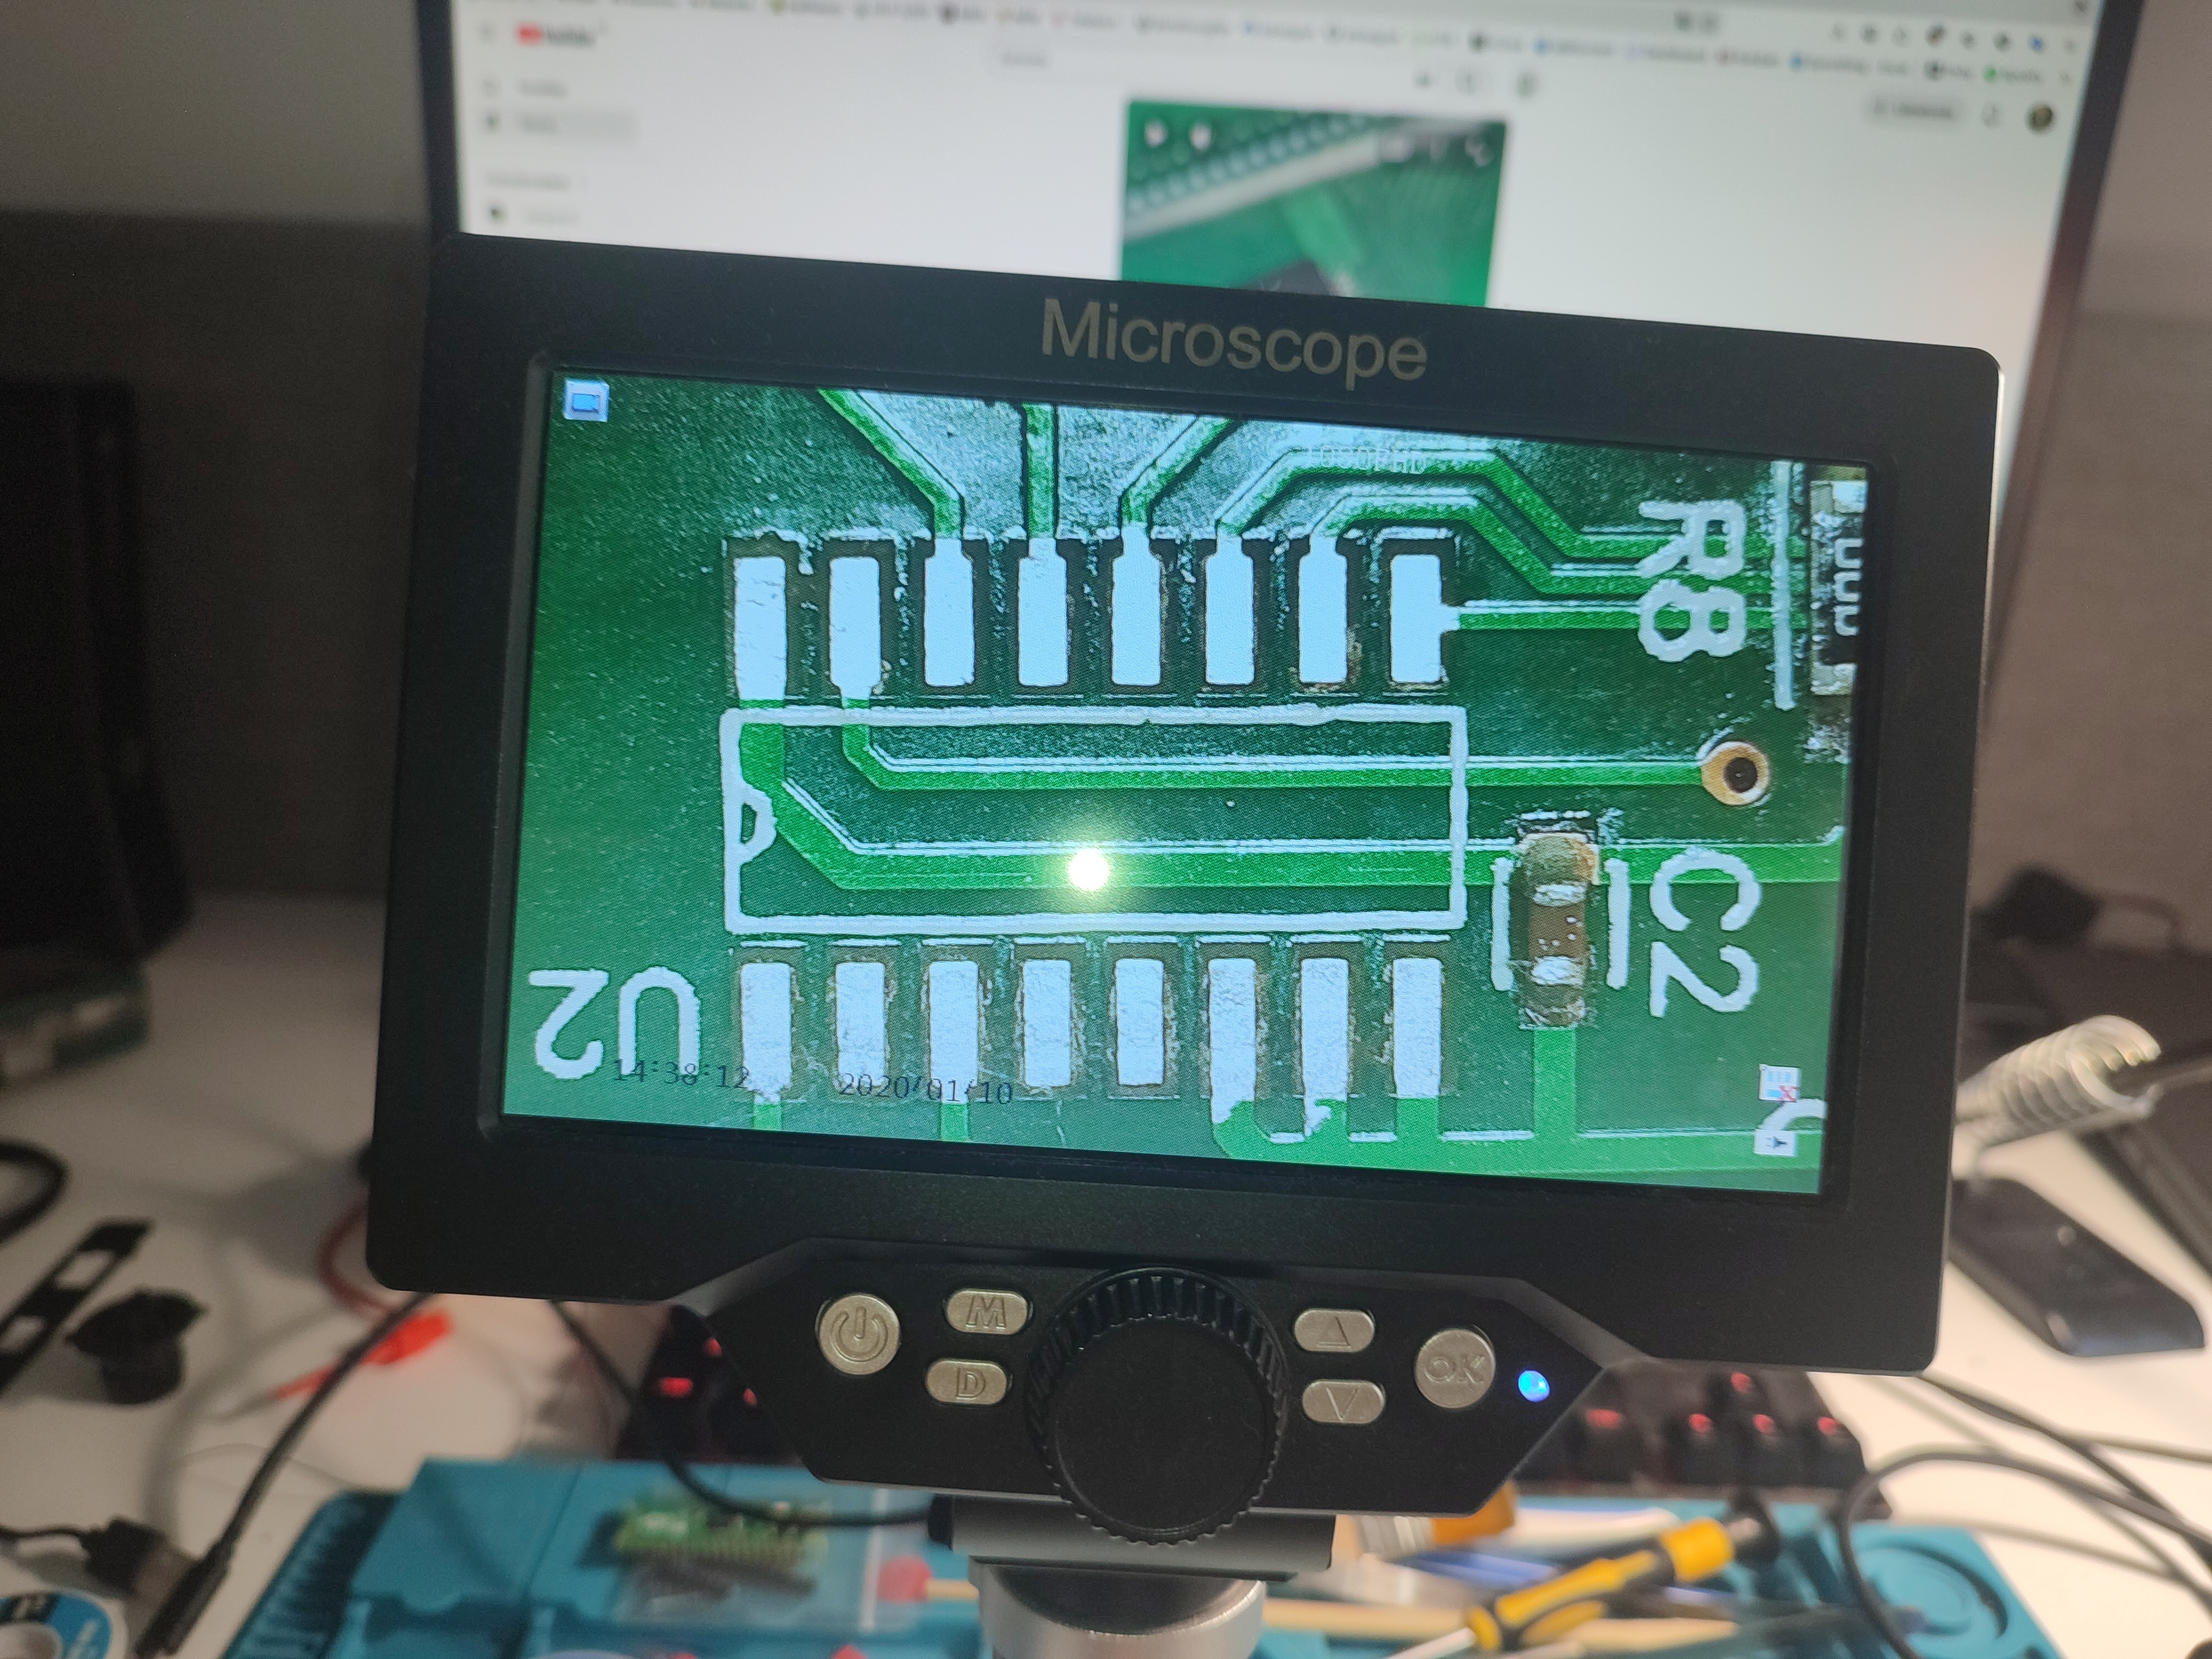
If you are doing a mod without a slider, you just simply wire the frets to the connector (which will connect to the body), therefore passing through the button signals. But if you introduce the capacitive touch sensor, MPR121, you have to wire everything to that (it has 12 channels ). It runs on I2C so the connector in the neck will now only be used to pass through the SDA and SCL.
Frets:
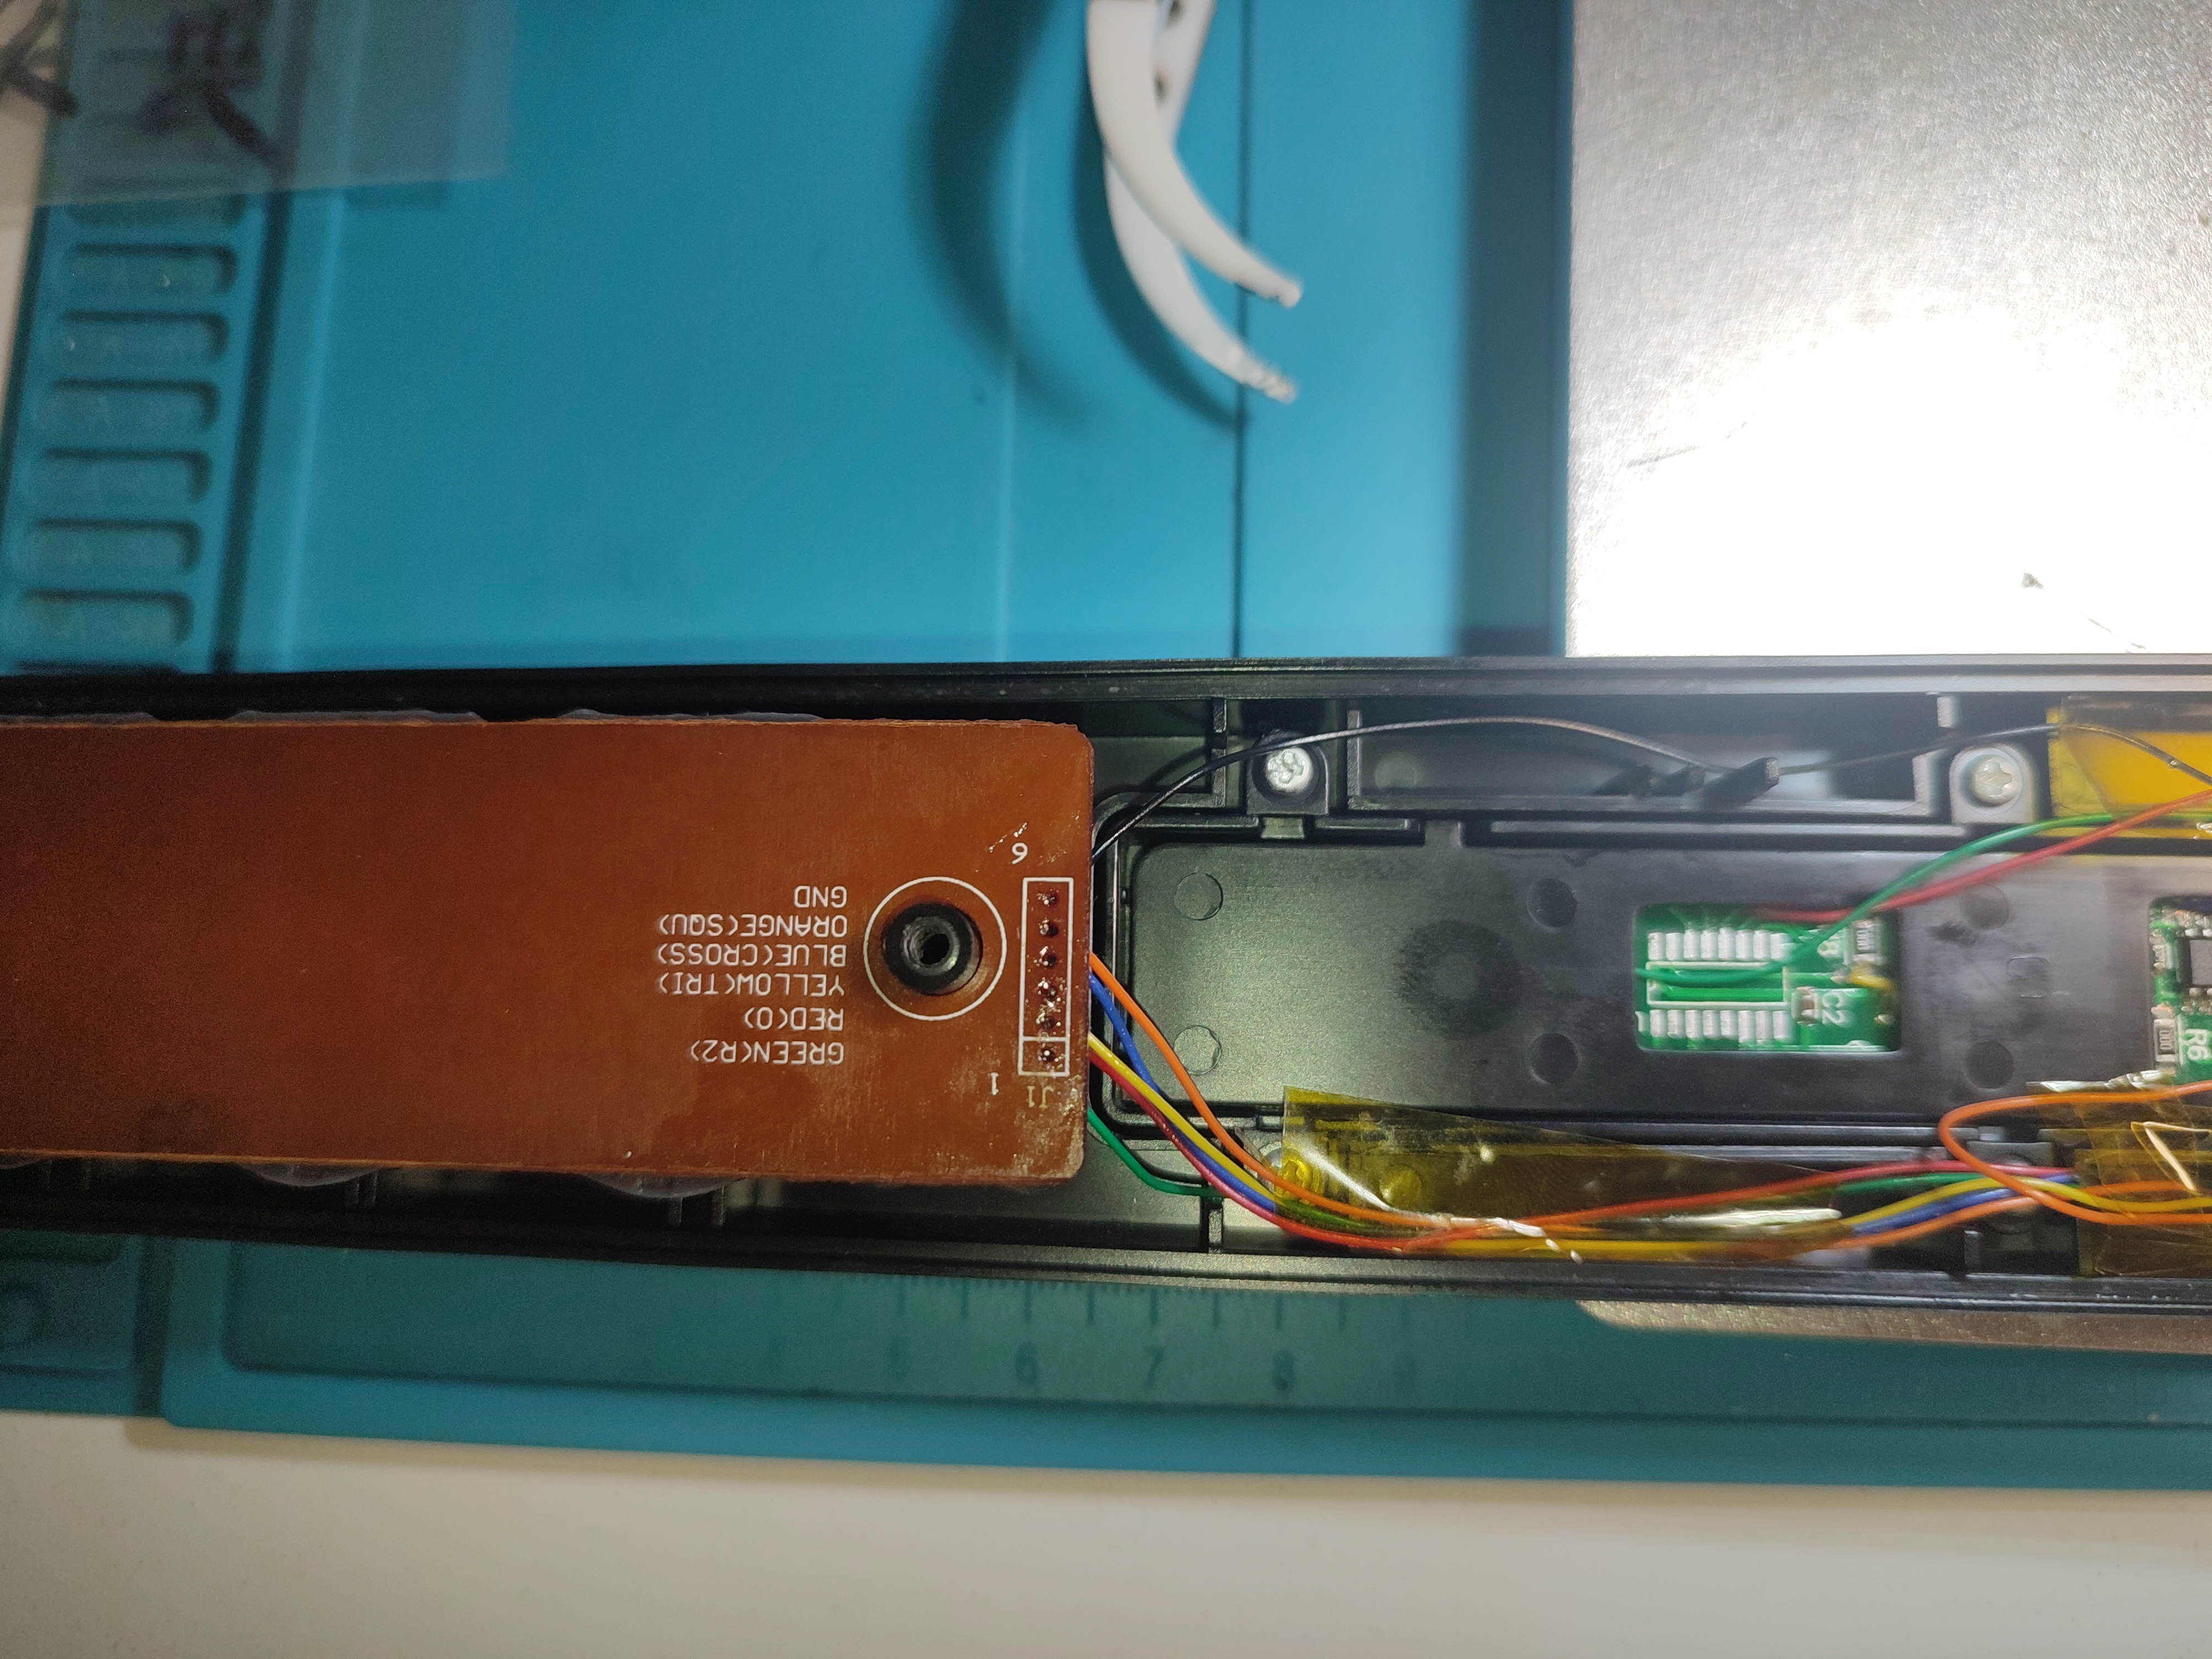
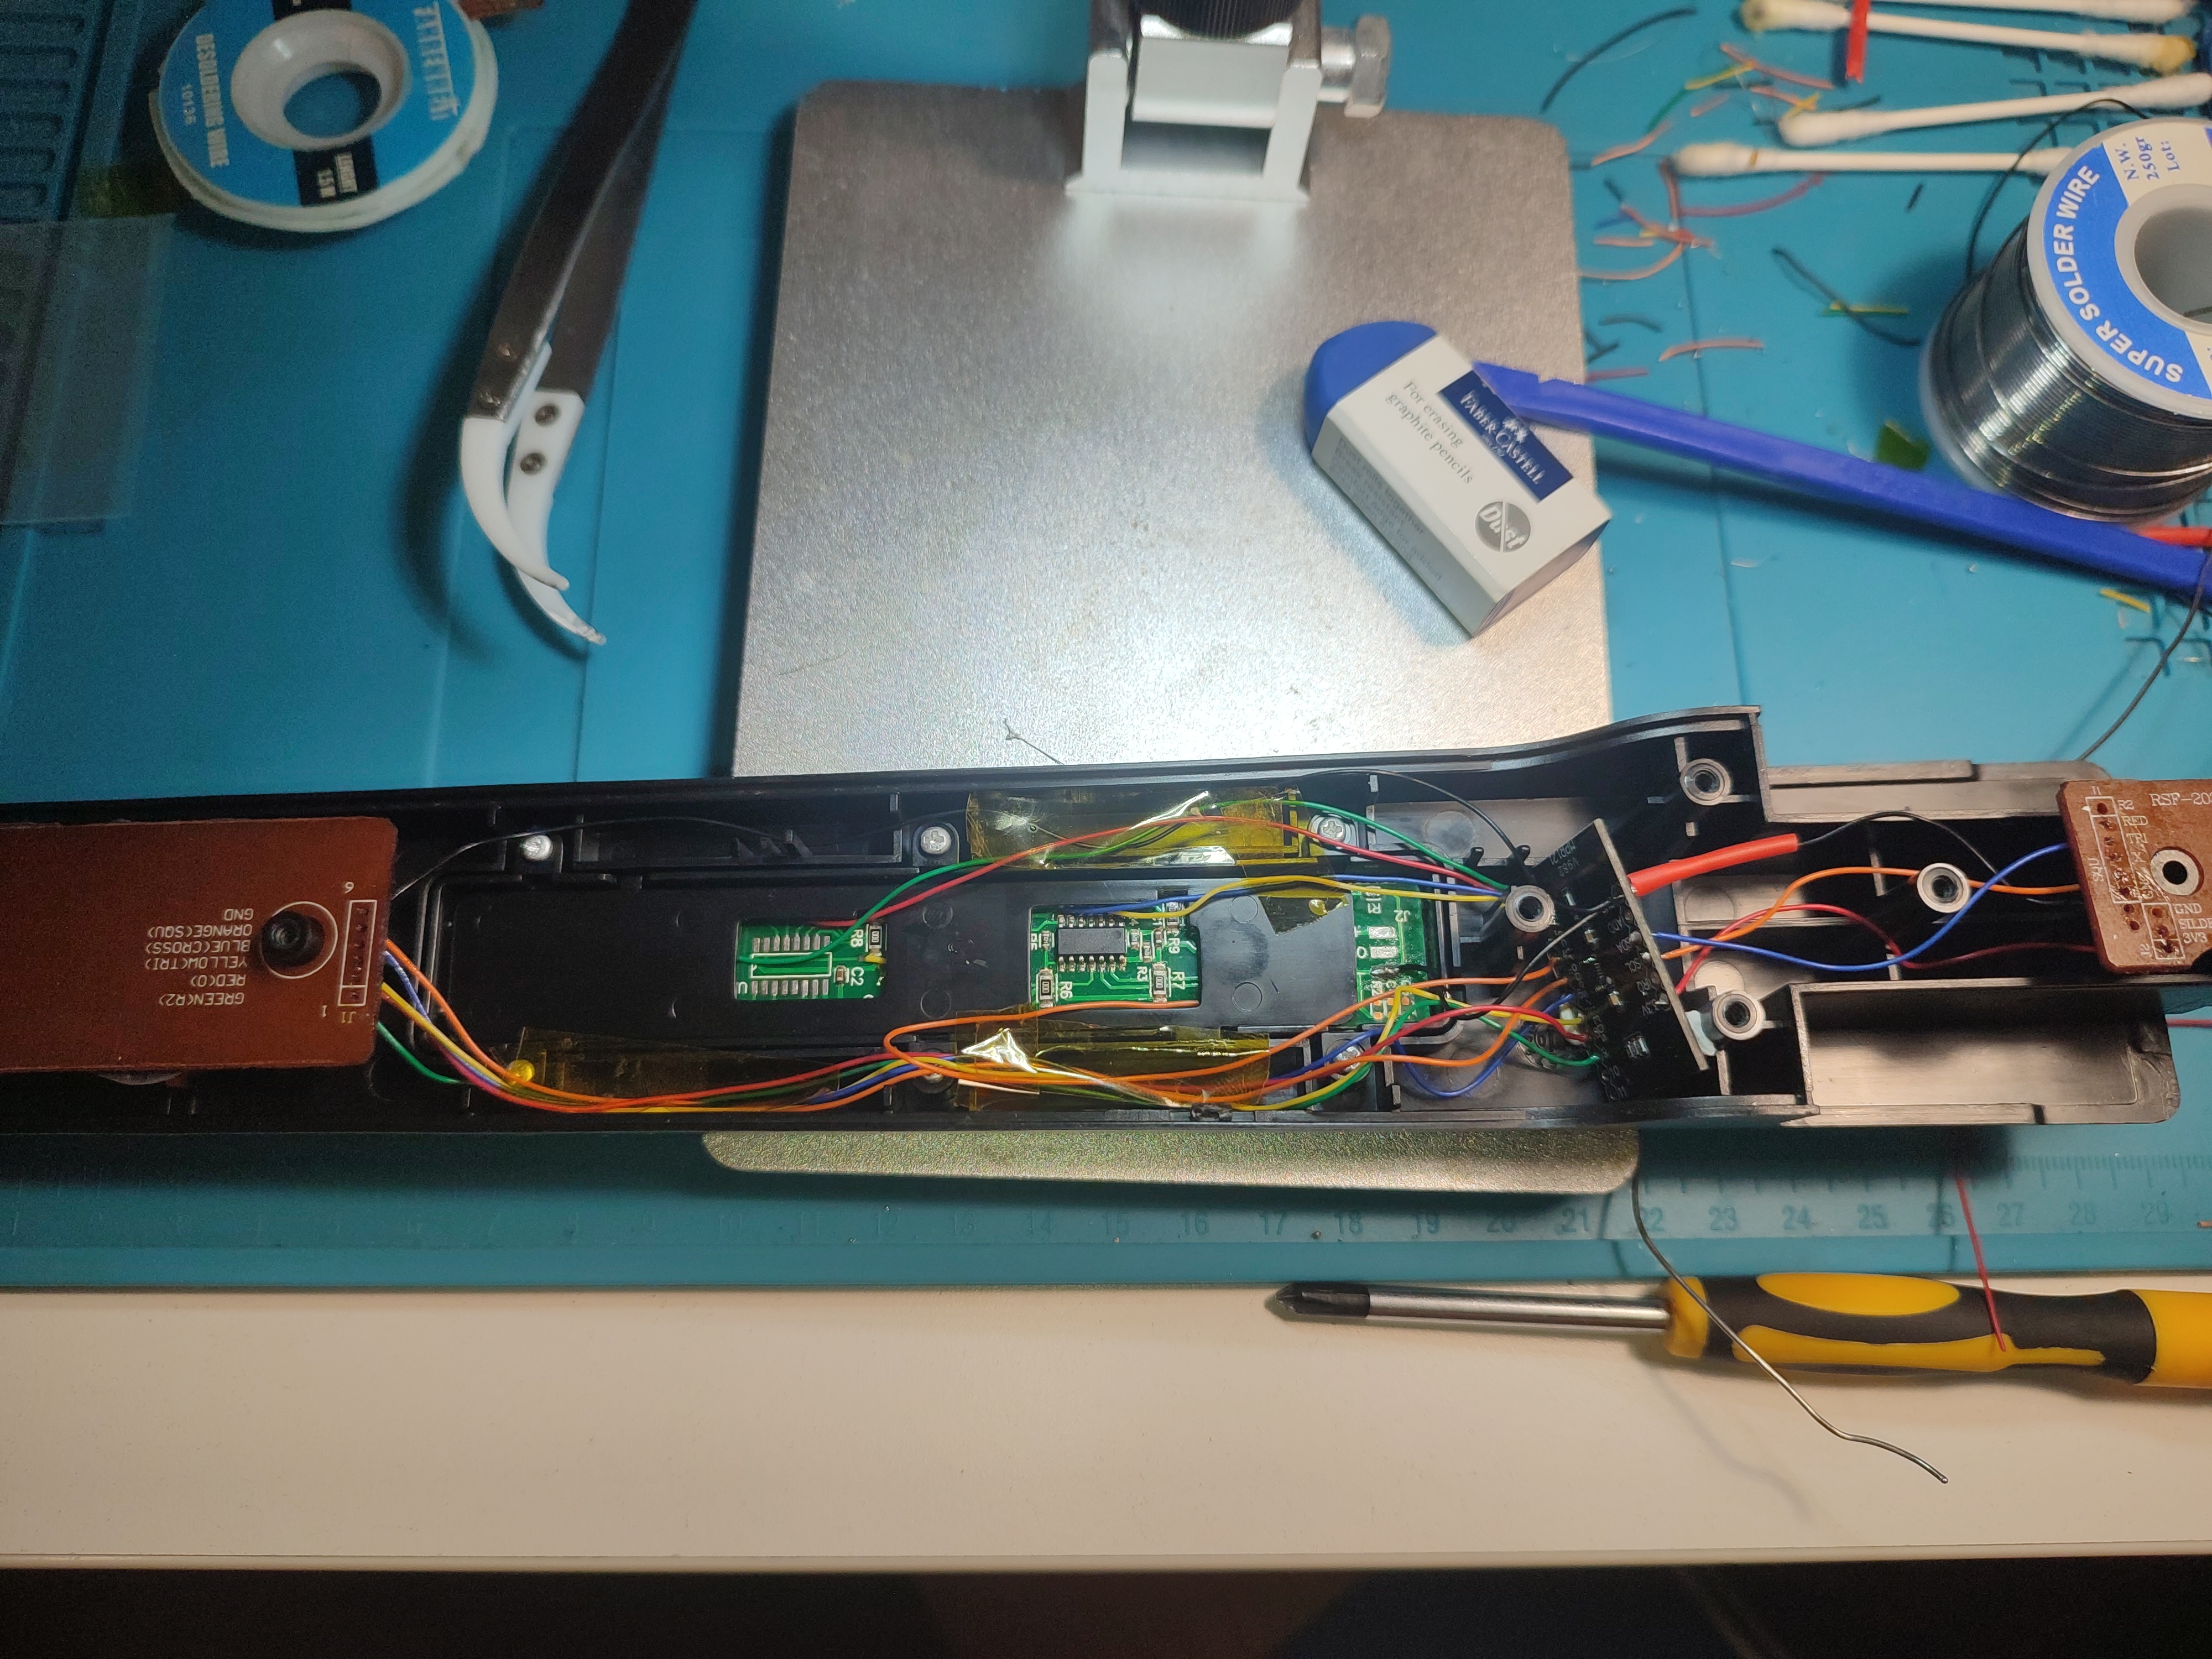
And all of them together (I forgot the heat shrinking tube here… Kapton tape kept it nice and tight tho):
Closeup for the sensor:
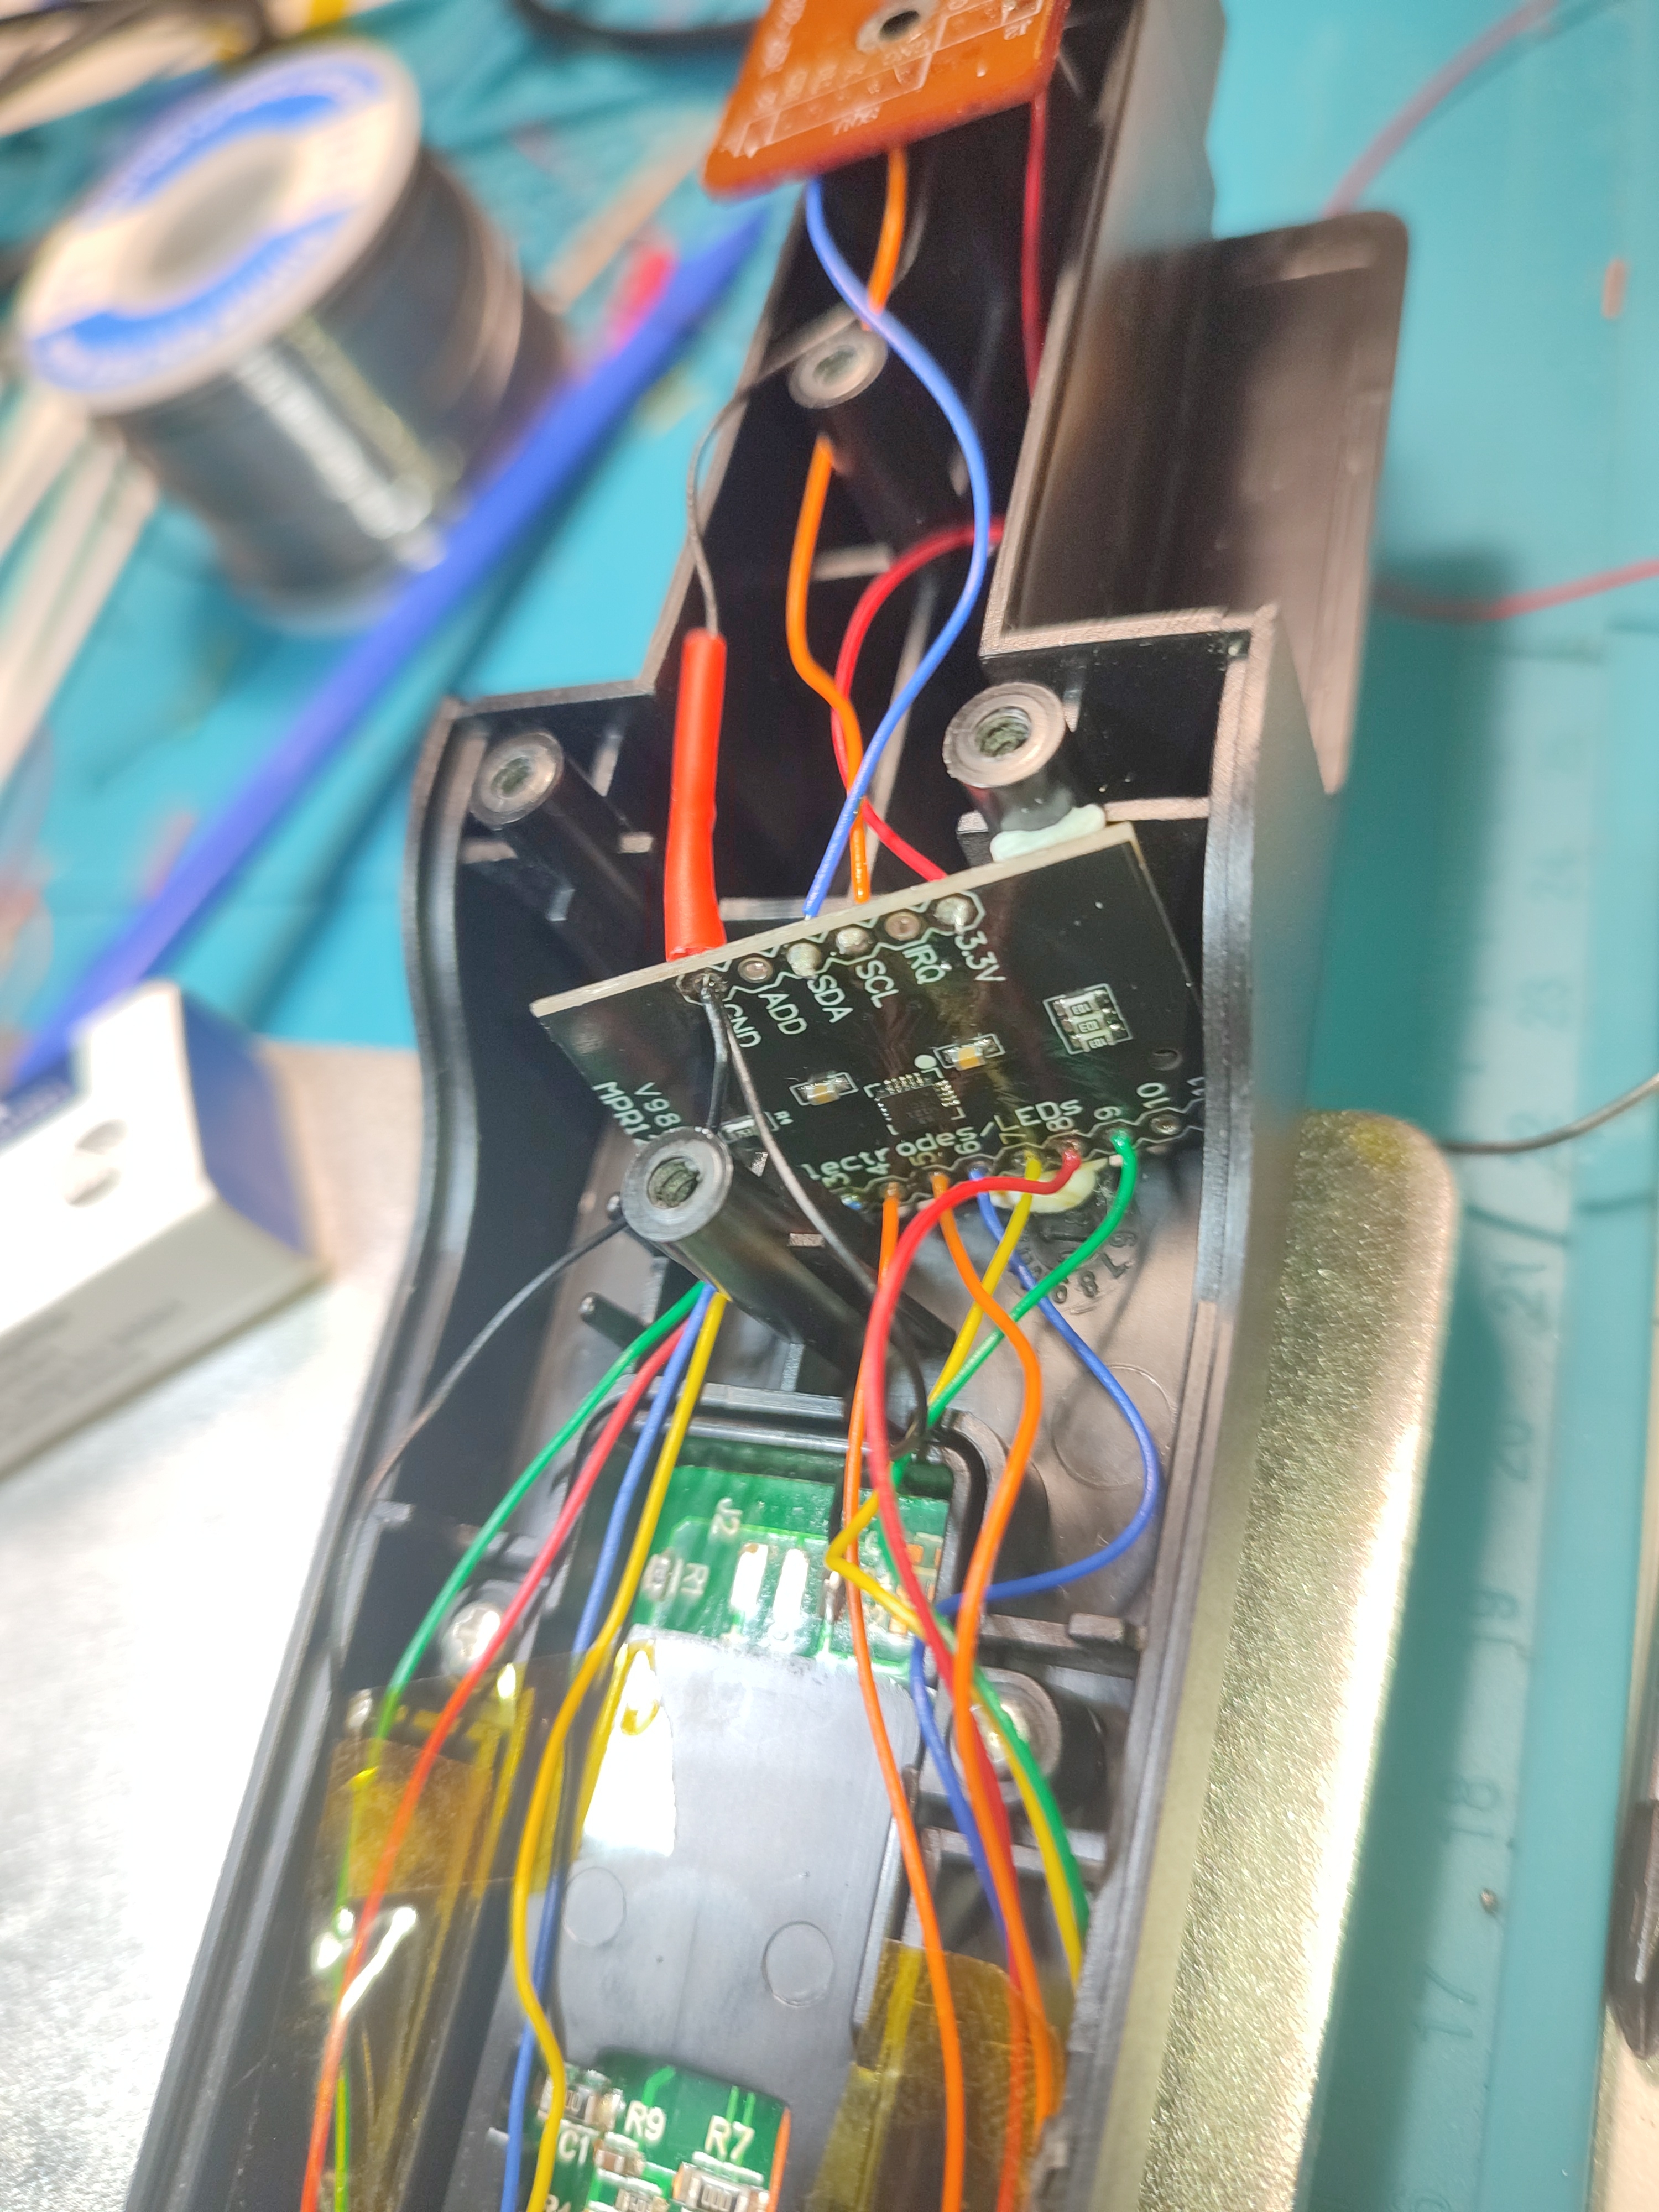
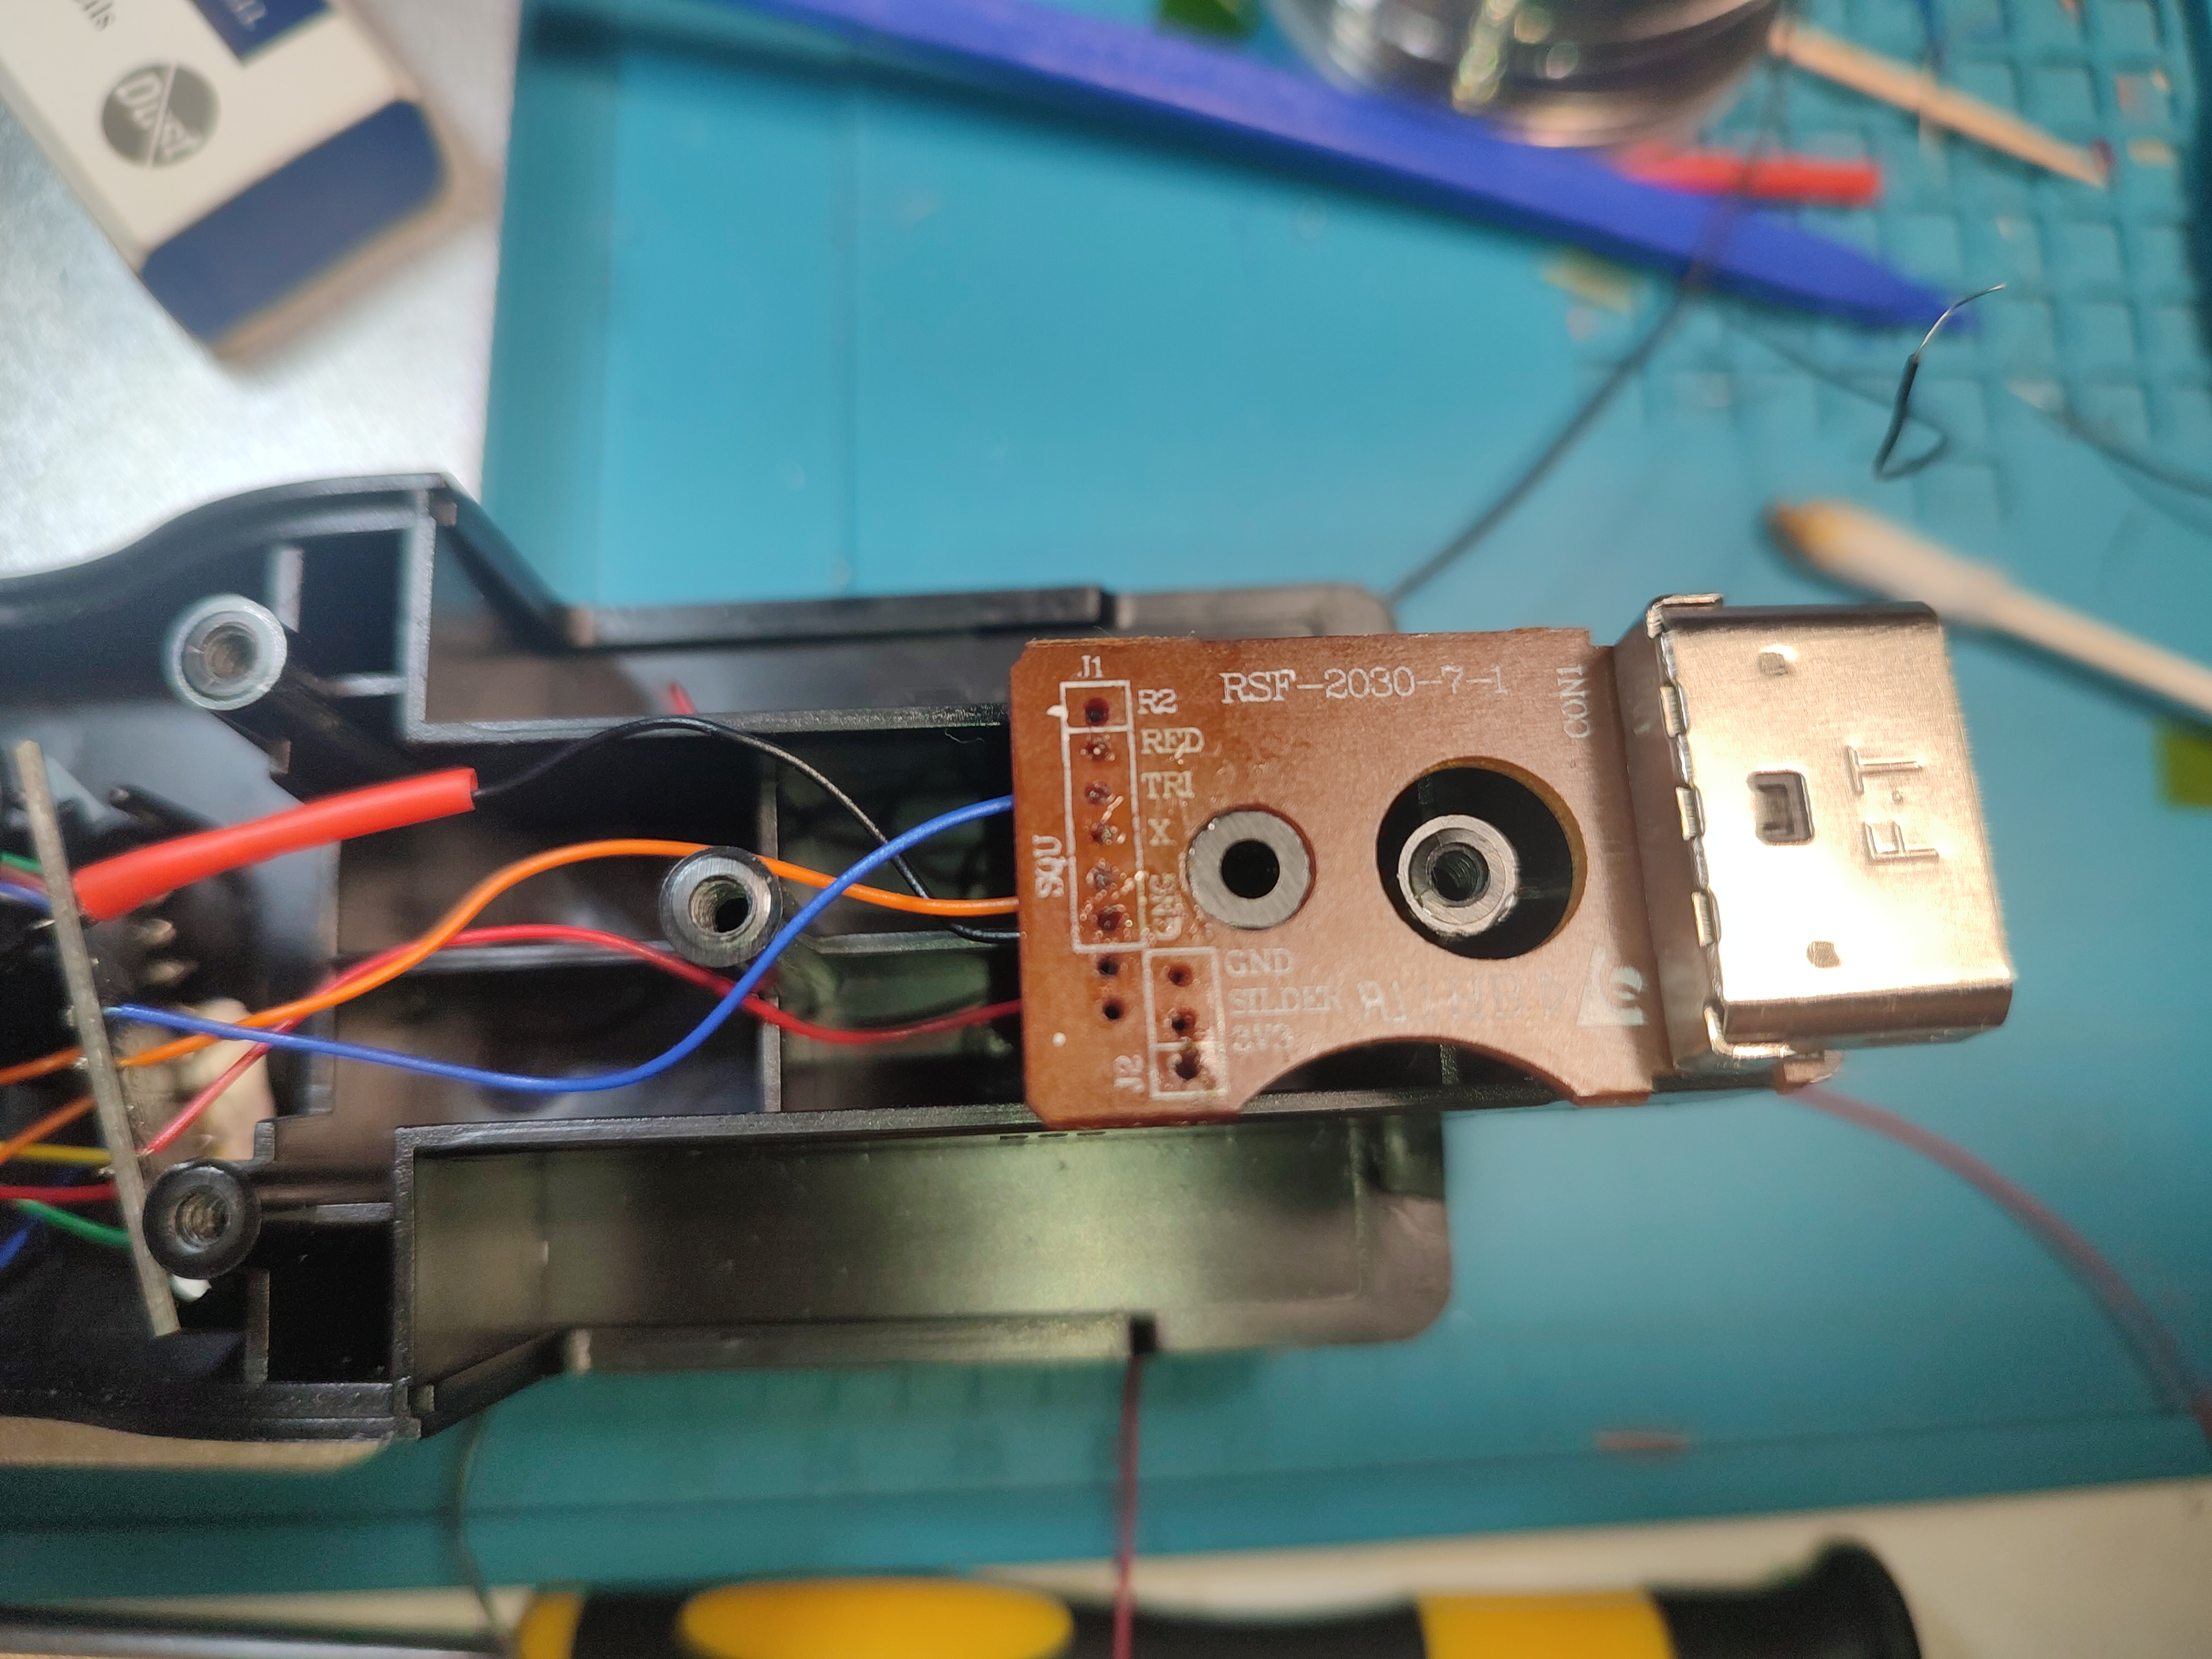
It was so close that I ruin everything. One of the pads tear of from the PCB, you can see the VCC, but I managed to put it in a way so its not strained and still has a solid connection:
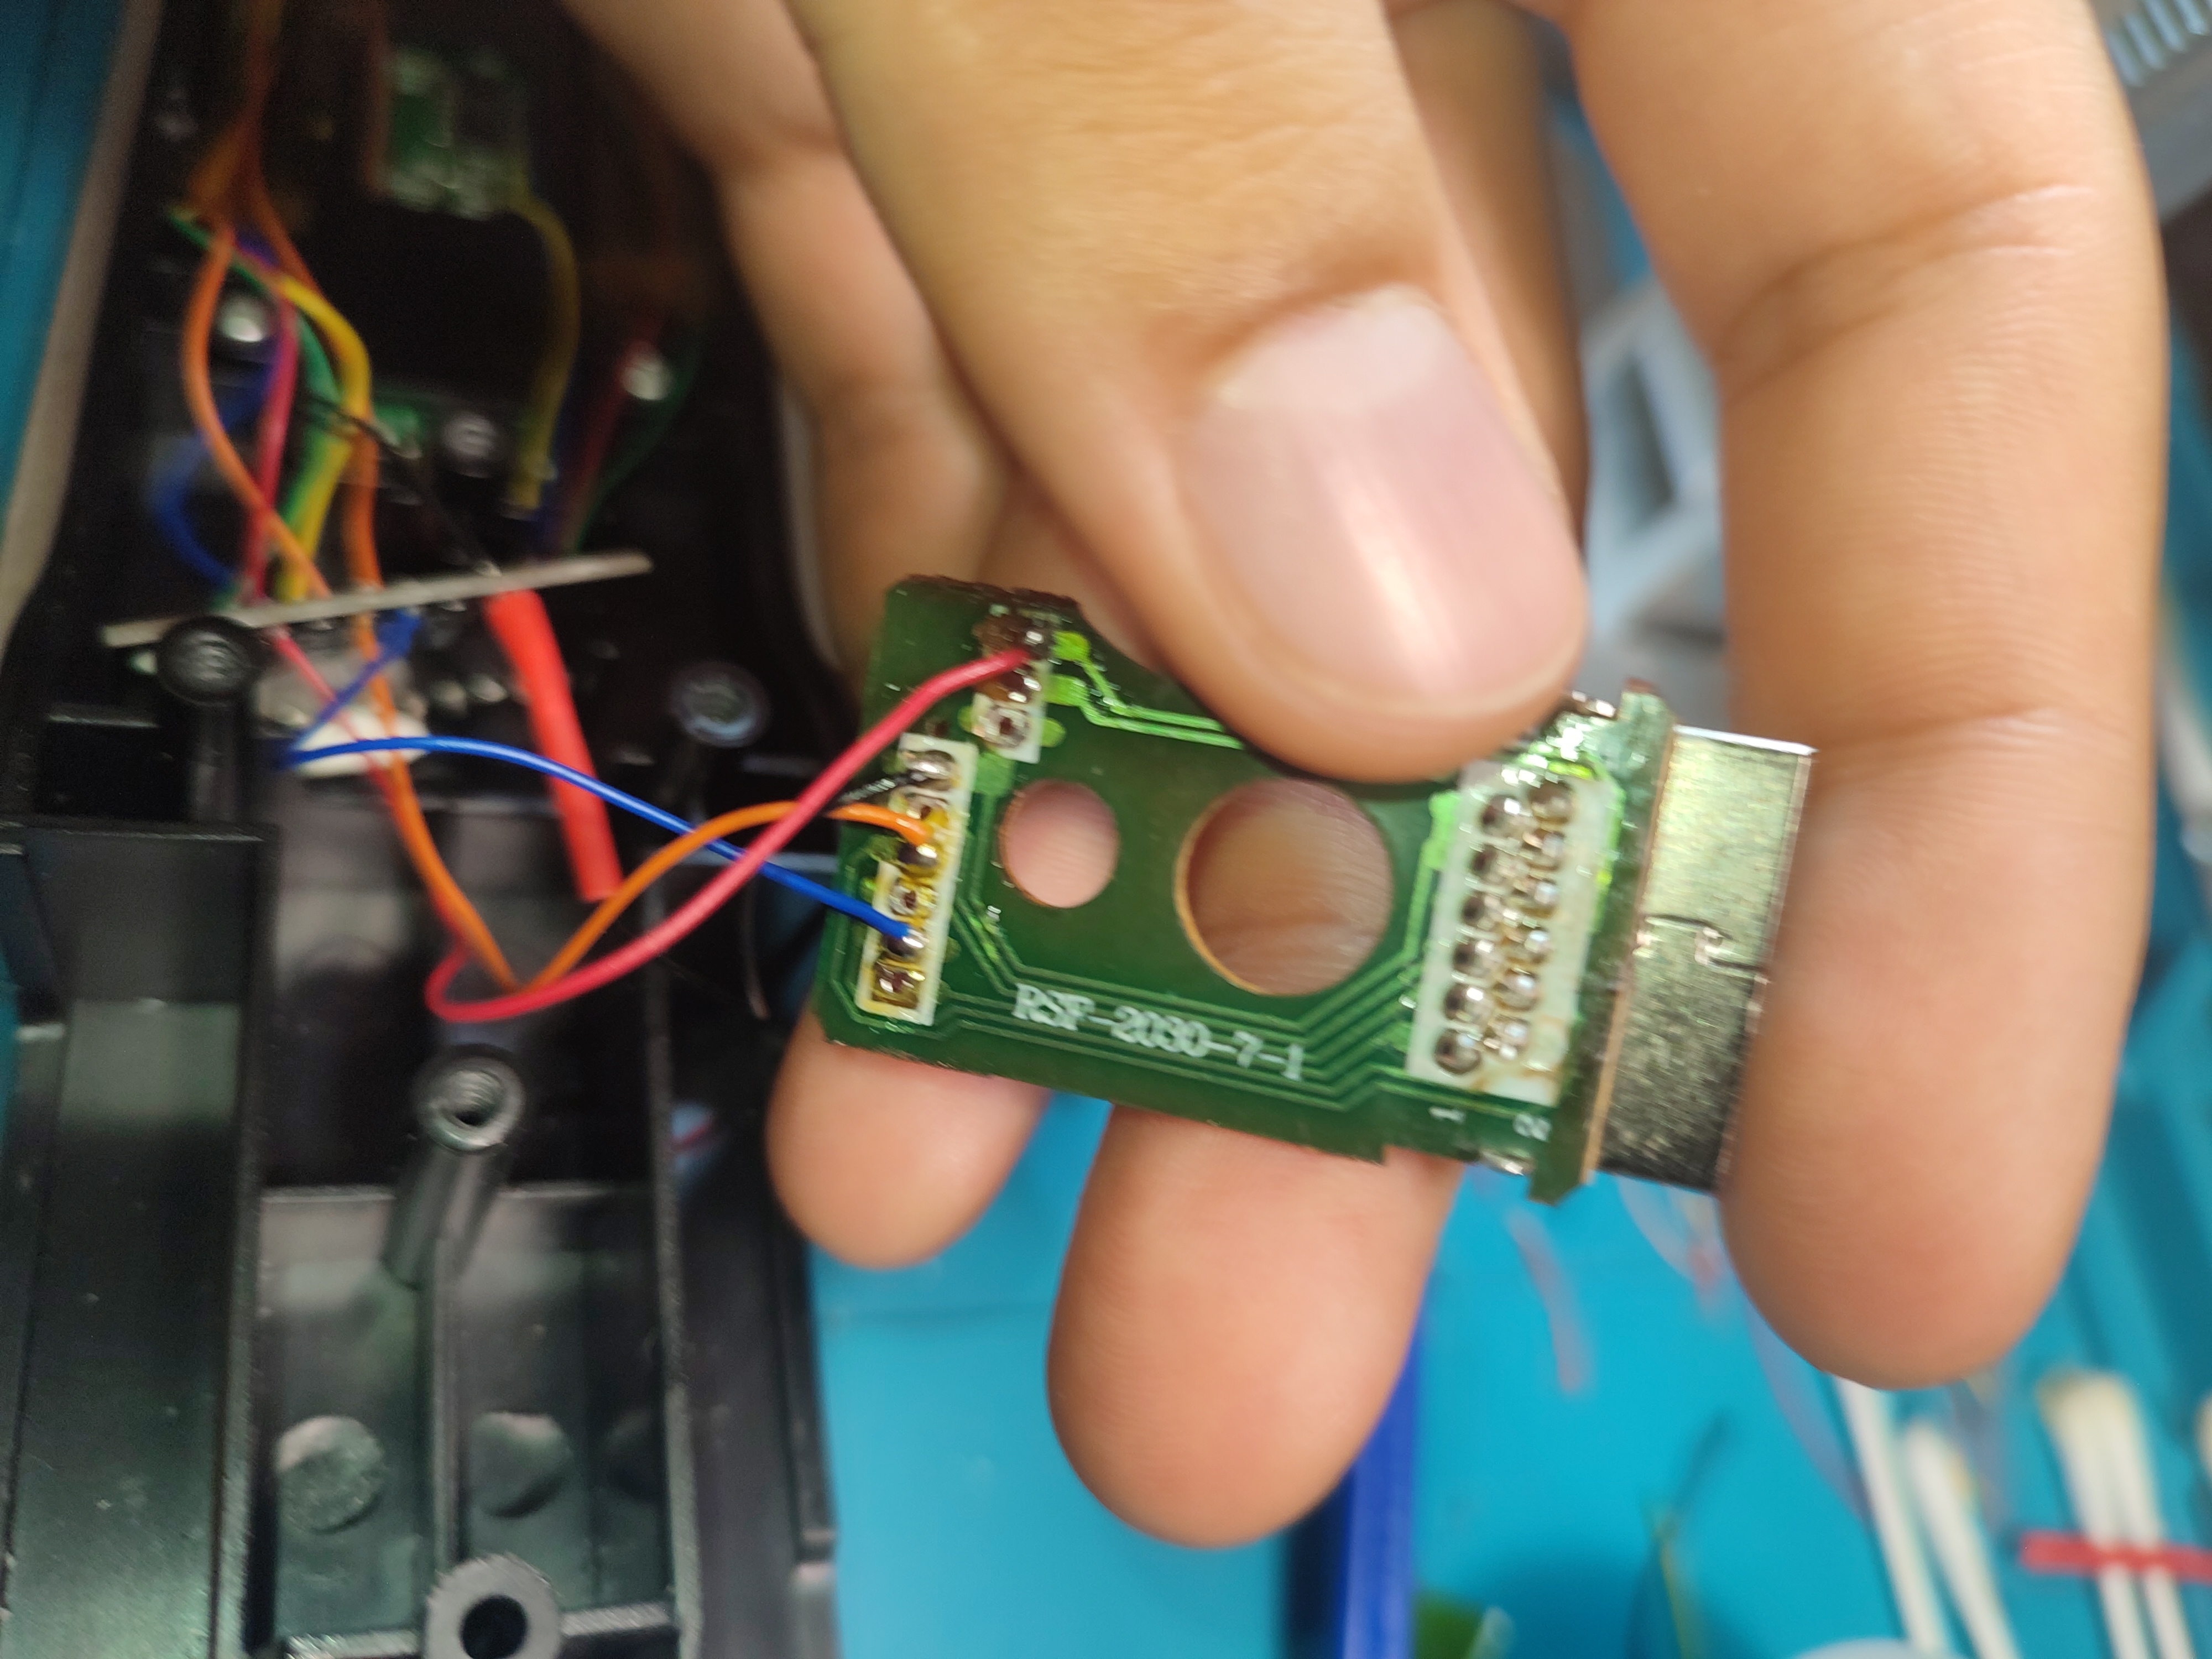
The MPR sensor install with the slider and the frets was very under documented in the Santroller guide.
Software configuration
For the overall added configurations 2 pictures:
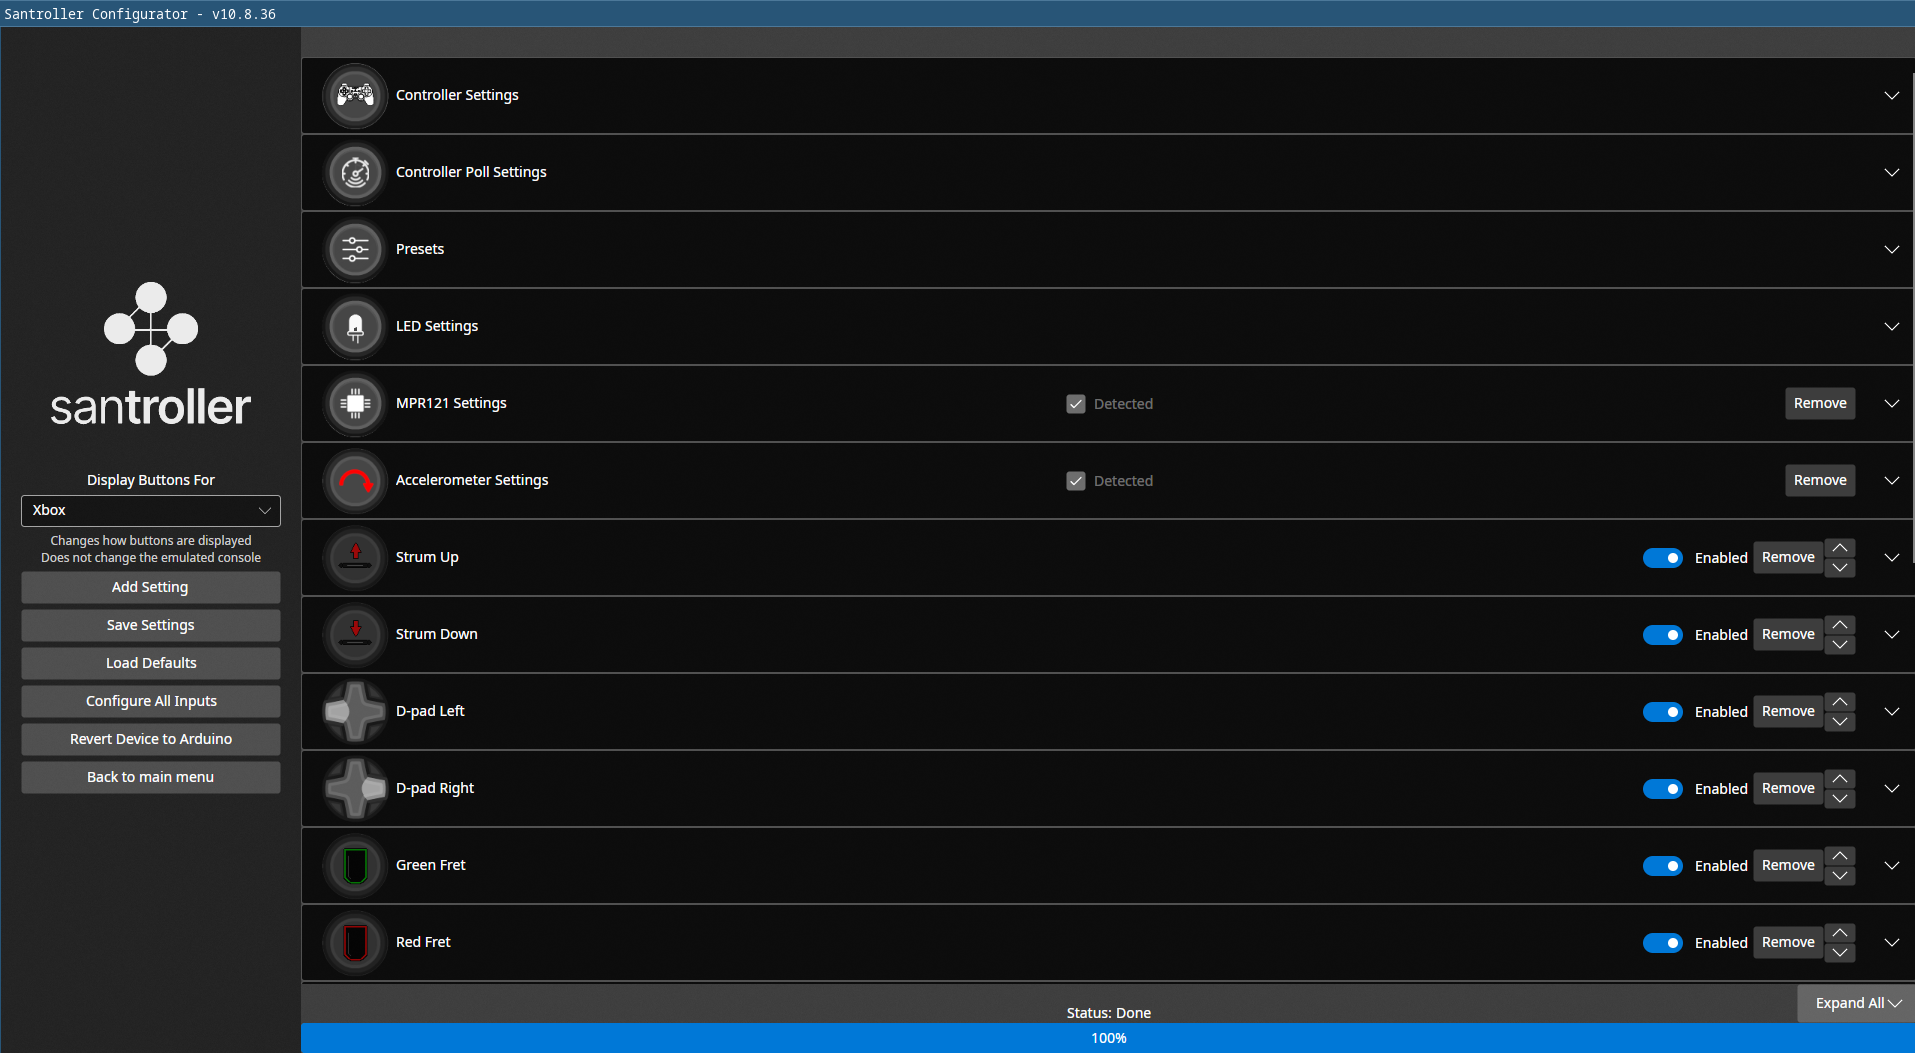
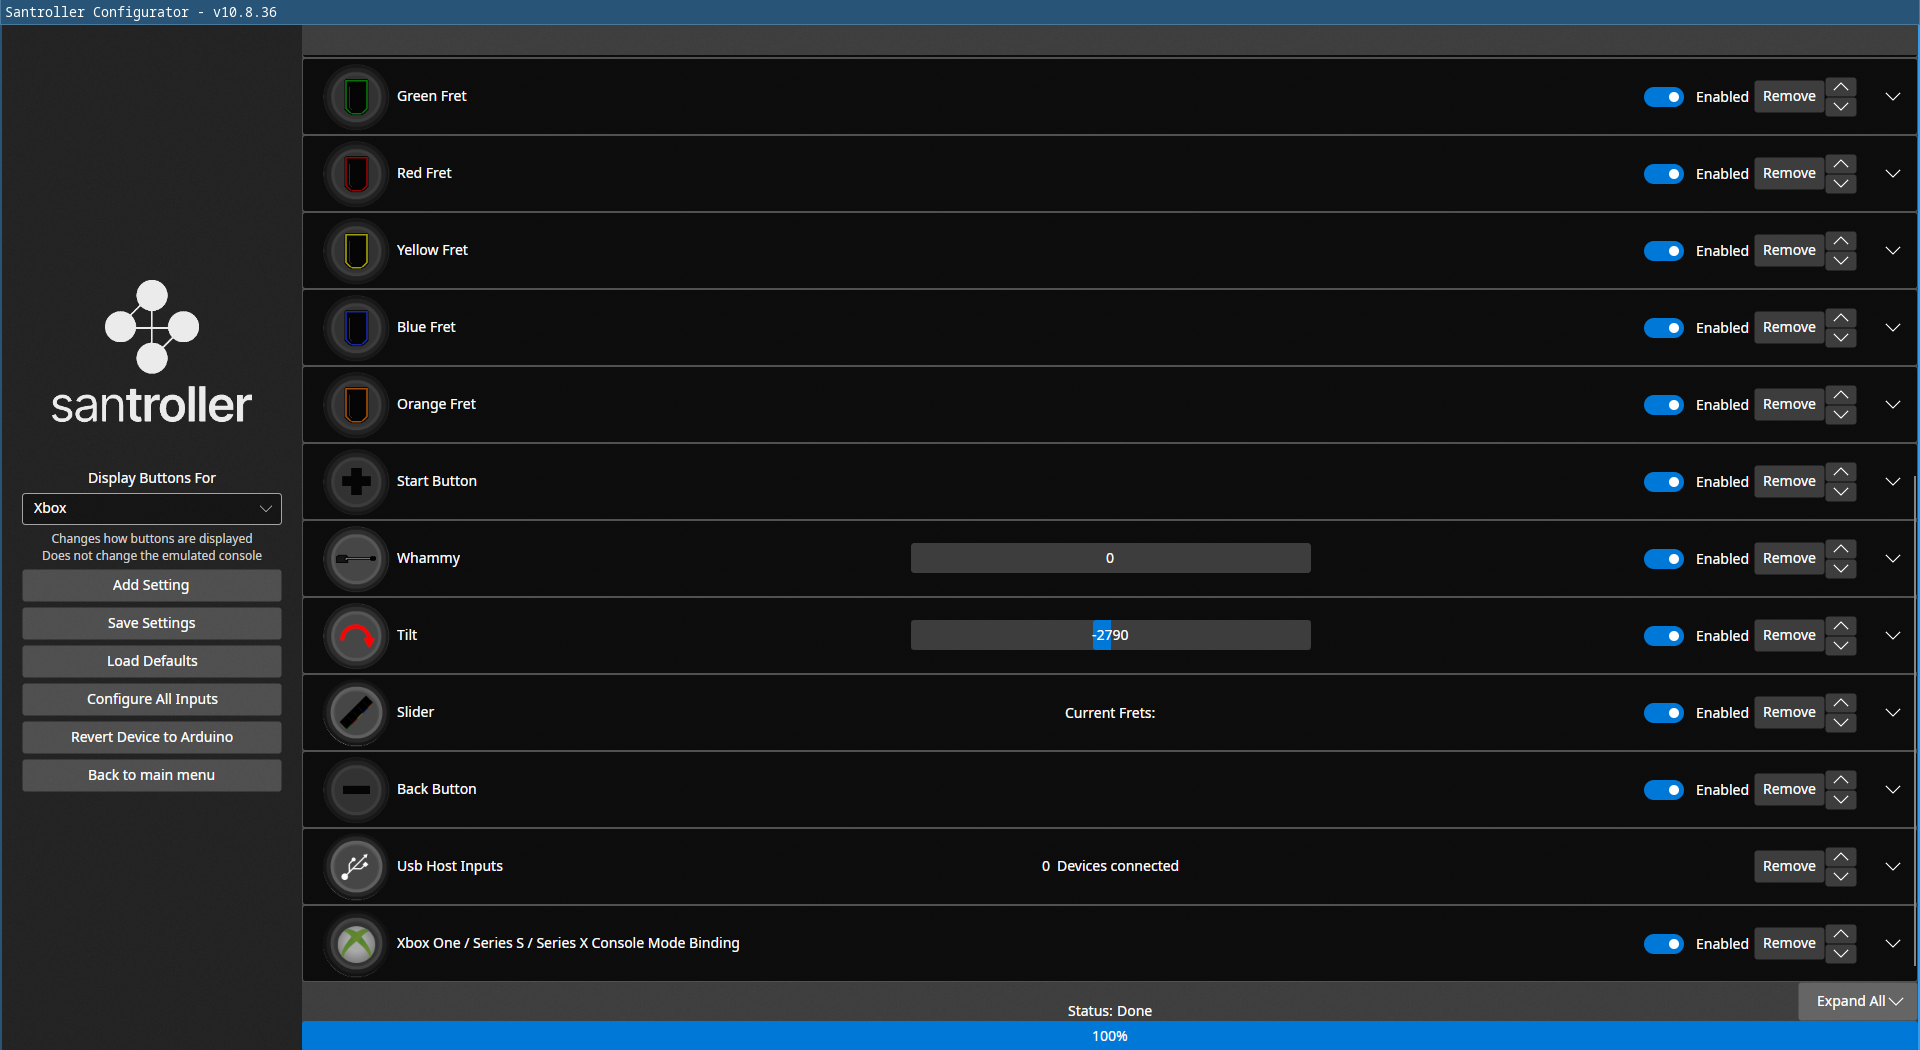
Add these for the sensors:
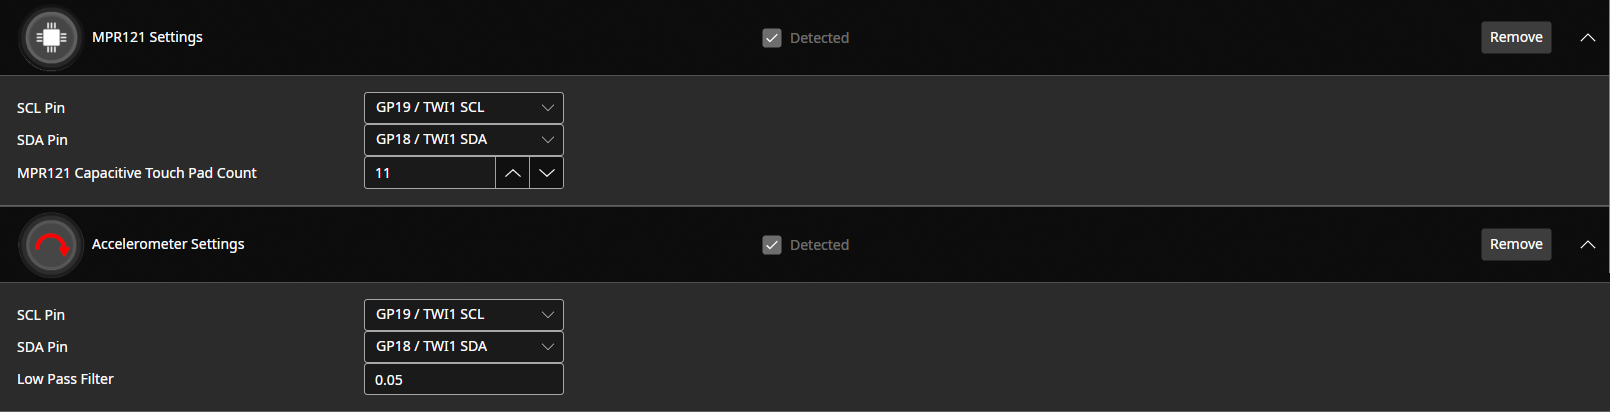
Don’t forget to calibrate the whammy min, max and deadzone ranges so you don’t have distorted long note sounds in-game. Some GH games lets you calibrate the whammy in-game others not.
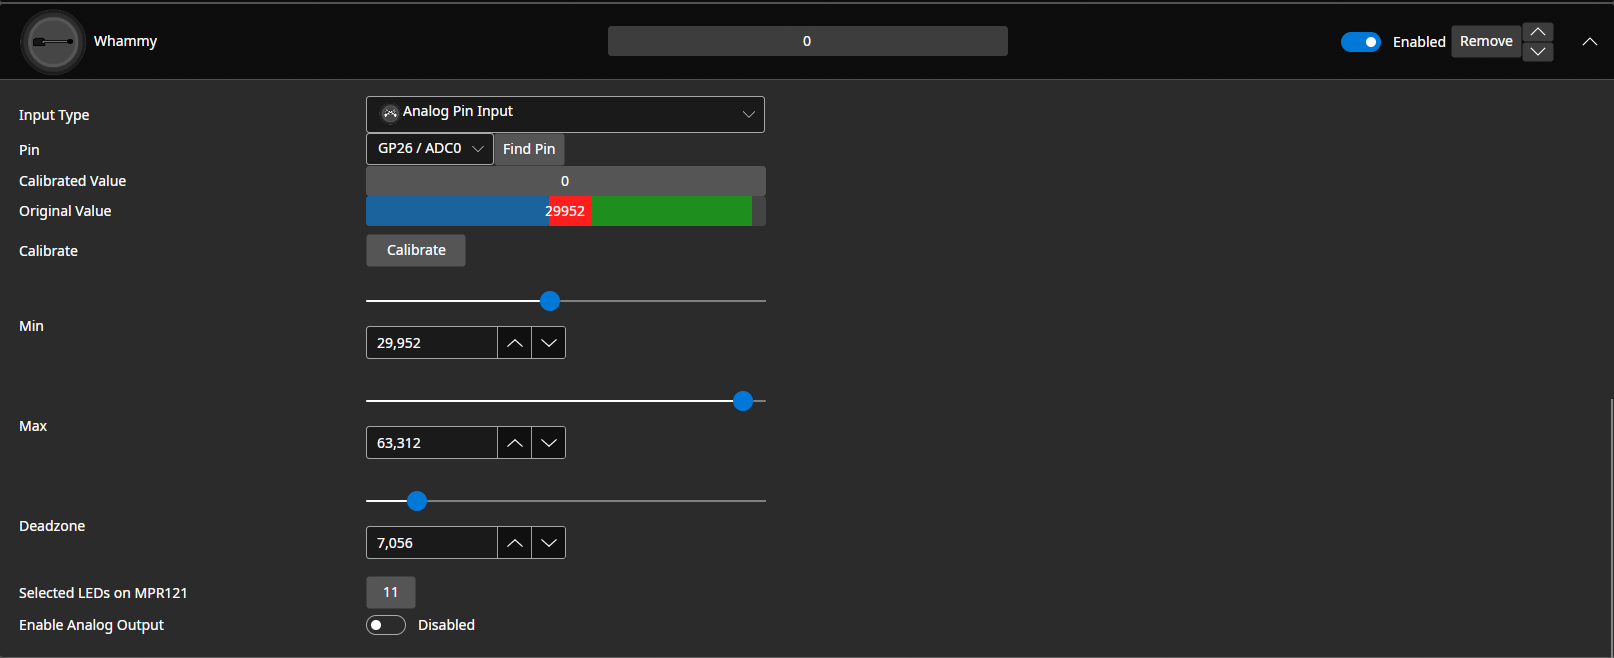
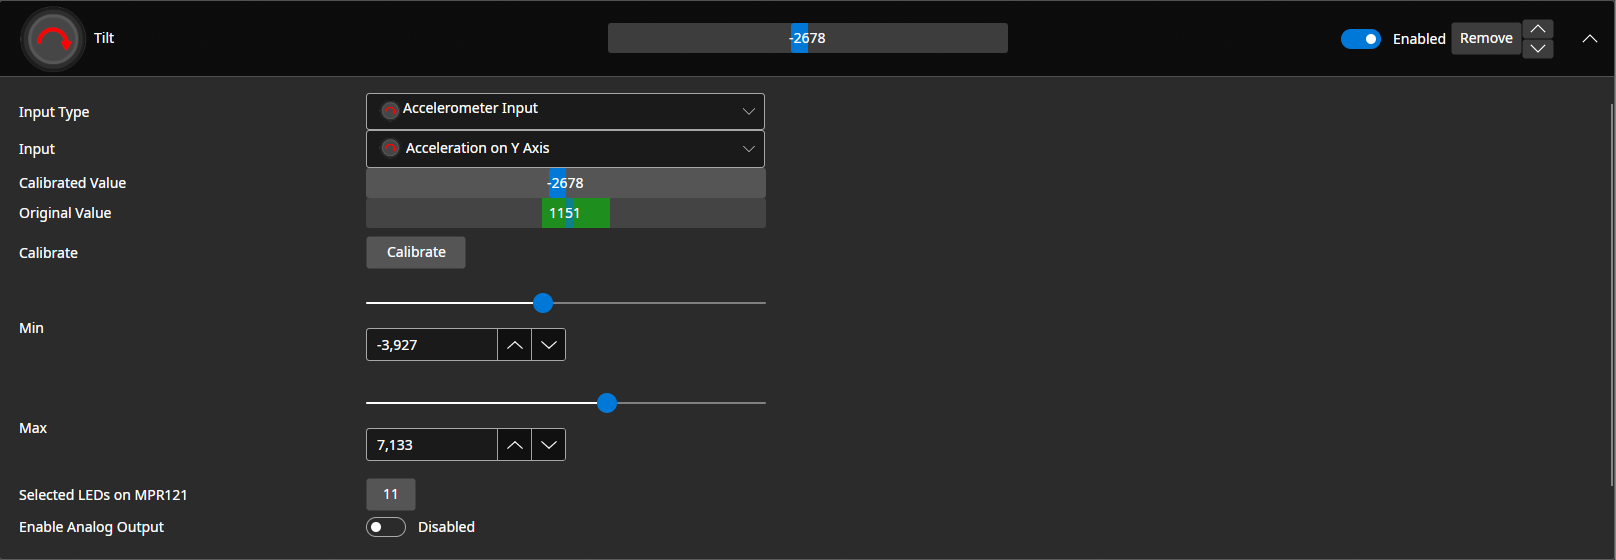
With the way I installed the accelerometer sensor, the following axis configurations I made. Also calibrate:
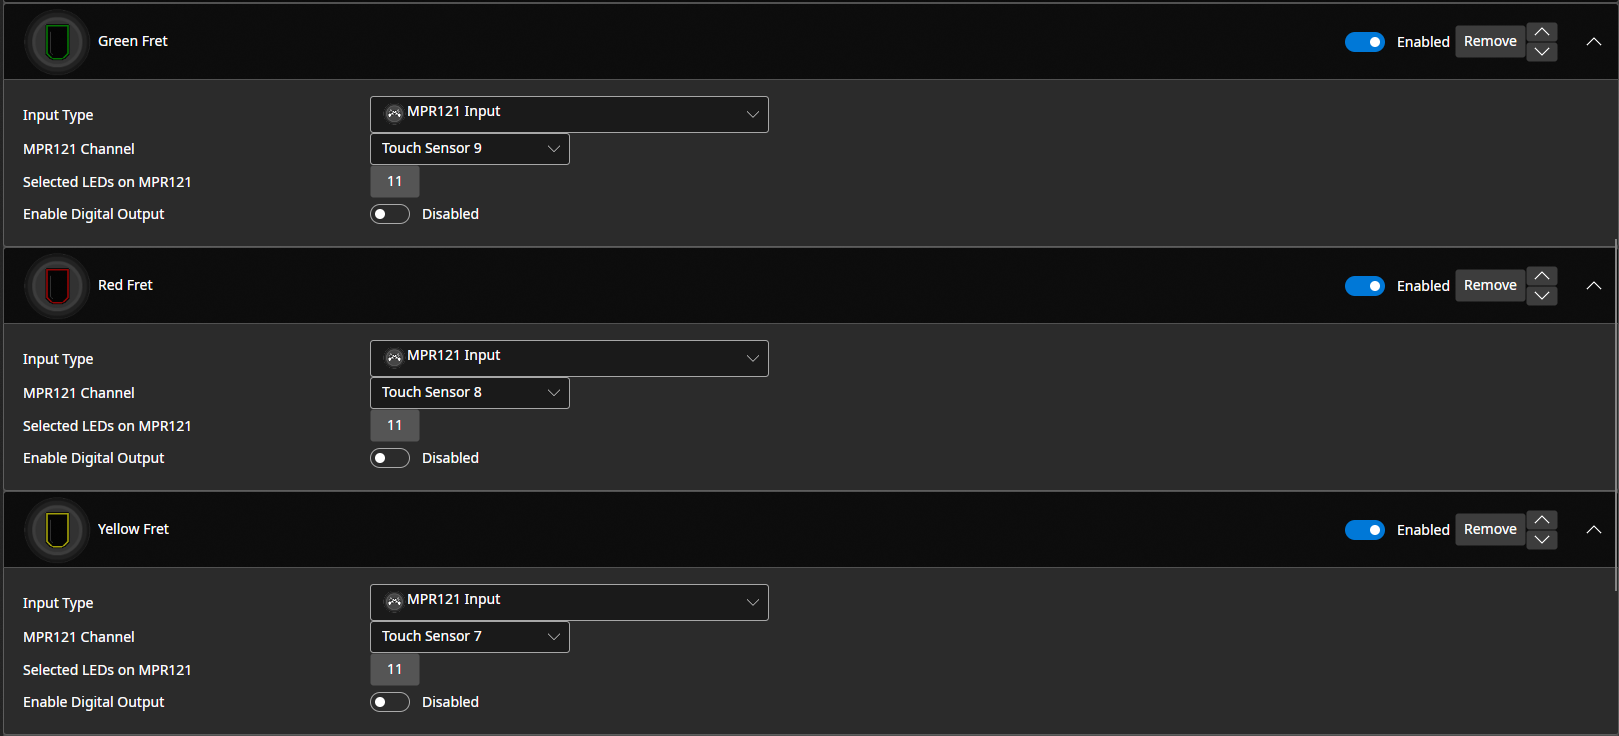
For the frets, set it to the MPR121 sensor and assign the wired channels:
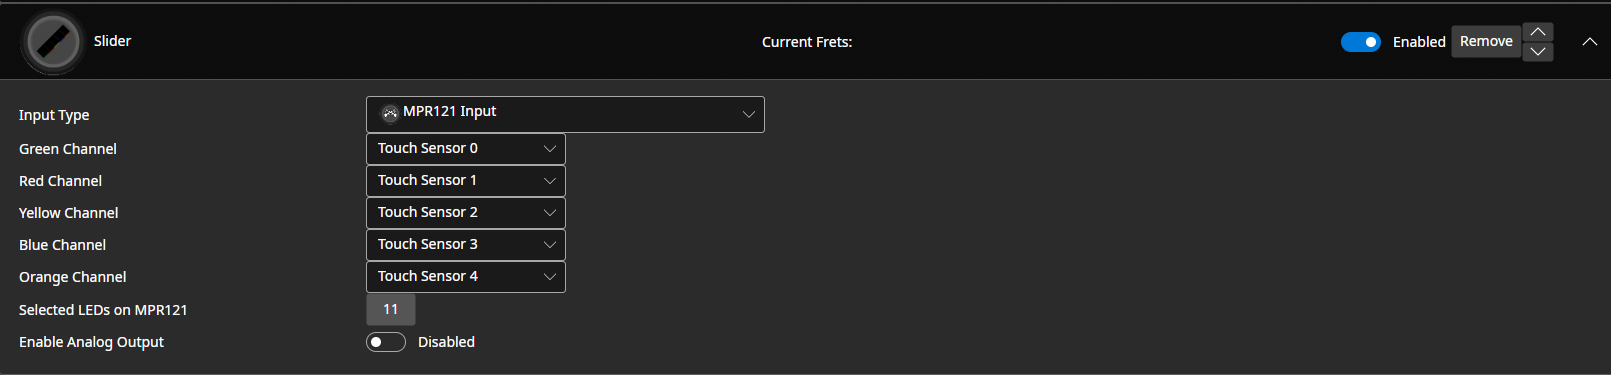
Same for the slider:
Now for the authentication do this to make it work:
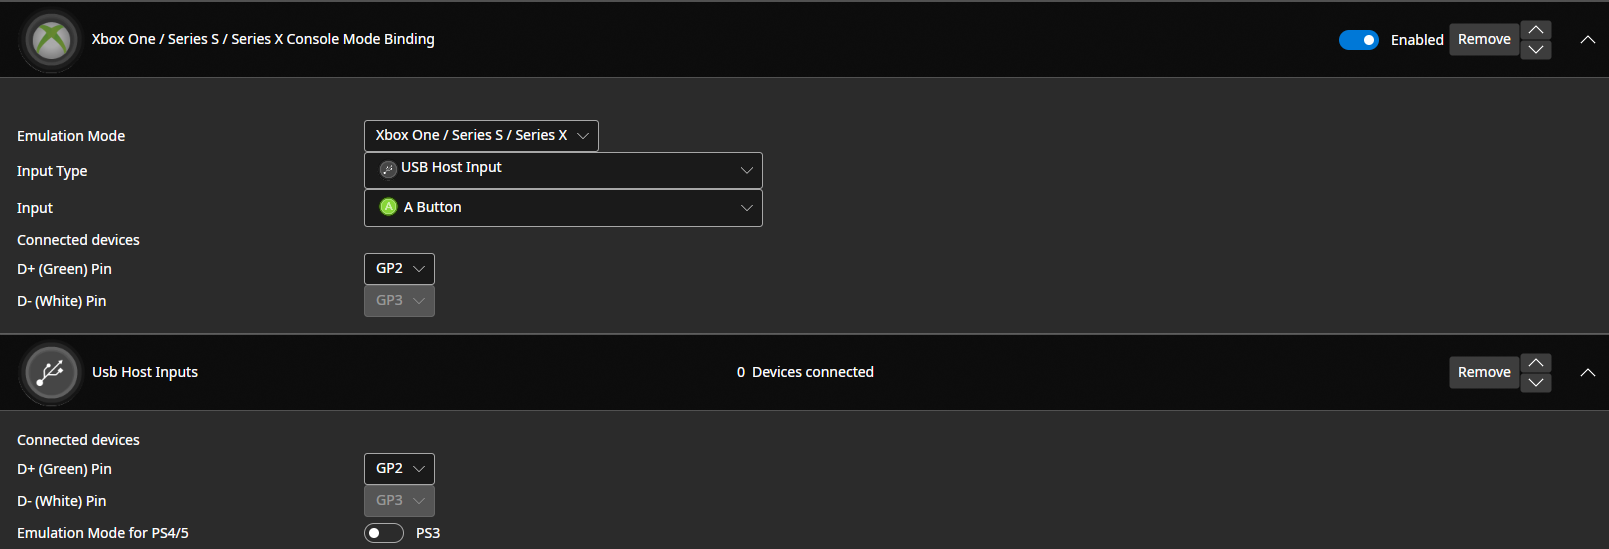
And so what is the authentication, roughly (cuz I did not look into it very much) it lets you use your guitar in CO-OP/versus mode in this trash game Fornite Festival. I only did it to have more things to work on, and also occasionally when I bring my guitar to my friend we could play that game if we’d want, but man it was buggy and laggy as hell.
Closing thoughts
Anyways with this configuration the guitar was working, every part of it. I made sure to test it thoroughly. I tested it on my modded Xbox 360 with a lot of Guitar Hero games, tried Rockband, PC Clone Hero, Xbox One Fortnite Festival.
As i said at the beginning my friend bought a couple, I did one for him and one for me. Overall it was very fun, but also very labour intensive, stripping the wires, co-joining them, heat shrinking, and lot of solder points. I would probably not do one of these again, two was enough. BUT don’t forget there is a DRUM, and a TURNTABLE KIT…
Also its been a couple weeks since I did this, guitars already sleeping in the cupboard ;)))) Thats just how it always is. Do the hack, forget about it.